After having identified the fuel pump as the cause of a failure, empty the fuel tank in an appropriate container or gas buggy. Before removing the fuel pump from the tank and to prevent contamination, clean dirt off the top of the tank.
Remove the retainer ring and lift the fuel pump out from the tank. With the fuel pump removed, inspect the interior of tank for contamination. If contaminated, have the tank cleaned or replaced to ensure the new fuel pump will not prematurely fail.
Install all accessories supplied including the replacement connector. Install the new O-ring or gasket and reinstall the retainer ring.
With the fuel tank in place and all fuel/vapor and electrical connectors in place, fill the tank with enough fuel to soak the pump and so that fuel can be drawn by the fuel pump suction port. Especially for modular units, fill the tank at least 50% as pumps are mounted higher in the module.
Install a new fuel filter to prevent excess pressure differential between the pump and filter. A dirty filter may exhibit a restriction that can reduce the pump’s life, as it will run under considerably higher pressure.
Cycle the ignition switch several times without starting the engine. This will enable the fuel delivery system to pressurize correctly and prevent long cranking time, which could be misdiagnosed as a defective pump.
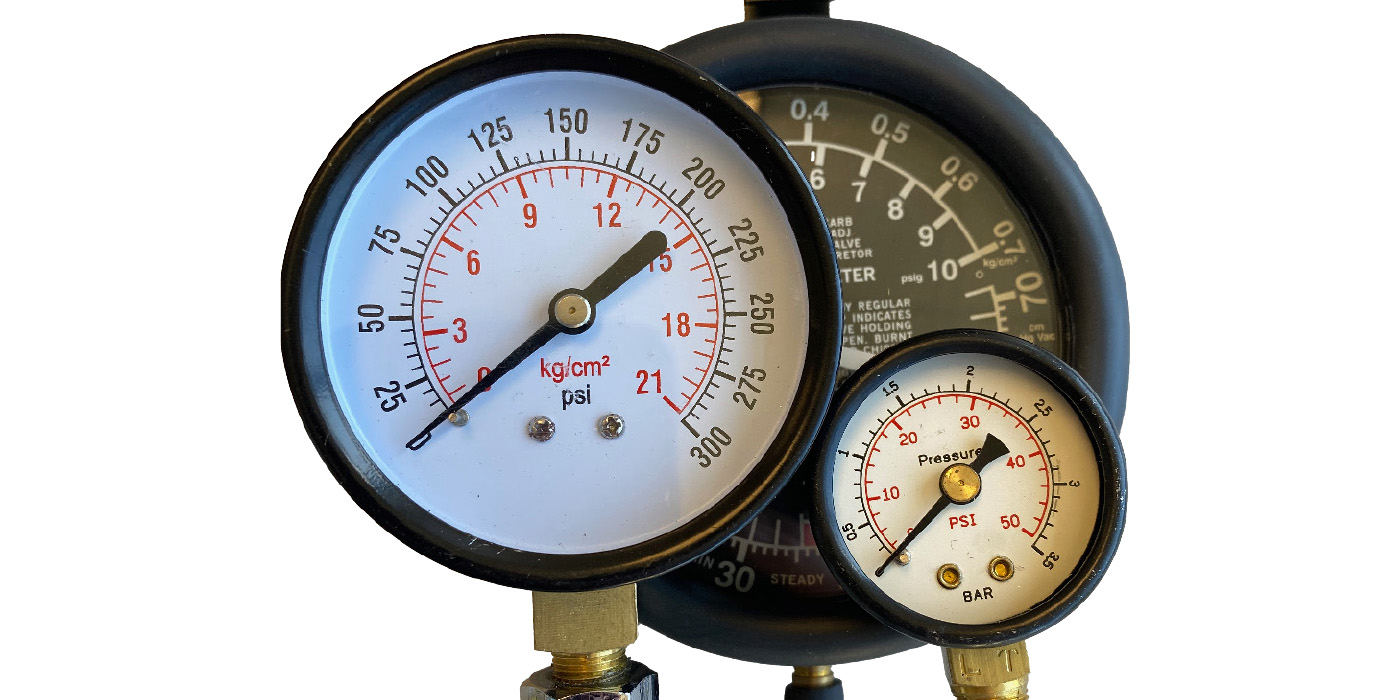
Install a fuel pressure gauge and verify pressure. On return-type systems, test the fuel pressure regulator.
To ensure proper fuel pump operation, road-test the vehicle with fast accelerations and quick left and right turns.
Lifter Deactivation
The area of contact between the lifters and cam lobes is the highest loaded surface inside an engine.
The basic function of a valve lifter is pretty simple. It sits on the camshaft and transfers the motions of the cam lobe up through the pushrods and rockers to open and close the valves. The size and shape of the cam lobe under the lifter (multiplied by the ratio of the rocker arms) determine valve lift and duration. As such, the lifter just follows the motions of the cam. But, it does play a role in valvetrain lash (clearance) and noise.
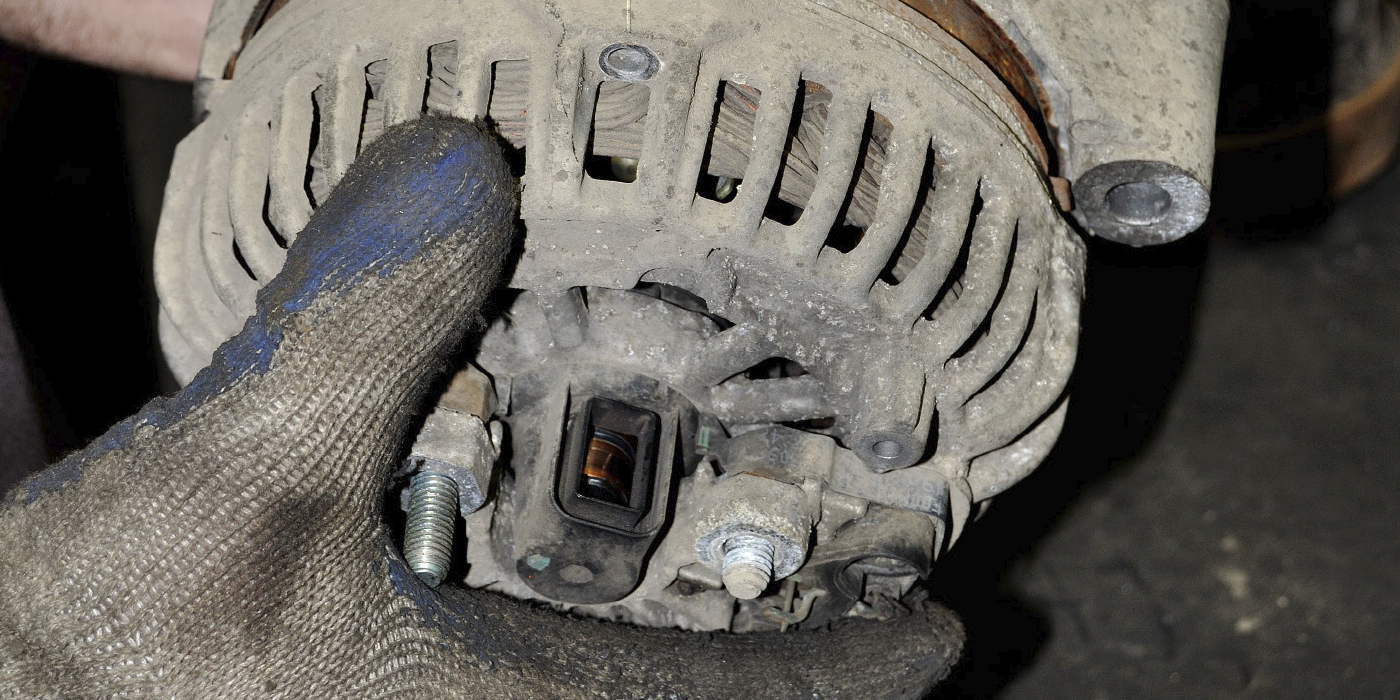
Alternator Testing For No Charge Conditions
Many alternator problems turn out to be nothing more than a bad connection at the alternator or a bad wiring harness.
Understanding Coolants
All-season coolant used inorganic acid technology and worked great for almost 30 years.

Ignition System Do’s and Don’ts
Why do ignition systems give technicians problems when diagnosing ignition-related misfires? The answer is that some technicians use tests that might give inconclusive results or do damage to the coil or drivers inside a module.

Tools To Service Serpentine Belts
Servicing the serpentine belt on some vehicles is a tough task.

Other Posts
High Pressure Direct Injection Fuel Systems
The main destroyer of high-pressure fuel pumps is a lack of oil changes.
Battery Charging and Diagnostics
Here are six tips to use when diagnosing a vehicle with a dead battery.

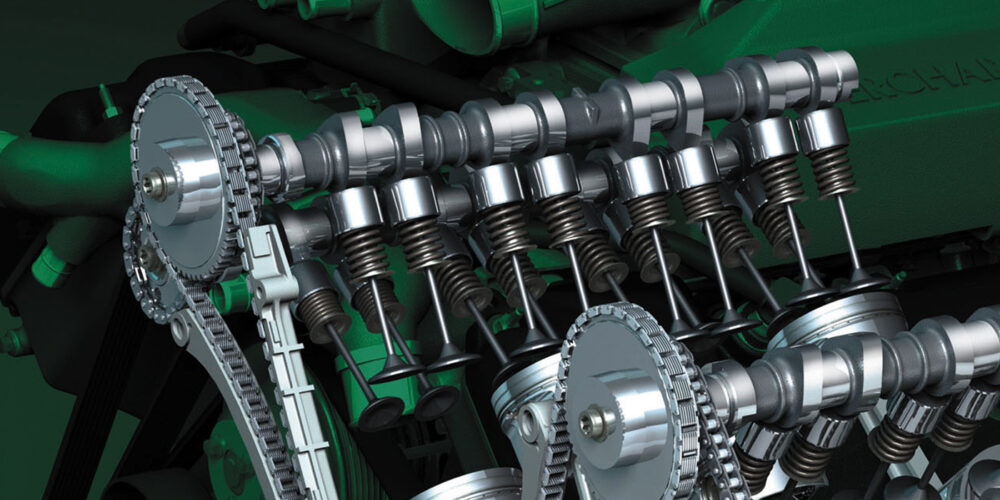
Why Do Timing Chains Stretch?
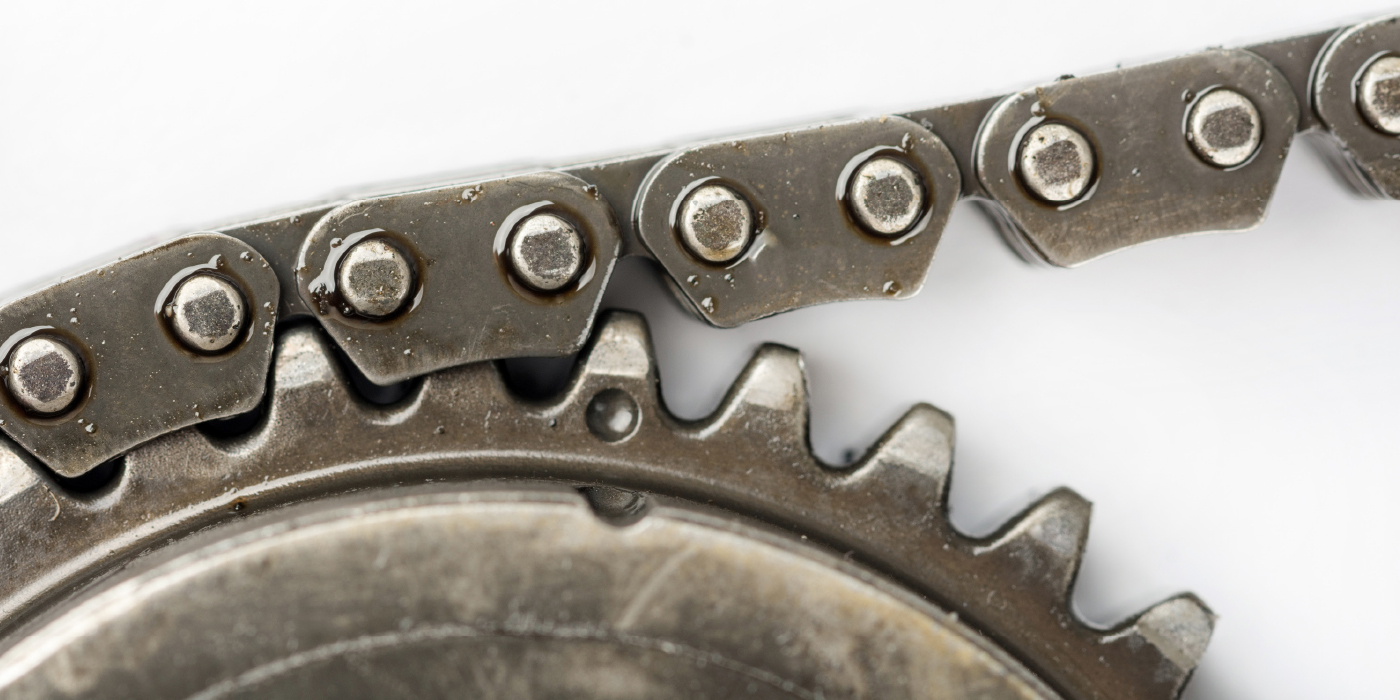
As the timing chain wears, it can change the timing of the camshaft and crankshaft.
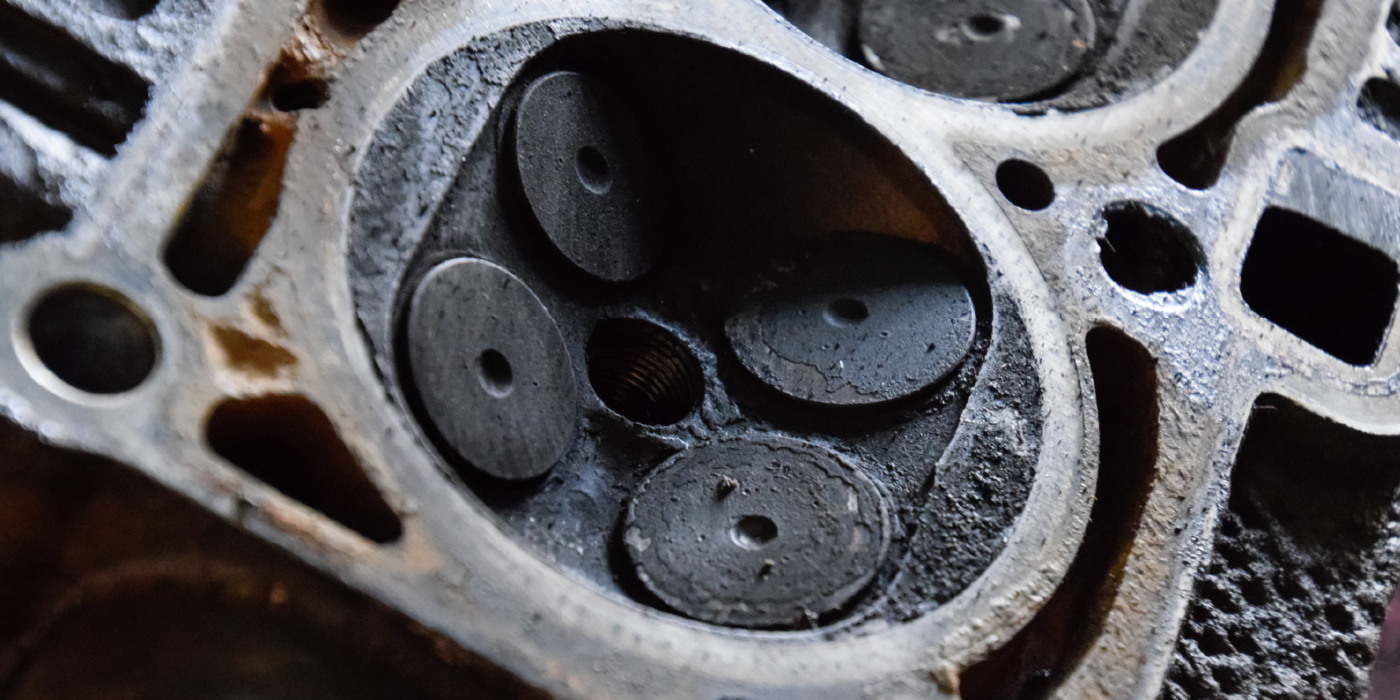
Carbon Deposits and Direct Injection Engines
The primary cause of these problems is that fuel and added detergents are not hitting the back of the intake valves.
