By Eric Seifert, Automotive Technical Editor
 Some 5.4L 3-valve engines found in 2004-’05 F-150 and 2005 F-Super Duty, Expedition and Navigator vehicles may experience difficulty with spark plug removal, which may cause damage to the spark plug and leave part of the spark plug in the cylinder head.
Repair Procedure
If the plug does come apart, it will break in one of two modes:
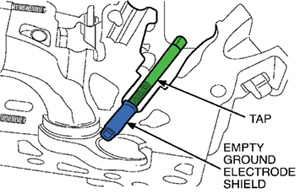
Mode 1: The ground electrode shield is left behind as an empty shell (Figure 1).
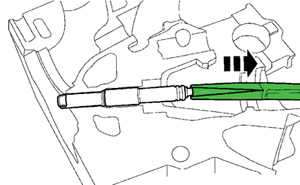
Mode 2: The porcelain center and ground electrode shield is left behind and only the upper jamb nut comes out. In this case, soaking with AeroKroil (or equivalent) spray lubricant is required and long-reach nose pliers should be used to grasp and remove the porcelain center from the ground electrode shield (Figure 2).
Once there is only an empty ground electrode shield left in the cylinder head, perform the following steps to remove the shield using Rotunda Special Service Tool 303-1203.
Note: This tool is designed to only work with an empty ground electrode shield. If the spark plug came apart in Mode 2, the porcelain center must be removed prior to following these steps.
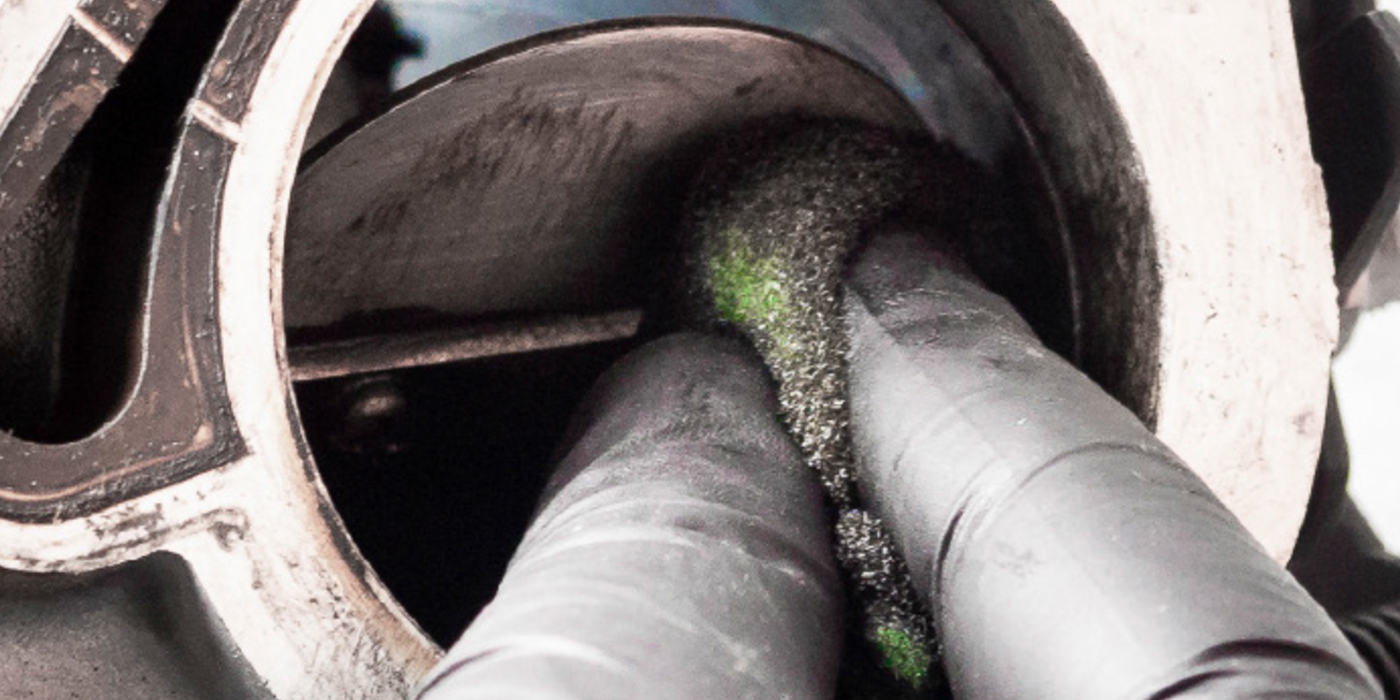
1. The combustion chamber must be protected from contamination during the extraction process by using a modified vacuum cap as a stopper-type plug. This is because the remaining ground electrode shield will be thread-tapped, so the cap is needed to prevent thread chips from falling into the cylinder bore. Cut a vacuum cap to a 3/8˝ (10 mm) length for each ground electrode shield that needs to be removed.
2. Install the modified cap with a long drill bit or suitable wire, sized for the internal diameter of the cap. The rubber cap should bottom-out on the electrode strap of the ground electrode shield once its installed.
3. Thread-tap the ground electrode shield using a 9.0 x 1.0 mm “plug” tap.
A. Coat the end of the tap with general-purpose grease.
B. Turn the tap about three to four turns into the ground electrode shield once the tap begins to cut. As the shield is tapped, for every half turn, the tap should be backed up 1/8 turn to “break chips” and prevent any cut material from coiling-up and laying in the spark plug well. All of the thread chips will embed in the grease pack or drop inside the vacuum cap when following this procedure.
A suitably sized tap wrench of about 7-9” in handle length will aid in reaching down into the well. If not available, use an 8-point socket with a ratchet and drive extension. Keep the shank aligned with the axis of the spark plug bore cavity to prevent possible thread bore damage. Be careful not to damage any spark plug threads on the way in.
Caution: Do not attempt to remove the ground electrode shield with the tap and wrench. The tap may break if this is attempted.
C. Carefully back out the tap while maintaining the residual grease coat on the tap that contains some chips. Take care not to touch the sides of the spark plug well bore during removal.
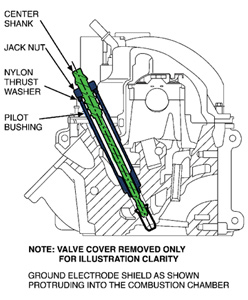
4. Once the ground electrode shield is tapped, thread Rotunda Special Service Tool 303-1203 into the ground electrode shield to extract it from the spark plug well and encapsulate any remaining chips from falling into the combustion chamber (Figure 3).
A. Install the stepped end of the tool pilot bushing into the spark plug well ensuring it bottoms out.
B. Screw the center shank into the ground electrode shield. Do not over tighten the shank, to prevent thread stripping.
C. Install the nylon washer and jack nut until finger tight.
D. Turn the jack nut with a socket and 3/8” drive ratchet until the ground electrode is freed from the cavity and withdraw the tool assembly. Several turns of the nut are required. Upon removal, any remaining chips that were not caught earlier by the tap grease will be captured by the rubber plug sitting at the bottom of the ground electrode shield.
Note: Once the spark plugs have all been removed, new plugs should be installed using a film coating of Motorcraft anti-seize lubricant (x l-2) (or equivalent) on the ground electrode shield. Do not coat the electrode strap or the plug will misfire. New plugs should be installed with no lubricant on the threads and torqued to specification, 25 lb.-ft. (34 Nm).
Written by ALLDATA Technical Editor Eric Seifert, an ASE-certified Master Technician and Engine Machinist, with 20 years of independent shop and parts store experience.

