CC:
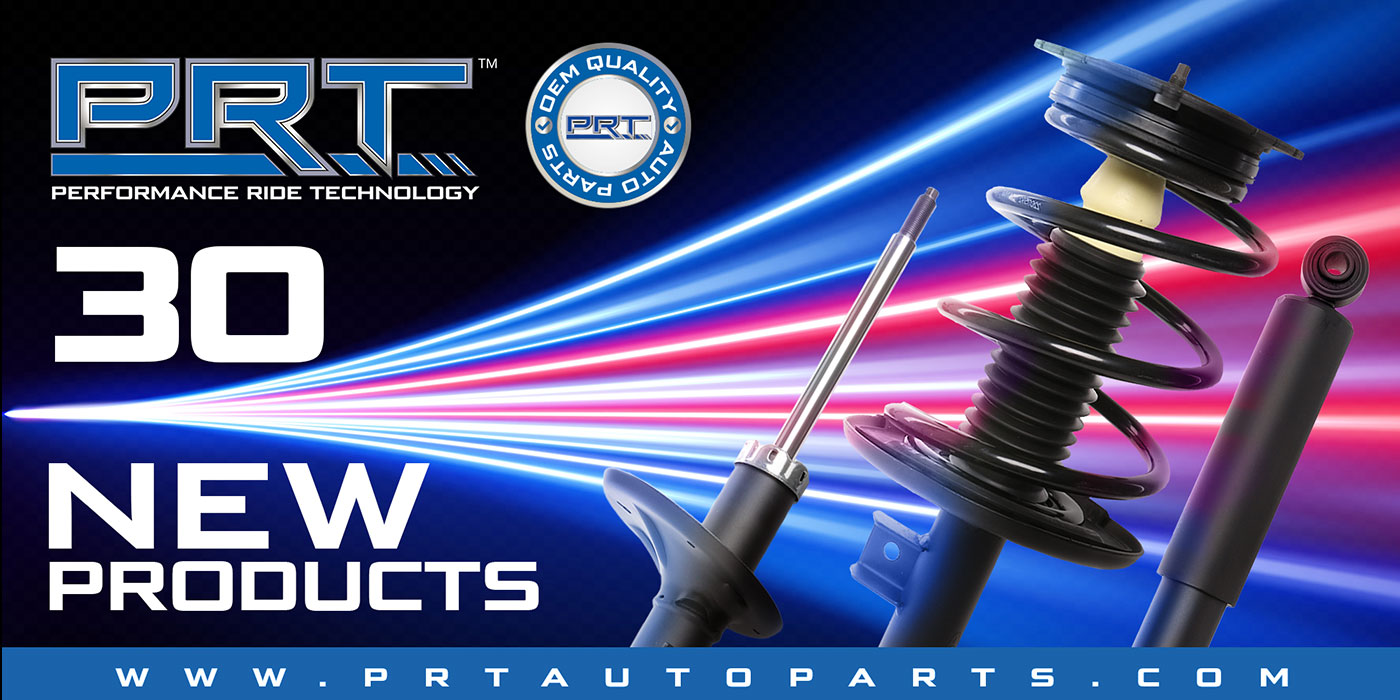
PRT the first to market choice for complete strut assemblies for one of the best selling SUVs on the national scene, the 2019 to 2022 Honda CR-V.
The CR-V is one of the best selling vehicles in the United States. The complete strut assemblies apply to the front right and front left positions and fit the EX, EXL LX and touring trim levels. This video covers installation procedures on 2019 models.
First, remove the bolt that secures the brake line to strut Next, unfastened the bolt that holds the wheel speed sensor to the knuckle. Detached the wheel speed sensor harness from the strut, move the sensor and harness out of the way. Remove the caliper bracket bolts and hang the caliper bracket off to the side. Mark the rotor and stud so the rotor is indexed to the flange. Remove retaining screw. Disconnect the upper stabilizer link from the strut. Remove the axle nut, a new nut should be used during installation. You might need to force the axle from the wheel hub, do not hammer the axle out. Extract the cotter pin from the outer tie rod stud and remove the nut. Unfastened the pinch bolt that holds the strut on the knuckle. Remove the three nuts that secure the ball joint to the lower control arm. Pull the control arm down. Under the hood unfasten the three nuts that hold the upper strut mount to the body. You can now remove the old strut. On the bench, separate the old strut from the knuckle. Remove the wheel speed sensor bracket from the old strut.
The PRT unit matches the original unit for fit form and function. The new unit spring matches the original not only for the application, but drivetrain and trim level. This ensures the ride height is the same as the original. Insert the new strut into the knuckle and tighten the pinch bolt to 69 foot pounds. Maneuver the strut into the wheel well then attach the upper strut mount bolts. Tighten the bolts to 55 foot pounds. Slide the axle into the wheel bearing hub unit, pull the lower control arm down and tighten the studs into the holes. Tighten the nuts to 47 foot pounds. Install the outer tie rod onto the knuckle. Tighten the nut to 40 foot pounds and install a new cotter pin. Insert the lower stabilizer bar link into the tab on the strut. Tighten the nut to 47 foot pounds. Install the brake rotor and secure with a screw. Reinstall the brake caliper, tighten to 100 foot pounds. Using a new axle nut, tighten the nut to 242 foot pounds. Remember to stake the nut.
Next, affix the break hose bracket and tighten to 22 foot pounds. Insert the wheel speed sensor onto the knuckle. Tighten the bolt to only seven foot pounds. Install the wheel and torque to 80 foot pounds. Performance alignment on the vehicle.
PRT or performance ride technology shares its heritage with one of the largest manufacturers of shocks, struts and complete strut assemblies in the world. PRT products are produced and tested under the strictest OE quality processes required by leading automakers in five modern and fully automated plants using the latest technology available. With more than 27 years of expertise in ride control and suspension product manufacturing, conducting business, and more than 67 countries worldwide with a strong presence in OE and OES developments, PRT is a leading presence in the global aftermarket business. Quality, complete coverage, advanced features and built in profit potential for customers are synonymous with PRT. Performance ride technology is in our DNA.
This video is sponsored by PRT.


