The one constant in automotive history for any manufacturer has been reading the market, building a model line that fills the primary need and developing that vehicle to improve it. Toyota has conquered that challenge. There are many reasons for Toyota’s success and its ability to provide reliable and safe transportation to every corner of the world. The main reason is that Toyota designs and manufactures models that fill the needs in particular customer niches and then provides a build quality that is second to none.
One of the most popular models in the Toyota line in the U.S. for the last 25 years has been the Camry. With redesigns at five-year intervals, the Camry is now in its 6th generation. Each redesign has retained the reliability and build-quality of the previous version, while also keeping up with the latest technology. Sales for the U.S. market alone have been almost three million just since the 2000 model year.
For the independent repair shop, the production and sales numbers point to maintenance, repairs and good parts availability for years to come. I’m concentrating this article on the 3rd and 4th generation vehicles, produced from 1992 to 2002, mainly because we are seeing these cars at a phenomenal rate for major repairs and service, and refurbishing many as primary and second vehicles. Four-cylinder Toyotas especially are sought after for their good economy, comfort, ease of operation and adequate performance. Used car values for these cars have remained high and there is a good choice of features and trim levels from which to choose.
 COMMON REPAIRS
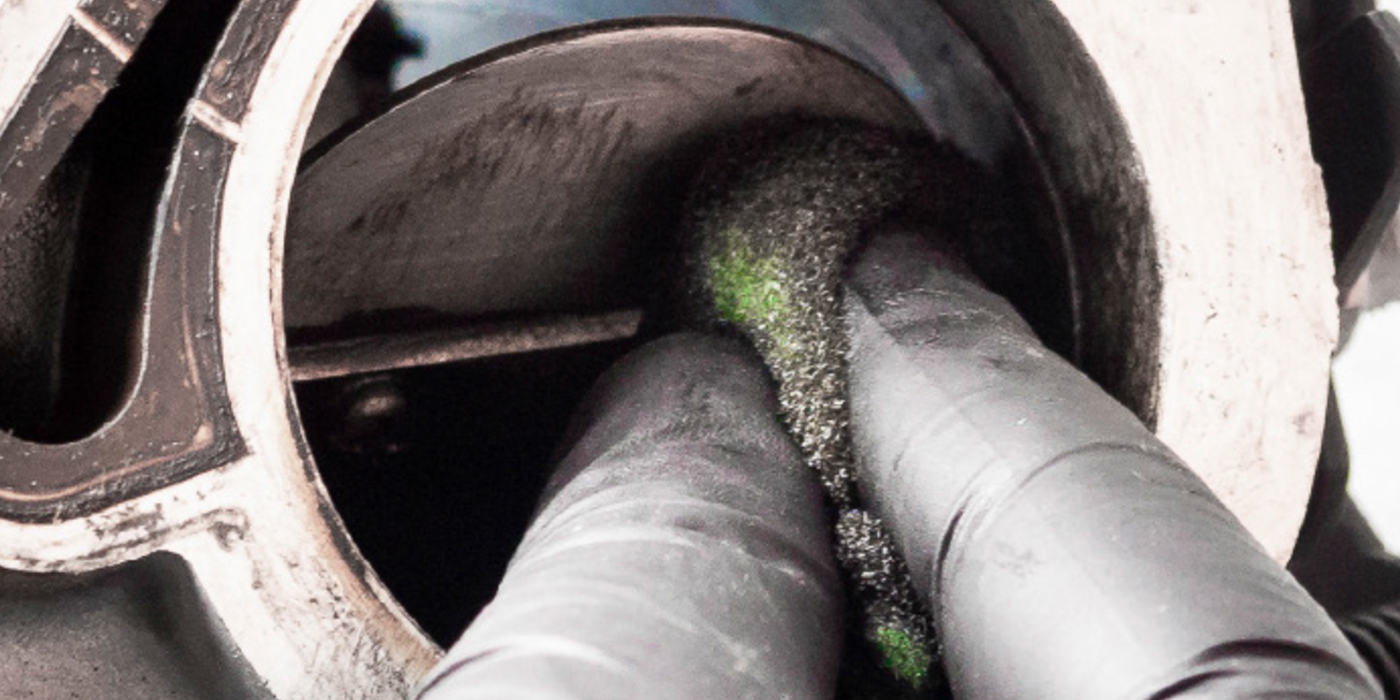
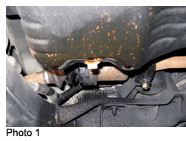
The most common reason that we see these cars, other than for routine maintenance, is because of oil leaks (see Photo 1). Though not a common Toyota affliction, there are some common areas where leaks can develop. We’ve also seen a huge number of these cars that reach 100,000 miles in less than three or four years, and cars with more than 200,000 miles come in on a regular basis. With a large portion of our population in the Northwest leaning toward being “green,” even a small drip becomes a prime concern to many people. On a rain-soaked Wal-Mart parking lot, one drip becomes a river of multi-colored concern.
Other problems are noises and “slop” in the drivetrain and vibration. Powerplant movement is especially noticeable in four-cylinder cars. There are some common areas to look for when addressing these noises and movement. If not repaired, excess drivetrain movement on any vehicle can lead to many other failures.
 THE SOURCE OF LEAKS
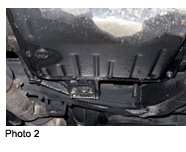
Traditionally one of the more challenging parts of auto repair, leak detection has come a long way. There are so many products, tools and procedures today that claim to help locate and pinpoint leaks that you’d think it would be easy. The reality is that finding the actual source of a fluid leak is a lot like a C.S.I. plot. Where the drip falls off the chassis is usually not where it originated (see Photo 2). Analyzing the type of fluid can even be part of the challenge. Once the fluid leaves a hose or housing, it can collect color and properties from every surface it contacts.
Leak dye technology is great when the leak is small and not particularly dispersed from the source. Once the dye has covered the entire bottom of the engine, or is present at the rear bumper, it can only add complexity to the search. Leak dye is especially helpful when the type of fluid is easily determined from the color or condition, and the stream is still small enough to clean the suspect area and then trace it with the detection light after a short trip.
On especially large or hidden leaks, we’ve had good success with using smoke to locate the source. This is also a good method to test the sealing of a freshly rebuilt engine for potential leaks, before complete assembly makes repair much more difficult. This can be done easily with smoke pumped into the PCV system grommet at the valve cover and waiting for any escaping smoke. We most often use this method after a timing belt and seal replacement, where there have been serious leaks that have obscured the actual source. I’ll cover that later.
Obviously, the most effective, but often most difficult, process is to completely clean the engine, transmission and accessories, and start the search from a fresh, clean and dry platform. That’s not always possible, however, especially in areas like ours where steam cleaning is frowned upon and most other processes are spotty at best.
I usually try to get as close as I can to the suspected source, clean the surrounding area with brake and parts cleaner, blow it off with air until dry and then do a test drive. Using a bright inspection light, the source will usually be obvious or, if not, a new larger area can be cleaned and the detective work continued. With care, the car can be run on the rack during the inspection process, particularly when the leak is big enough that even a short test drive would make pinpointing a source difficult.
 FROM THE TOP
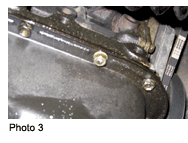
We see so many Toyotas that have been previously repaired, or attempted to be repaired, for oil leaks that common sense must not have been used on a regular basis. We often get them after another shop has diagnosed and repaired a leak, only to have the car continue to leave its “mark” everywhere it goes. It seems that the most common leak to repair is the oil pan gasket (see Photo 3) when, in reality, the formed-in-place seal on the oil pan seldom leaks. The first evidence that the diagnosis was wrong should be when the block is damp above the pan seal area. Only in a very windy environment would oil ever leak up!
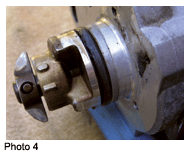 Probably the most common leak areas on the four-cylinder Camry engine is the valve cover, often because the hold-down nuts (large retainers with washers on the spark plug tubes) have become loose. Since most of these cars get tuned only every 60,000 miles or more, tightening these retainers is a good idea any time the plug wires are removed. The other source of leakage at the cylinder head is the O-ring seal for the distributor housing (see Photo 4), or the blind plug that took the distributor’s place on DIS-equipped engines.
Either of these leaks will cause enough oil to flow down the back of the engine or along the parting line between the engine and transmission to collect at the pan gasket surface. Bear in mind that a plugged PCV system can significantly increase the amount of oil that leaks from either of these sources. This can also include sludge formation that restricts flow through the PCV system. The leak from the distributor seal is very often confused with a leak at the rear main seal, which, again, is a design that very seldom fails. In doing this repair, if there is any oil inside the distributor housing, the seal won’t stop the leak, and a replacement distributor will be needed.
 A GUSHER
I won’t cover a timing belt replacement in this article, partly due to space limitations, but also because except for restrictive clearance, this job is pretty straightforward and can be done by any competent mechanic. No “special” tools are needed and the markings for timing are easy to see and line up.
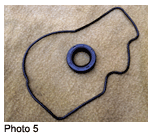
What I will cover is an often-overlooked source of a substantial oil leak — the oil pump. Driven by the timing belt, the oil pump is above and just behind the crankshaft. It’s mounted to the inner front engine cover and has seals between the pump housing and cover, and also a seal on the shaft (see Photo 5). Very often, this leak is mistaken for the crankshaft seal or oil running down from the camshaft seal.
Pinpointing these leaks can be a problem if the leak has been active for any amount of time, because there will be oil everywhere inside the belt covers. The amount of oil should be a clue to the source, as this is about the only “pressurized” oil source on the front of the engine. This is an excellent time to use smoke to pinpoint the source of the leak. During a timing belt replacement, if there is even a hint of a leak, this would be the time to replace both seals.
Camshaft and crankshaft seals can cause some leakage and, over time, can cause a real mess. Of course, any leak source should be eliminated to keep oil from deteriorating the timing belt. Both seals are replaced easily with standard seal replacement techniques. As with any other seal replacement, making sure that the seal lips and tension spring stay in their proper positions is most important. Be sure to oil the seal lips during installation to prevent them from “rolling-over.” Special seal installers are available from several manufacturers to help get the seals in straight and secure.
 ROCK AND ROLL
We hear a lot of complaints about hesitation and rough running, jerking and clunking noises from customers. Just about all of these descriptions can point to one common failure. A quick test drive often points to the obvious disconnect between the drivetrain and the wheels. On shifts from forward to reverse especially, engine movement can cause severe clunking and a feeling that there is a substantial hesitation. The hesitation is actually being caused by the lag time of the engine torque moving from one leverage point to the opposite one. As on all cars, the control of this movement is in the engine and transmission mounts.
 On the Camry, there are four mounting and locating components. With the transverse layout of the powerplant, the torque is controlled front to rear with engine mounts in front of and behind the engine. A torque reaction member on the right side and a locating mount at the transmission complete the support and control functions. Two of these components are most likely to fail. They handle the torque and location of the engine in relation to the engine carrier and body.
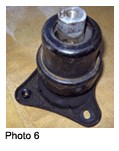
The front mount (see Photo 6), located between the radiator and the engine on the front member of the engine carrier, is a hydraulic, fluid-filled mount. It usually fails due to a loss of or deterioration of the fluid filling. The fact that this is a fluid-filled mount isn’t readily apparent until you have it in your hand and shake it. When it leaks, there will be a sticky, tar-like coating on the bottom of the mount and usually a trail on the support carrier. This can be kind of misleading, however, as the oil filter is mounted right above it and years of oil changes can cause the same type of residue. Changing this mount on four-cylinder cars is quite easy, a little less so due to space constraints on V6 cars.
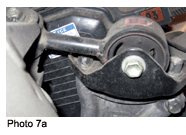
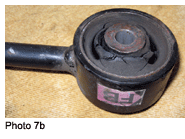 The other failure item is the torque strut or “dog bone” mounted between the right side strut tower and the engine block (see Photos 7a and 7b). Either the torque strap fails and eventually damages the front mount, or the other is true. It usually always takes both parts being replaced to get the engine back in its intended position and properly tied down. These parts are readily available from OEM or aftermarket sources.
The Camry has set a standard over the years that few others have challenged, and together with today’s Toyota vehicle lineup and those to follow, will provide many service opportunities down the road.

