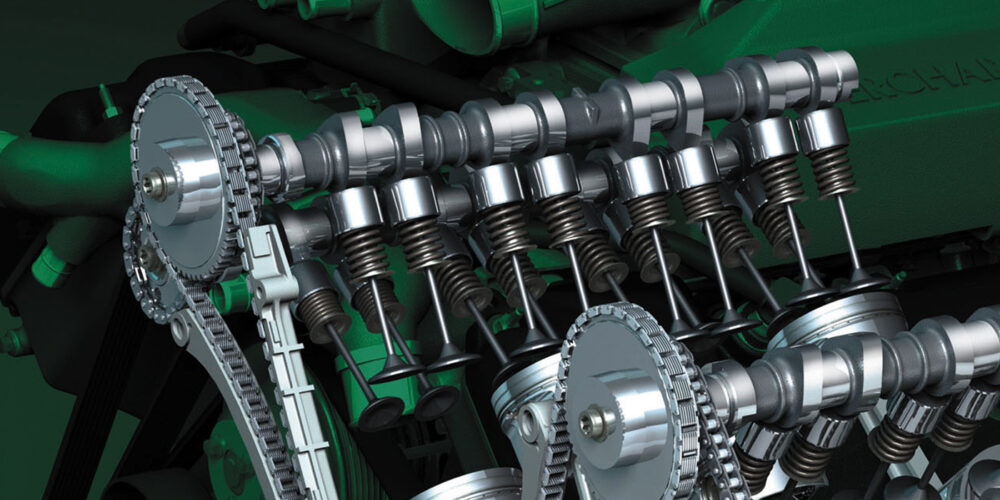
Early front-wheel-drive wheel bearing service was difficult and time intensive. The most common arrangement was a pair of tapered roller bearings similar to that of a rear-wheel-drive vehicle, but with a spacer between the bearings. Servicing this arrangement took time and often special tools.
Of course, an axle shaft went through the bearings and spacer. Although you may still see this setup on an occasional mid-1980s Nissan, for example, this dreaded arrangement has all but vanished in favor of the cartridge type ball bearing.
A major improvement for FWD hubs is the cartridge-type wheel bearing. This bearing actually incorporates two bearings in one housing. It’s also known as an “angular contact” bearing because the races contact the balls at an angle similar to a tapered roller bearing, not 90 degrees like a standard ball bearing.
The outer race is one piece and has grooves for two rows of caged balls – inner and outer. The inner races are separate from each side. The bearing assembly is packed with grease, and seals on each side complete the assembly. The outer race is a press fit into the knuckle, and the wheel hub is a press fit into the inner races of the bearing. This type of bearing is not serviceable.
These bearings are manufactured to extremely close tolerances, and therefore, when new, have no end play whatsoever. Do not attempt to clean and re-pack it. If an inner race comes out of the bearing, during installation for example, the bearing should be discarded. Proper torque on the hub nut (CV joint) is also important, as the torque has a direct effect on how tightly the inner races are “squeezed” together.
Cartridge-type bearings are still being used. The Ford Focus, for one, is still using the cartridge bearings.
Identifying a noisy wheel bearing can sometimes be tricky. Diagnosing the tapered roller bearings in the front of rear-wheel-drive vehicles is generally easy. Making a lane change to the right will apply a heavier load to the left wheel bearings, hence an increase in noise. But that theory doesn’t hold true with negative offset wheels and double row ball bearings used on FWD cars.
A stethoscope is your best friend here. Due to the mass of the tire, wheel and axle, turning the wheel by hand and feeling for roughness or noise will find only the most devastated wheel bearings. For diagnosing front-wheel-drive wheel bearings, use the following procedure.
With the vehicle on a frame contact lift, and the wheels still installed, put the car in gear and let it idle so that the wheels are turning at five to 10 miles per hour. Wheel bearing noise can be quickly identified by carefully placing a stethoscope on the steering knuckle in the vicinity of the wheel bearing. A smooth whirring sound is normal. A rough, growling sound is cause for concern.
While wheel bearing noise is usually not confused with the distinctive clicking and popping of a defective CV joint, it is sometimes mistaken for tire or transmission noise (or vise versa).
If no noise is heard on the steering knuckle, place the stethoscope on various areas of the transmission, particularly the area of the case that supports the differential carrier bearings. Noise here is obviously not a wheel bearing. Keep in mind that a wheel bearing failure, although not common until the 100,000-mile mark on the odometer, is still more likely than a transmission or differential noise.
Noisy tires, however, are often misdiagnosed as defective wheel bearings. If you can hear the noise while driving, but not with the stethoscope, reexamine the tires as a possible cause. Try moving the front tires to the rear to see if the noise moves with the tire location.
There are only two reasons that sealed bearings should need service – noise or excessive end play. Check the specs for the vehicle you’re working on, but anything more than .005″ end play is generally considered worn out. Keep the end play in mind, especially if you do state inspections. You may not feel this small amount of movement with your hands. Remember, we’re looking for a lateral movement here, straight in-and-out motion at the hub, not the exaggerated movement you might find at the tire or wheel by rocking the bottom and top of the tire in and out.
Correct inspection requires a dial indicator on the hub. If excessive end play is found, be sure to torque the hub (axle/ CV joint) nut to spec. A loose nut will affect wheel bearing end play. And please, correct torquing does not involve the use of an impact wrench.
A cartridge bearing replacement is not as simple as the old RWD setup. The traditional way is to continue by removing the knuckle from the vehicle. The hub must be pressed from the inner races and the outer race must be pressed from the knuckle. A shoulder in the knuckle retains the bearing on one end. A snap ring or bolted-on retainer plate keeps the bearing where it belongs on the other end.
There are two ways to accomplish this – on the car and off. Removing the knuckle from the car allows you to work in a less confining space. However, you’ll have the additional R&R time to remove the knuckle from the car. You’ll also have to perform an alignment afterwards on most vehicles.
If you do this job in a press, be sure to support the bearing, hub or knuckle so that you are never pressing against the balls. A bunch of dented balls won’t sound any better if the bearing is old or brand new. Therefore, we need to press on the outer race when installing the bearing in the knuckle, and support the inner race when pressing the hub.
While cartridge bearings are sealed, many manufacturers use additional dust seals or shields on the inner, outer or both sides of the bearing as primary protection from dirt and water. These seals should not be reused when replacing wheel bearings.
A much quicker way is to perform the job on the car. Special tools are available which will allow you to easily replace the bearings with the knuckle still on the car. One tool set will fit many popular vehicles. This saves time and, in most cases, avoids the necessity of an alignment.
If you are in a really cramped area, or the bearing or hub is extremely seized due to corrosion, you always have the option to pull the knuckle and press the bearing out. Whichever way you go, make sure there are no burs on the hub or knuckle before you install the new bearing.