With all the tasks we attend to in our everyday lives, it’s nice when something comes along to make at least one chore a little easier. In this case, our vehicle’s speed control makes long-term driving much easier. Without speed control, long road trips would be more tiring for the driver and, for those of us suffering from lead-foot syndrome, would probably become expensive from speeding tickets.
Here’s something interesting: Instead of becoming obsolete due to increasingly high traffic congestion, speed control system technology is becoming more advanced. Soon, vehicles will be equipped with adaptive speed control. For example, two innovative companies are developing forward-looking radar, which allows your automobile to follow the vehicle in front of it while continually adjusting speed to maintain a safe distance.
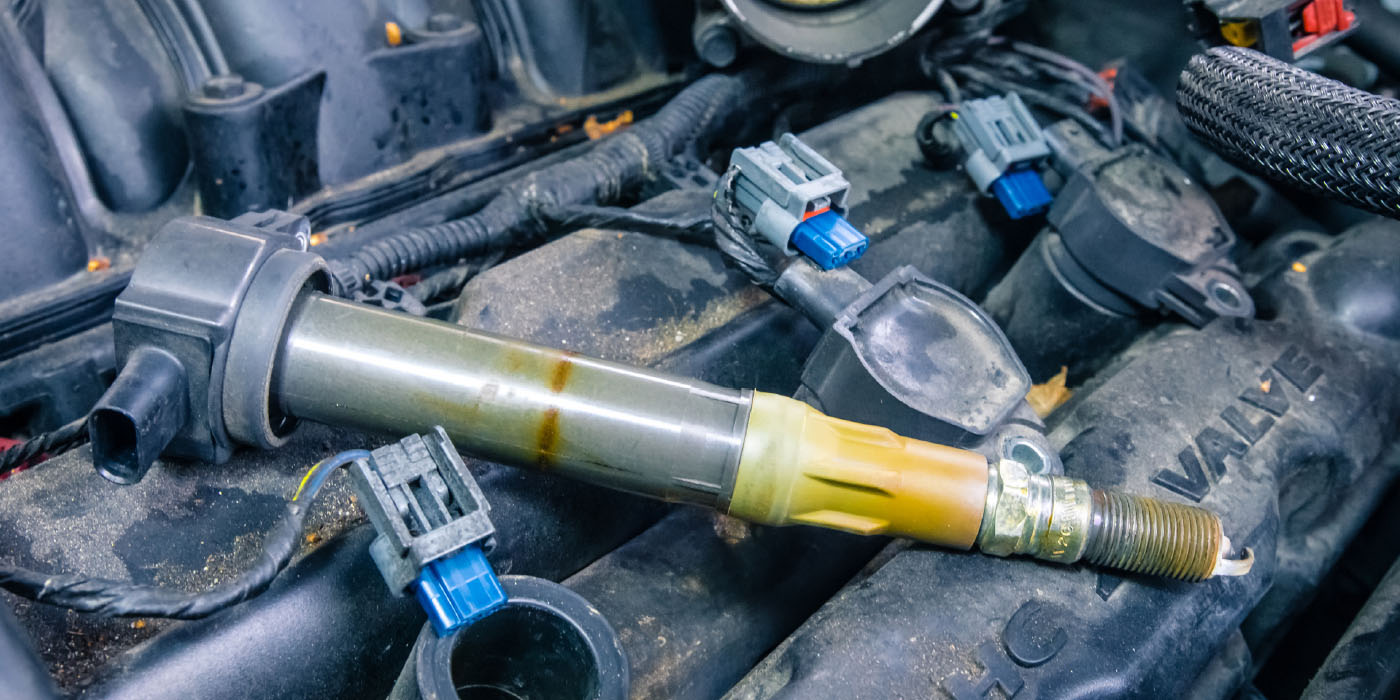
Anyway, no matter how great new automotive technology gets, something so basic as a vacuum leak can sideline any sophisticated system. In fact, a simple malfunctioning vacuum valve on some 1996 to 2000 Plymouth Voyagers can result in a loss of more than 5 mph while climbing a grade with the speed control engaged.
The actual cause of the problem could be a leaking check valve in the battery tray/vacuum reservoir assembly. The check valve traps vacuum in the reservoir to allow the speed control to work under low manifold vacuum conditions. The valve may become contaminated and cause it not to seal intermittently. This can cause a loss of vacuum to the servo while driving on a long uphill grade. The following details will outline how to test and repair this problem:
Diagnosis:
-
 Verify that the ignition switch and all the accessories are turned off.
 - Disconnect the negative and positive battery cables.
- Remove the battery hold down (Figure 1).
- Remove the battery from the vehicle.
- Disconnect the vacuum line that connects the vacuum reservoir with the speed control servo.
- Connect a hand-held vacuum pump to the small, top nipple on the vacuum reservoir, and apply 20 inches of vacuum.
• If the vacuum leaks down more than two inches in five minutes, perform the Repair Procedure. If not, look for other sources of vacuum leaks.
Repair Procedure:
- Remove the nut and two bolts from the battery tray, Figure 1.
- Remove the speed control servo-attaching bolt from the battery tray.
- Disconnect the vacuum lines from the battery tray vacuum reservoir.
- Remove the battery tray from the vehicle and discard it.
- Connect the vacuum lines to the revised battery tray vacuum reservoir (Mazda part number – 04716740AB).
- Attach the speed control servo to the battery tray. Tighten the bolt to 50 in. lbs. (6 Nm).
- Install the battery tray. Tighten the nut and two bolts to 140 in. lbs. (16 Nm).
- Install the battery. Tighten the hold-down clamp bolt to 180 in. lbs. (20 Nm).
- Connect the positive and negative battery terminals.
- Return the clock and the radio to their original settings.
The last step is a very important one. The first two things that customers notice when they get back into their car are the clock and radio settings. If those two basic things are taken care of, they’ll be more likely to appreciate your professional repair job. Isn’t it funny that no matter how sophisticated these systems and your knowledge of them gets, it’s still the basic things that make the biggest difference?
Written by ALLDATA Technical Editor, Rich Diegle. Rich is an Advanced Engine Performance Certified and ASE Master Technician with an Associate of Arts degree in automotive technology and 22 years of dealership and independent shop experience.
For additional information, visit www.alldata.com.