Tech Tip courtesy of Timken.
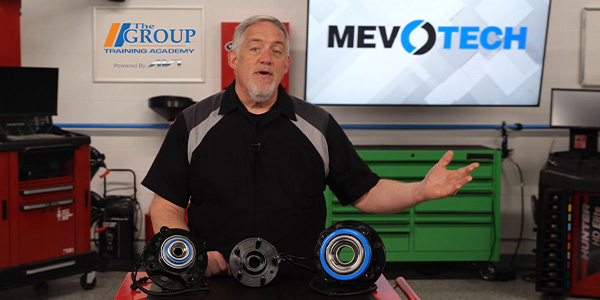
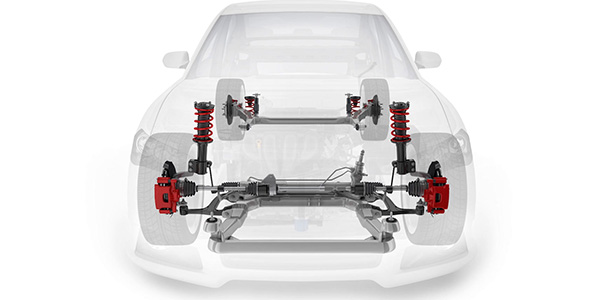
Proper wheel hub bearing removal and installation procedures can enhance the performance and life of hubs, axles, wheels, brakes and other components. Following are general recommendations for removing and installing wheel hub bearings.
Note: Tech Tip is not intended to substitute for the specific recommendations of your vehicle manufacturer. Depending on the application, type of wheel hub bearing and location, processes may vary. Please review the vehicle manufacturer’s recommendations before removing or installing components.
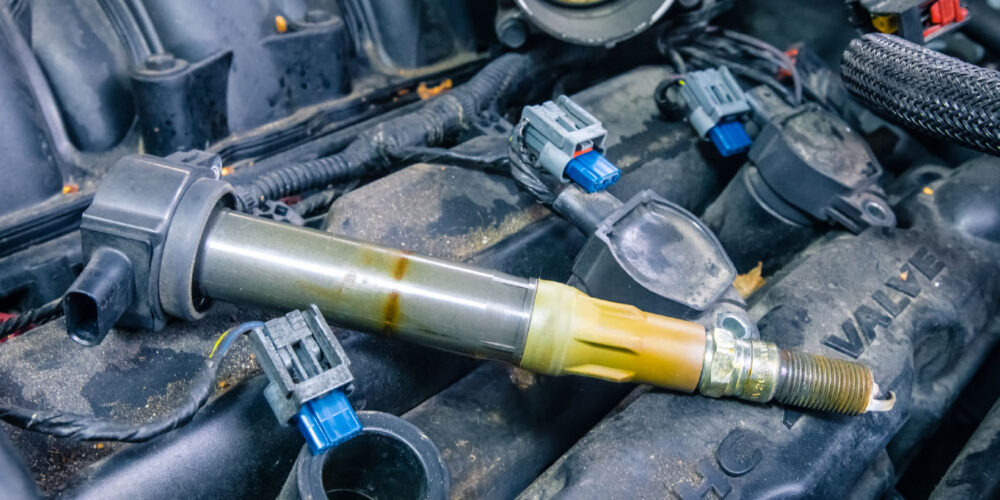
WHEEL HUB BEARING REMOVAL
 1) Raise vehicle and remove lug nuts and wheel.
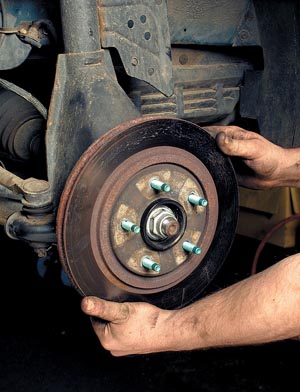
2) Remove the brake caliper and rotor. The brake caliper should be supported, not hanging freely.
3) Remove the axle nut using an axle nut socket. Use the vehicle manufacturer’s instructions regarding nut replacement.
4) If applicable, disconnect the ABS sensor wire from its mating connector point usually located in the wheel well or on the chassis frame. Also, disconnect the sensor wire from the clips that are used to properly position the sensor wire in the wheel well or frame. Before removing, make a note of the proper orientation and positioning of the sensor wire and bearing.
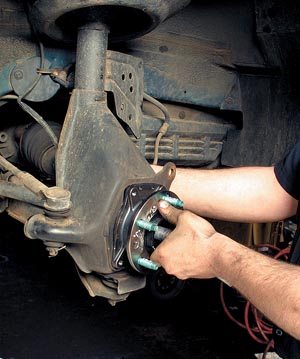
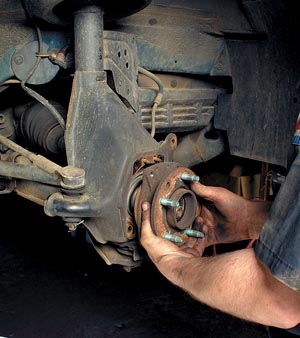 5) Remove the bolts that attach the bearing to the steering knuckle. A puller may be required to remove the hub assembly from the knuckle. Care should be taken not to damage the knuckle or axle shaft.
6) Clean steering knuckle of any debris or burrs.
WHEEL HUB BEARING INSTALLATION
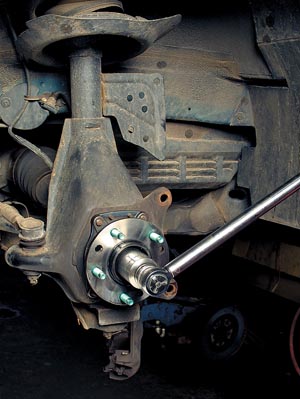
 1) First, insert the new wheel hub bearing into the steering knuckle. Check the positioning of the splines on the axle shaft as the wheel hub bearing is inserted into the knuckle. Carefully position the two components so the splines are not damaged during this process.
Note: Never force the wheel hub bearing on the shaft with a hammer.
2) Torque the knuckle-bearing mounting bolts to the vehicle manufacturer’s specifications using a torque wrench. An impact wrench is not recommended. Proper torque is required.
3) If applicable, connect the new ABS sensor that comes already attached to the new wheel hub bearing to its mating connection point and clips in the wheel well and frame area.
 4) Install the axle nut. Tighten the nut to the vehicle manufacturer’s torque recommendations using a torque wrench. An impact wrench is not recommended.
5) Replace the brake rotor and brake caliper. All components should be clean from debris and burrs.
 6) Replace the wheel and torque the lug nuts. Follow the vehicle manufacturer’s recommendations regarding torque specification and retorque requirements.
WARNING: Follow the equipment manufacturer’s installation instructions. Do not attempt to take apart the wheel hub bearing. Failure to follow installation instructions, guidelines and warnings can cause equipment failure, creating a risk of serious bodily harm.
For information on products offered by Timken, visit www.timkeninfo.com.