While the design and use of automotive fasteners may seem simple, proper installation actually involves many different factors. There are many nuances in the selection and application of fasteners that can make the difference between a well-built engine and a candidate for self-destruction.
The first thing to understand is that fasteners act much the same as a spring due to the physics of stretch and rebound. A stud or bolt must be stretched to produce clamping force. For example, a typical 3/8˝ connecting rod bolt will need to be stretched some .006˝ to provide 10,000 lbs. of force.
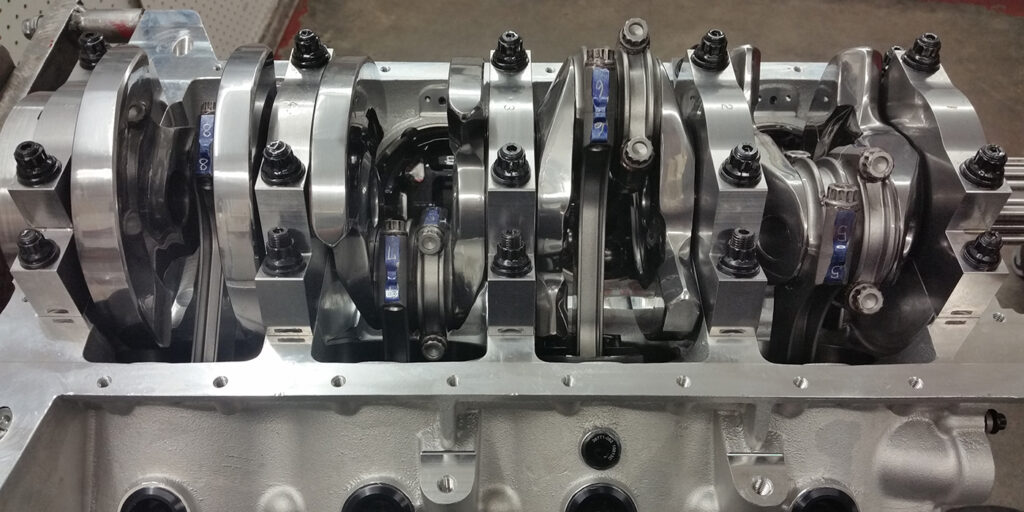
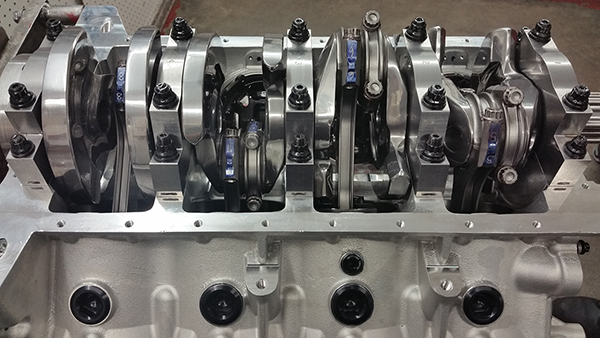
There is perhaps no more important component contained in the internal combustion engine than the connecting rod fastener. Regardless of whether a particular connecting rod uses a bolt/nut arrangement, or a capscrew configuration, the connecting rod fastener’s performance is critical. Understanding the details for proper installation is important for veteran engine builders and first-timers alike.
The connecting rod is designed to take the reciprocating motion of the piston’s travel in the bore and turn it into rotating motion at the crankshaft, turning combustion forces into propulsion forces. The fasteners, which hold the rod’s big end together, can make or break your high-performance engine. Therefore, installing connecting rod fasteners correctly is paramount to long engine life.
Each connecting rod fastener is tasked with maintaining its clamp load whether the connecting rod is at bottom dead center (BDC) or top dead center (TDC) in the cylinder bore. At TDC, the fastener’s difficult job is to prevent the connecting rod from separating at its big end and permitting the piston from crashing into the cylinder head. Checking fastener stretch is the best way to ensure connecting rod fasteners are installed correctly.
Applying the torque required to achieve the desired preload can be done in any of three methods; (1) using a torque wrench, (2) employing the “torque angle” method, and the most accurate method, (3) relying on a stretch gauge.
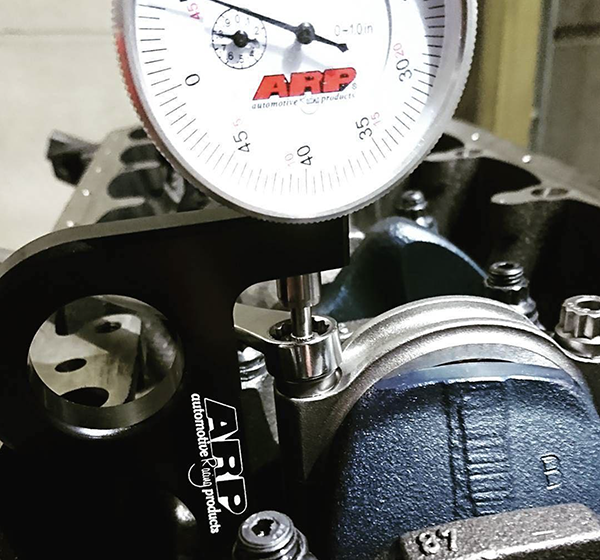
“The recommended method for accurately tightening rod bolts is to use the stretch method to properly preload the bolt,” says Michael Skeen of K1 Technologies. “This is the method recommended regardless of the engine building situation, rod material, or fastener material.”
Despite a stretch gauge being most accurate, torque wrenches continue to be the most widely used, so it’s important to test them regularly to ensure your wrench is accurate.
“We have long offered free torque wrench testing at NHRA events and discovered that a large number of racers were using inaccurate equipment,” says Bob Florine of ARP. “Some torque wrenches were off by as much as 30 percent. They are delicate instruments that must be handled properly and periodically checked for accuracy.”
Skeen agrees that accuracy is of key importance saying, “If the bolt is not stretched enough there will not be enough clamping force to keep the rod in place. This could lead to a spun bearing or a broken bolt. Alternatively, if the bolt is overstretched beyond the yield strength of the fastener, it is possible that the bolt could fail.”
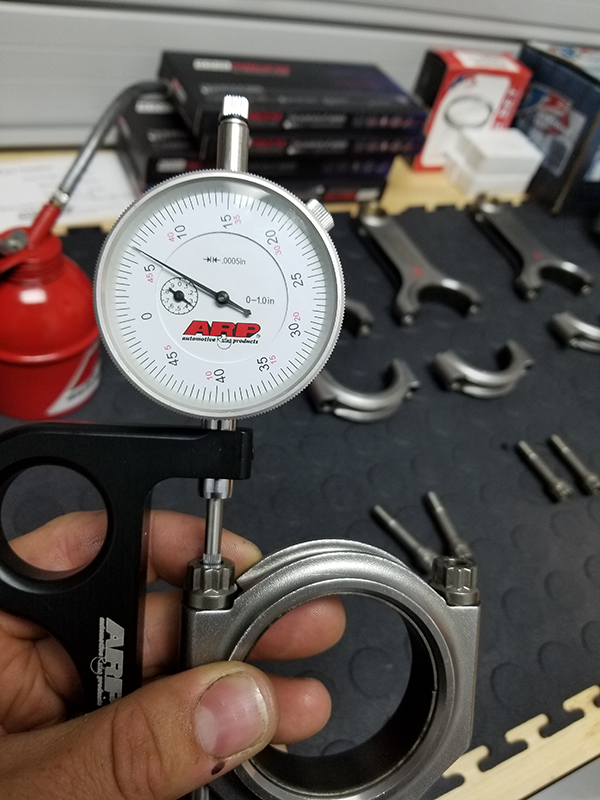
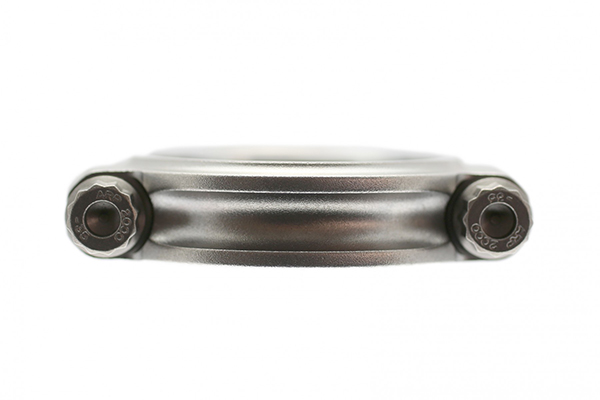
Prior to the installation of the connecting rod’s cap and fasteners, the first step is to mark down your measurements and note the fastener’s free length in a relaxed state. ARP 2000 fasteners have dimples on each end of the fastener so the gauge can be properly centered to measure length.
Before any torque is applied, set the stretch gauge’s ball ends into the dimples on the fastener. It will feel like the stretch gauge drops into place in the dimples. Make sure to adjust the outer ring on the dial gauge to ensure it is at zero on the gauge face. Each fastener will have a stretch specification, which should be provided with your connecting rod set.
Two critical things to note here, according to Skeen. “If you use a torque wrench, make sure it is accurate, and make sure you’re able to snug the fastener down in one single pull. If you stop partway through, it can provide inaccurate readings. It is also good to have a connecting rod vise to hold the rod stable during the stretch measurement process.”
Once you establish how much torque it takes to achieve the proper fastener stretch, you can determine the torque value it took to achieve that amount of stretch and duplicate that on the rest of the fasteners. If your torque wrench is not good, the values will be incorrect, and you run the risk of over-stretching the fastener, which will ruin it. If the bolt is stretched past its yield point, it’s permanently deformed, and you don’t want that.
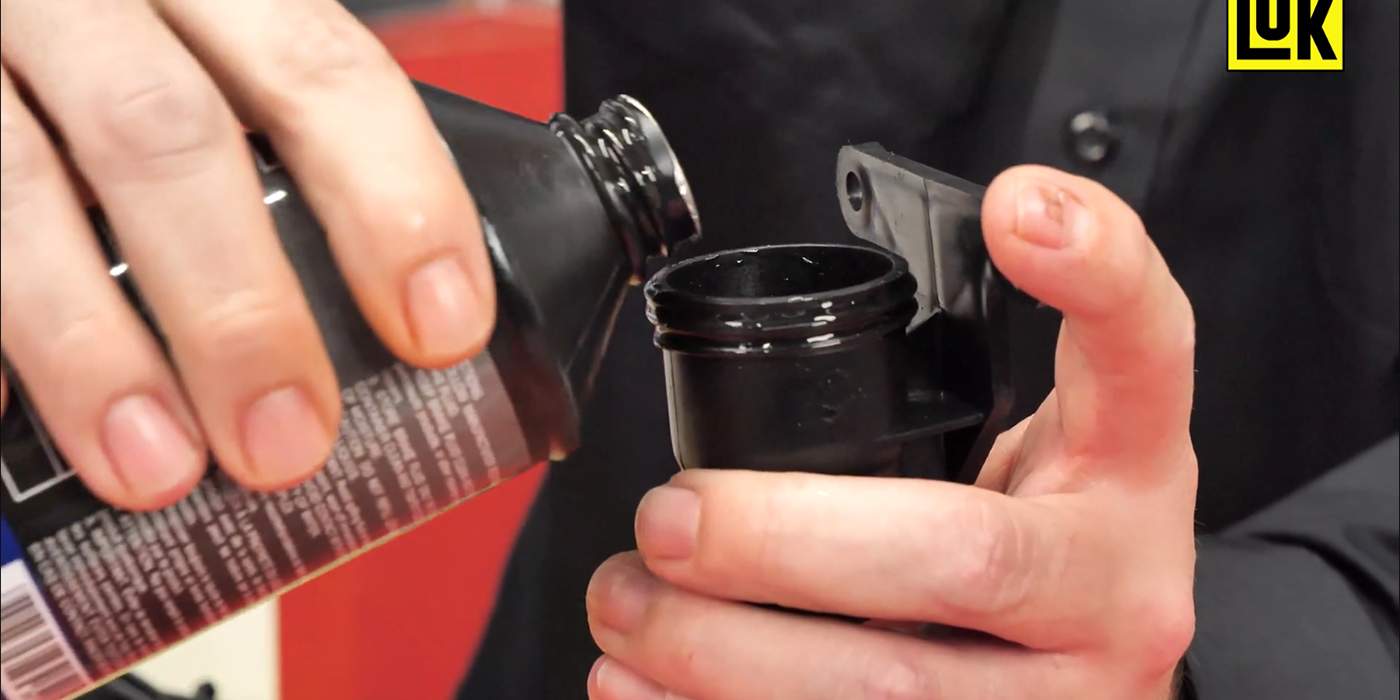
“Something to note is the use of lubricant can and will affect the stretch of the bolt as it reduces friction,” Skeen says. “Because of this, using the bolt stretch method is without a doubt the most accurate, because if you rely on torque values alone, you could get vastly different amounts of fastener stretch depending upon how much lubricant you apply to the underside of the fastener.”
By far, the most important factor in properly assembling an engine is the phenomenon known as “preload scatter.” You set your torque wrench to a predetermined level, apply torque incrementally and assume all is well when the wrench goes click. However, a great deal of the energy exerted in tightening the fastener merely overcomes friction from thread engagement, the underside of the bolt head or nut, and the fastener lubricant itself. Typically, the desired preload is not achieved. What’s more, the amount of inherent friction can vary from fastener to fastener, amplifying “preload scatter.”
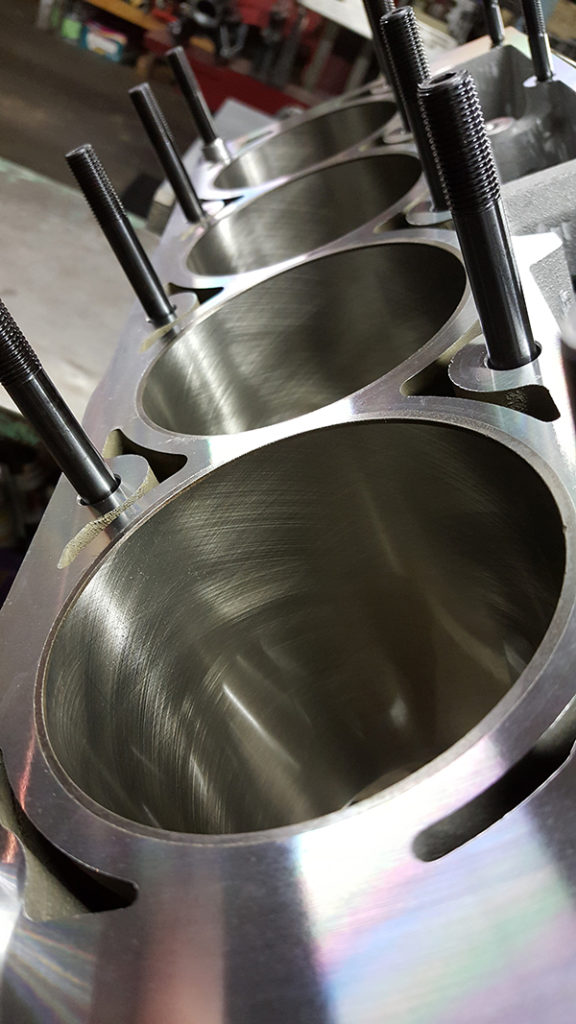
You can have significantly different preloads in adjacent fasteners, which in the case of head studs or bolts, can cause cylinder bore distortion, adversely affecting ring seal, and most importantly, can result in a blown head gasket due to improper preload or clamping load.
Most engines built since the advent of electronic fuel injection are factory assembled using TTY (Torque To Yield) fasteners and automated equipment. The fasteners are engineered to be yielded and typically preloaded to 95-120 percent of that yield. As they have been yielded and lost their resiliency, the factory TTY bolts should NEVER be re-used.
“Prior to assembling an engine, it is good practice to measure each rod bolt and make note of its length,” Florine says. “After the engine has been disassembled, the rod bolts should again be measured in their relaxed state. If any has permanently stretched .001˝ or more, it has been yielded and should not be used again. They should also be examined for any signs of galling, corrosion or deformation. These are also cause for replacement.”
It’s important to note that factory TTY fasteners are sufficient for coping with the factory build, but when additional strain is placed on an engine due to performance enhancements, the OEM fasteners are often not up to the task and can fail.
“ARP engineers its fasteners to exceed factory specification loads by 25 percent or greater while installed at 75 percent of their yield strength,” Florine says. “This increases the load-carrying capabilities and leaves enough margin to ensure re-use of the fastener.”
The question of bolts vs. studs is also often raised, and for the most part, it’s a slam-dunk in favor of studs. Studs are typically inserted “finger tight” in the block, and when torque is applied to the nut, it essentially pulls the stud from both ends delivering an even amount of force over the length of the stud. Using a bolt, which is literally twisted into the block while stretching it to the desired preload, there’s far less force exerted on the block threads – especially important when aluminum blocks are employed.
“In years past, there might have been some question about clearances in tight engine compartments, but with hex-broaching of studs there are no issues given the ease of installation and/or removal,” Florine says. “Studs provide the added benefit of accurately positioning gaskets and guiding the components into place. Centerless grinding of our studs after head-treat ensures perfect concentricity, which enables cylinder heads, caps, etc. to literally drop into place.”
Likewise, accessory studs can make it easier to deal with oil pan, valve cover and exhaust gaskets, and also assure proper component positioning. Polished stainless-steel studs (which won’t rust, chip or peel like chrome plated fasteners) come with a “nut starter nose” to facilitate installations in the tightest of quarters. They are also available in black oxide finished 8740 chrome moly.
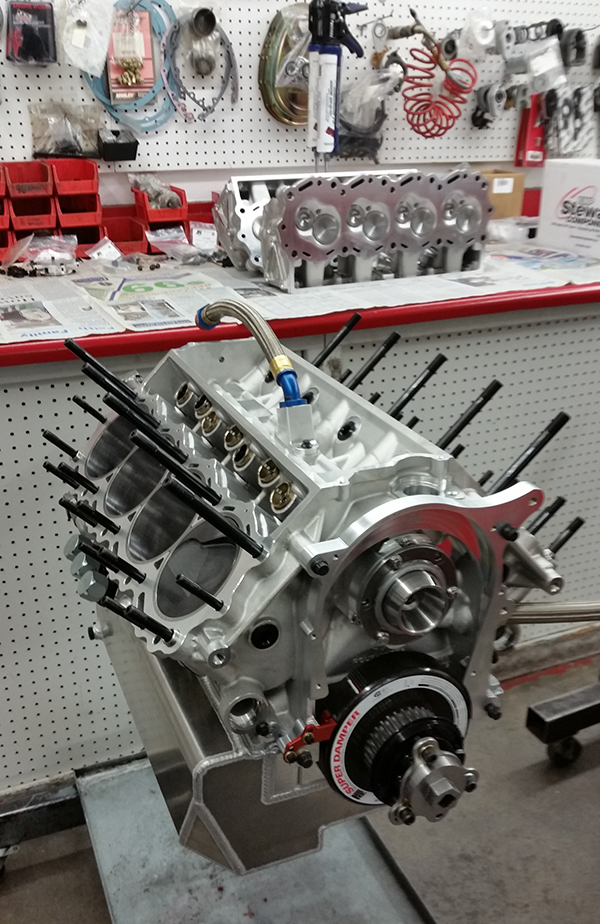
Though fasteners are often taken for granted, using quality, high-performance studs and bolts can provide engine builders with important insurance toward long-term reliability. By carefully and properly installing fasteners, your performance engine build is off to a great start. When it comes down to it, use of the proper, accurate tools can make all the difference.
This article originally appeared in Engine Builder Magazine.