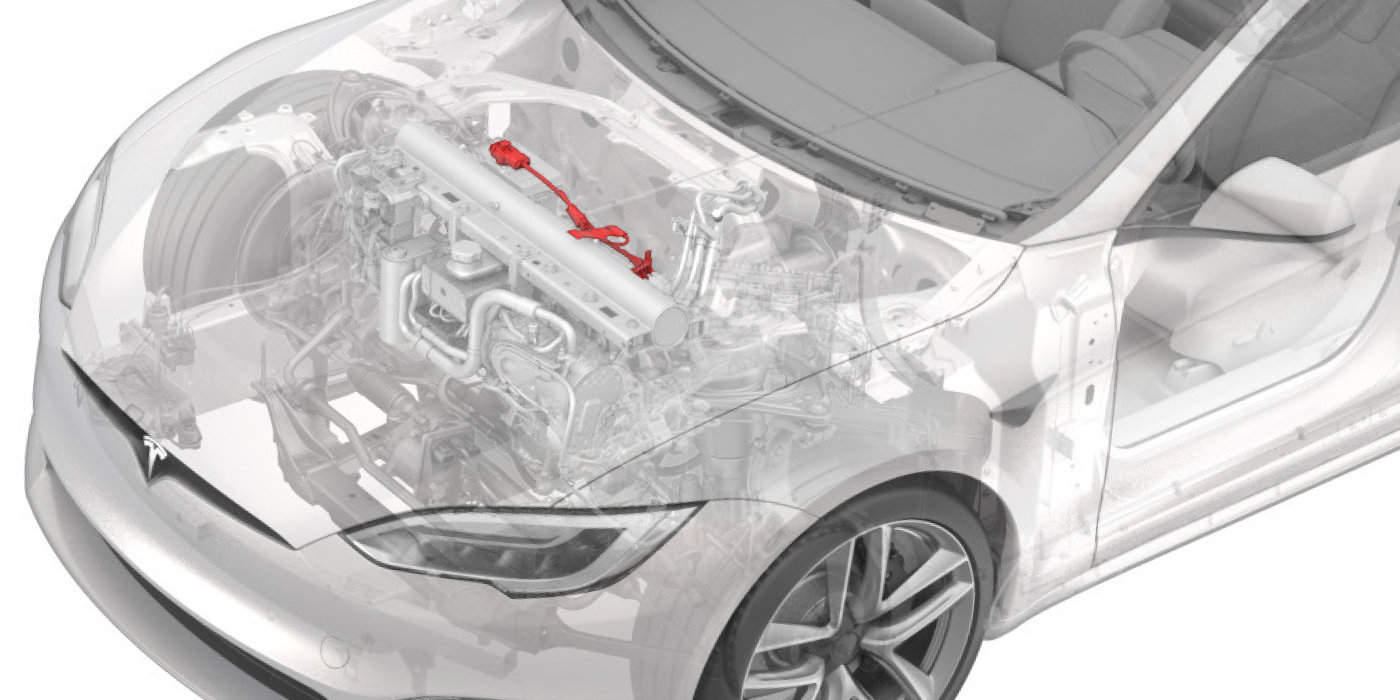
Some customers may comment on a knocking sound from the air conditioning compressor. This condition may be caused by an internal tolerance stack-up in the compressor.
Perform the following A/C system checks and correct any concerns that may be found. Only after these checks have been done and any concerns found are corrected should the A/C compressor be replaced.
- Verify the customer concern if possible. Note that some compressor noise is considered normal. It will vary with the different operating conditions of the A/C system and the vehicle.
- Refer to the "Diagnostic Information to Consider Before A/C Compressor Replacement" below. Use that information to diagnose any concerns that may cause the A/C compressor to be noisy. Correct any concerns that are found.
- Perform the A/C System Performance Test found in the service manual. Correct any concerns that are found. The A/C system charge weight and TXV (Thermostatic Expansion Valve) operation are critical to check in this step.
- If the A/C compressor is still noisy after any concerns found in the previous steps have been corrected, only then should it be replaced. Refer to the Compressor Replacement procedure in the service manual for instructions.
Diagnostic Information to Consider Before A/C Compressor Replacement
A recently completed analysis of A/C compressors that had been replaced for noise, vibration and insufficient cooling concerns has indicated a high number of “no trouble found” results. Further studies have shown that the root cause of the customer concerns that might lead to a compressor replacement was often a state of refrigerant charge issue or in another area or system of the vehicle. The A/C system refrigerant charge level, either high or low, has been found to be a major contributor to unnecessary compressor replacement. A refrigerant recycling/recharging tool that recovers and measures the weight of the A/C system refrigerant charge will help the technician make a more accurate diagnosis of a charge level concern prior to any component replacement.
A thorough visual inspection should always be performed before any tests or repairs are done. Doing so may find an obvious problem that will save time and eliminate the need for extensive diagnosis. Some additional items, as listed below, should be considered before a compressor is replaced for noise, vibration or insufficient cooling concerns.
• The compressor mounting bolts, brackets or braces may be loose or missing.
• The compressor drive belt may be frayed, loose or misaligned.
• The A/C refrigerant lines may be grounding out on body, chassis or engine components. This may allow noise and vibration to be transmitted into the passenger compartment.
• The air flow through the condenser may be insufficient.
– The space between the condenser and the radiator may be filled with leaves or debris.
– The cooling fans may be inoperative or not performing as designed.The installation of aftermarket accessories may alter or restrict the air flow through the condenser.
• Inspect for missing or mispositioned air deflectors, baffles, seals and shrouds.
• The compressor cycling switch may not be operating correctly. This may allow the evaporator core to freeze up or the compressor may not stay engaged long enough for the proper system pressure to develop.
• The air flow through the evaporator core may be restricted.
– The evaporator core may be covered with debris.
– The cowl air inlet leaf screen may be plugged.
• The A/C system may be overcharged or undercharged with refrigerant. The A/C system charge weight can be measured with a refrigerant recycling/recharging tool after a refrigerant recovery is done.
• The A/C system may have an improper amount or incorrect type of refrigerant oil. Only GM-approved refrigerant oils should be used.
• An A/C system sealer is not approved for use in GM vehicles.
• The vehicle’s refrigerant may be contaminated or contain an excessive amount of air. The vehicle’s A/C system may have been charged with an unapproved refrigerant. A refrigerant identifier should alert the technician to these conditions.
• The orifice tube or TXV may be restricted, plugged or inoperative.
• The capillary bulb on the TXV must be properly positioned so that the valve will provide proper refrigerant flow.
• The desiccant bag in the accumulator may have failed, allowing debris to circulate in the A/C system.
• The A/C system charge weight may have been changed. Components with an updated design may have been released. A check for service bulletins applicable to the vehicle being worked on should always be done.
• A check for DTCs in all the control modules on the vehicle should be done. Some trouble codes will disable compressor operation after they have set. They must be repaired and cleared before compressor operation is allowed.
• Verify that the engine is not operating with a low unstable idle, and that the engine is operating within the compressor engagement parameters (for example, the engine may be overheating or it may be too cold for compressor engagement).
• The diagnostic procedures in the HVAC section of the service manual should be performed as written to prevent the misdiagnosis of a customer concern. The HVAC Diagnostic System Check and the A/C System Performance Test are written for a specific model only. They are not generic charts. They follow a logical order with detailed instructions on how to perform each step.
When a thorough HVAC system diagnosis indicates that the compressor should be replaced, follow the procedure in the appropriate service manual. The oil balance instructions are an important part of the replacement procedure. The correct refrigerant oil, as listed in the service manual, must be used in the new compressor. It is recommended that a suction screen filter be installed on Delphi Harrison compressors that do not already have one. The filter is not approved for use on compressors from other manufacturers. If the compressor has had a catastrophic internal failure, an inline filter may be required to capture the large amount of debris that may be found to be circulating in the A/C system. In addition, the A/C system may require flushing.
The addition of fluorescent refrigerant leak dye to the A/C system is recommended if the vehicle does not have it installed already. Finally, a leak check of the entire A/C system should be performed before the vehicle is returned to the customer.
Technical service bulletin courtesy of Mitchell 1.
For more information on Mitchell 1 products and services, automotive professionals can log onto the company’s website at www.mitchell1.com.

