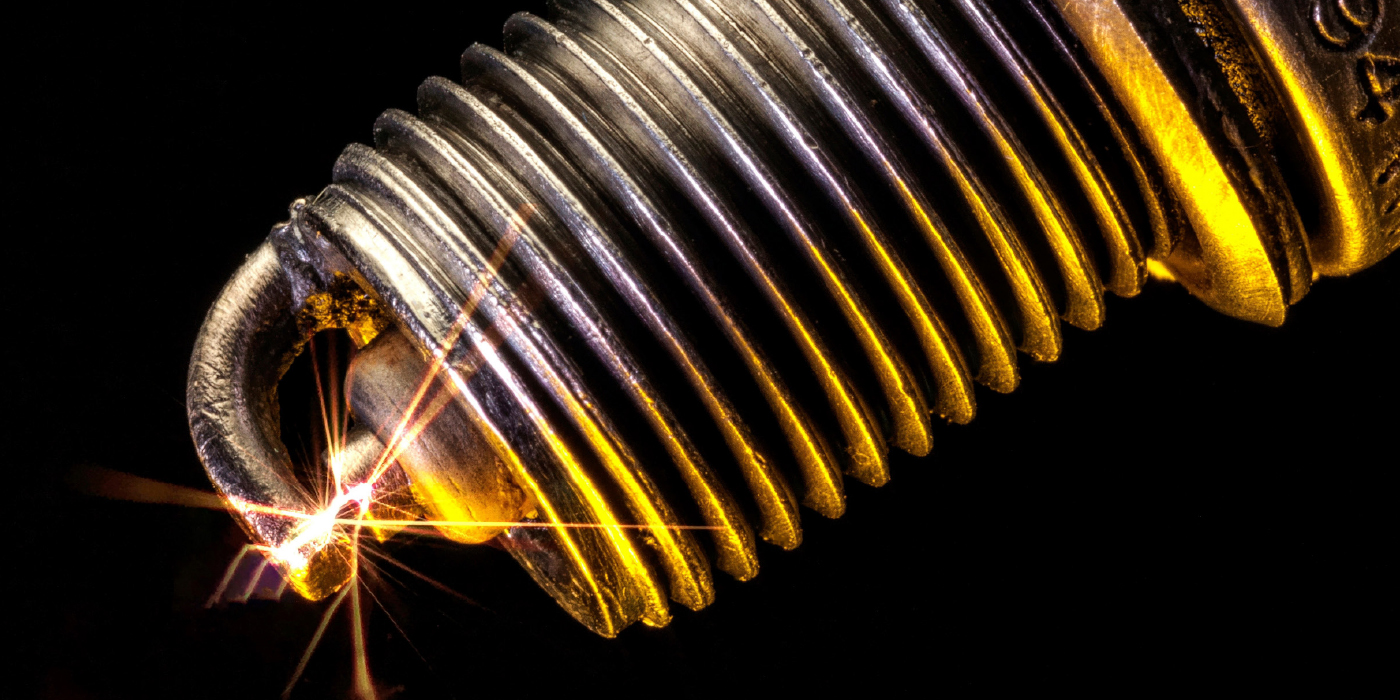
Every time a spark plug fires, the spark burns a few molecules of metal off the plug’s electrodes. Over time, this eats away the electrodes and rounds off their sharp edges. The erosion gradually increases the gap between the electrodes, which, in turn, increases the firing voltage required to generate a spark. Eventually, the point is reached where the ignition system fails to produce enough voltage and the plug misfires.
Misfires are bad news because they cause a noticeable loss of power and fuel economy, and a less obvious but very measurable increase in unburned hydrocarbon (HC) emissions. The catalytic converter can take care of the extra HC up to a point, but a steady misfire can make the converter overheat. If the converter gets too hot, it may suffer irreparable damage, resulting in a power-robbing exhaust restriction or a loss of efficiency (which will set a P0420 catalyst code).
SOME DISASSEMBLY REQUIRED
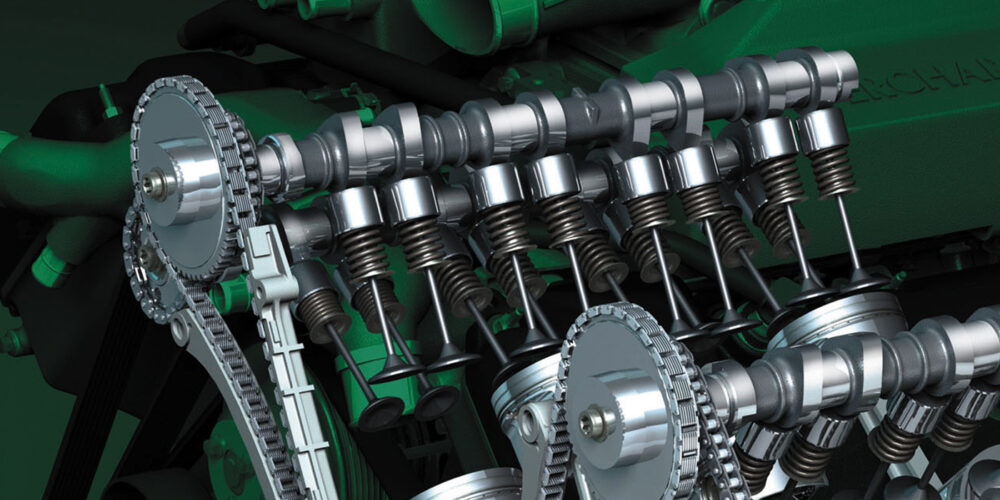
Modern engines tend to have the spark plugs placed as close to the combustion chamber as possible. With twin cams, long runner intakes and other obstacles, access to the spark plugs can be difficult. Take your time and make sure you bill the correct hourly rate.

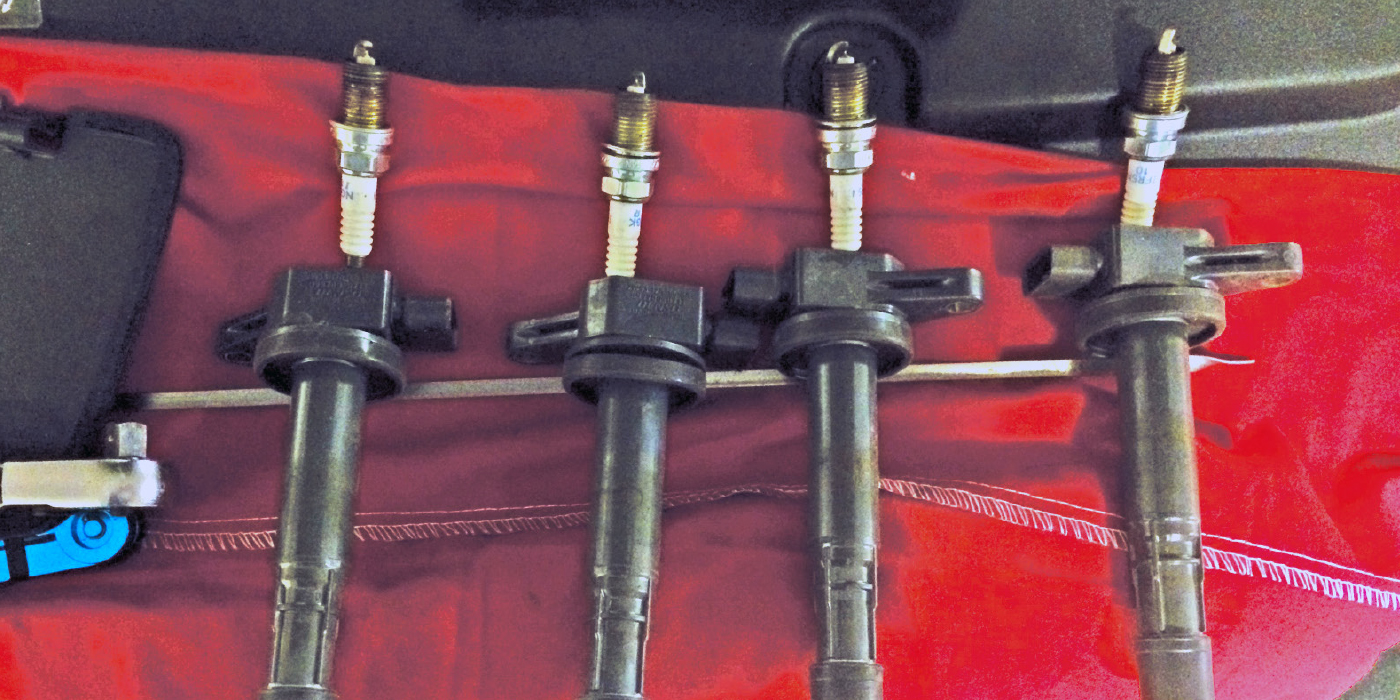
INSPECT THE COILS
Coils shouldn’t have any visible damage, and the boot should be fully seated. While assembling coils to the engine, disregard the coil if you notice any visible damage like a cracked coil housing, broken anti-rotational tabs or a broken connector. Any damaged part could lead to a premature failure, and a poorly seated boot could lead to engine misfire.
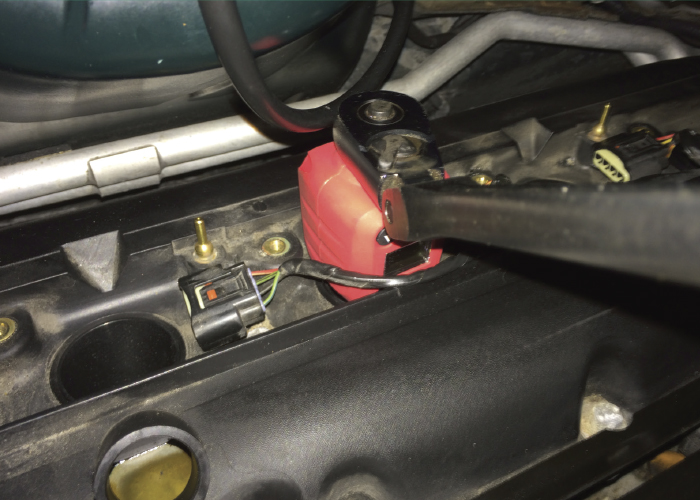
THRU-BOLTS
Always apply the specified torque to the specified mounting thru-bolt. Loose thru-bolts could lead to failures under vibration. Overtightened thru-bolts could also lead to a cracked coil mounting ear and/or premature thru-bolt failure.
TORQUE AND ANTI-SEIZE
Always tighten plugs to OEM specifications. Overtightening plugs in aluminum heads will usually damage the threads in the cylinder head. Do not use anti-seize on plated plugs being installed in an aluminum head because anti-seize can change torque values. If the OEM doesn’t use anti-seize, you shouldn’t either.
Be careful to avoid creating a path of least resistance by inadvertently leaving a greasy fingerprint or chemical residue on the spark plug insulator.
GAPPING
For modern fine-wire spark plugs, don’t measure the gap because you could damage the center electrode. However, it’s still a good idea to inspect the new spark plugs for damage or defects. The majority of these plugs come pre-gapped from the factory.
On these types of plugs, bending the ground electrode(s) can alter the geometry and thermal performance of the electrodes to the point of causing a misfire.
On older applications, gapping may still be required. Gapping specifications can be found in the service information or emissions tag under the hood. Gapping specifications can also be found in electronic and paper catalogs.
Measuring the gap requires the right tools. A coil-style gap gauge will work for copper-core plugs. For fine-wire or precious metal plugs, a wire-type gauge is recommended.
If it is necessary to widen the gap, do so with a tool that pulls back only on the ground electrode without touching the center electrode or the porcelain. To close the gap on a plug, gently tap the plug, electrode first, on a hard surface.
With spark plugs lasting 100,000 miles, don’t skimp on the plug or the hours involved replacing them. Using less expensive plugs can lead to impaired-performance sooner.