Some customers with a 1998-2003 Sienna may complain of a low battery or no-start condition after running the engine at idle or low RPM for extended periods of time with several accessories on during high-temperature conditions.
A new alternator has been developed to improve charging performance at idle.
Note: This new alternator will not prevent dead batteries or no-start conditions on vehicles that are stored for long periods of time or on vehicles that are driven very infrequently.
Repair Procedure:
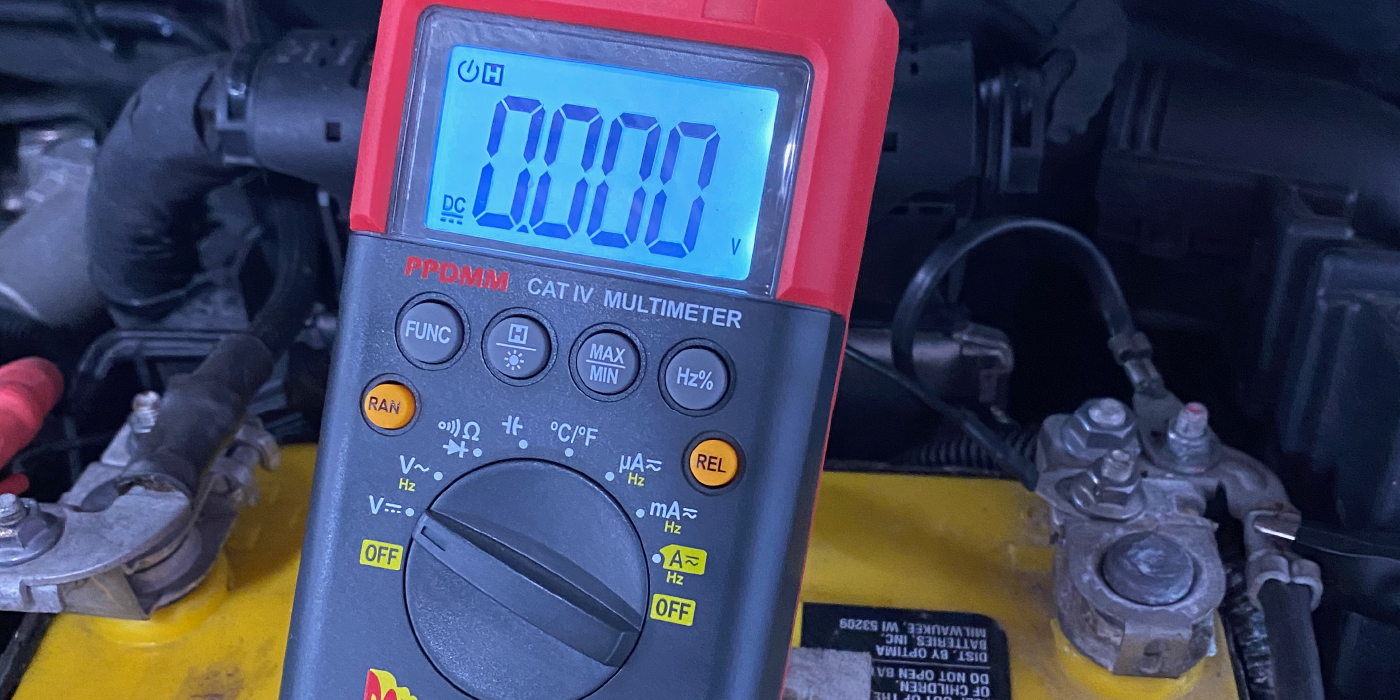
Note: Confirm that the vehicle does not have an unusual parasitic load on the battery with key off and doors locked. Parasitic load should be less than 40 mA.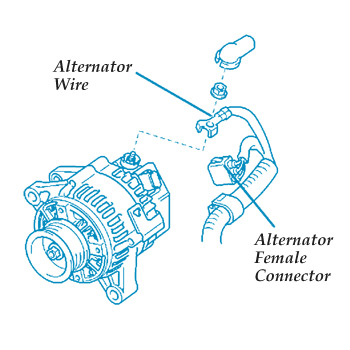
1. Disconnect the negative terminal from the vehicle battery.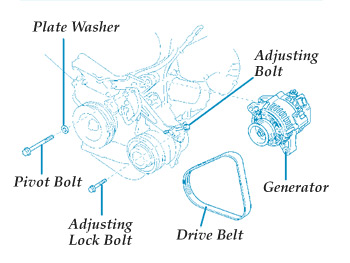
2. Disconnect the alternator wire and connector. See Fig. 1.
3. Remove the drive belt and original alternator. See Fig. 2.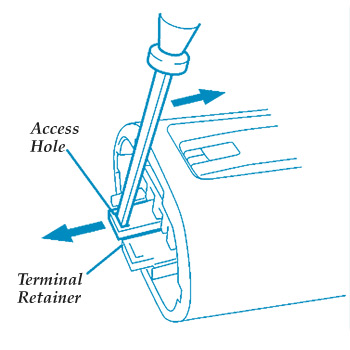
a. Pull up the retainer in the waterproof connector to disengage the secondary lock. See Fig. 3.
b. Release the locking lug from the terminal and pull the terminal out from the backside of the connector. See Fig. 4.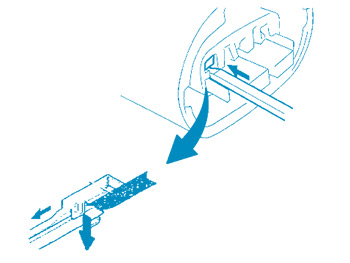
c. Remove the connector cover from the vehicle wire harness.
4. Install the new connector onto the alternator harness.
a. Remove the locking ring from the face of the new connector.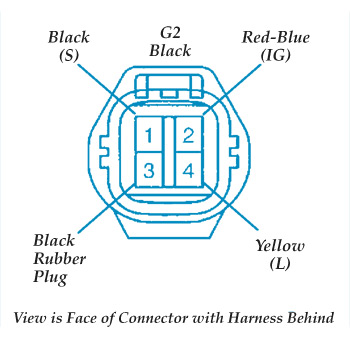
b. Install the terminals into the back of the connector as shown in Fig. 5.
c. Install the black rubber plug included with the alternator kit (P/N 04003-22145) into the location shown in Fig. 5. This step is critical.
Caution: Do not return this vehicle to the customer unless the unused terminal location is sealed off from possible water intrusion.
5. Install the new alternator.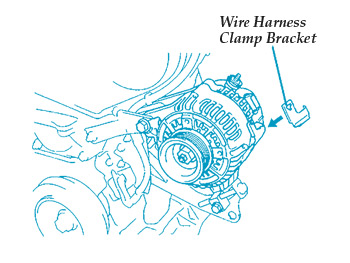
a. Install the alternator, adjusting the lock bolt, plate washer and pivot bolt.
b. Install the wiring harness clamp bracket with the bolt contained in the kit. See Fig. 6.
c. Connect the alternator wire and install the nut.
d. Connect the alternator connector.
e. Connect the wire harness to the clamp.
6. Install the drive belt.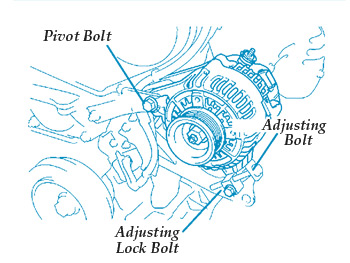
a. Install the drive belt and adjust the belt tension.
Drive Belt Tension: 175 +/- 5 lbf.
b. Tighten the adjusting lock bolt and the pivot bolt. See Fig. 7.
Courtesy of IDENTIFIX.
For more information, log onto www.identifix.com.