Kia Battery Discharge At High Temperatures – UnderhoodService

Kia Battery Discharge At High Temperatures

Some 1998-2001 Kia Sephia 1.8L vehicles built between Oct. ‘97 and May ’01, and some 1.8L Spectra vehicles built between Feb.’00 and March ‘04 may experience battery discharge when operated in high ambient temperatures for extended periods of time at low speeds or at idle with A/C, headlamps and other accessories on. Typically, this results in customers reporting an inability to restart the vehicle. To reduce the incidence of battery discharge customer complaints, a new higher-capacity alternator battery insulator pad (cover) is available.

Battery Test Procedure:

Test battery using the Micro 570 tester and refer to TSB SST 002 for instructions.

Alternator Installation Procedure:

1. Relieve the fuel system pressure by removing the fuel pump relay and running the engine until it stops.

2. Write down the preset radio stations, then disconnect the negative battery cable.

Warning: Fuel vapors are highly flammable. Death or serious injury could result if they are ignited. Make sure there are no open flames or cigarette smoking in the area of the repair. Adequate ventilation is necessary to prevent a buildup of fumes.

3. Remove the engine cover, if equipped.

4. Unbolt the cruise control assembly from the bulkhead and lay it on top of the engine.

5. Remove the engine ground strap.

6. Remove the fuel line using the Quick Connect Fuel Line Tool (refer to TSB Fuel 005).

7. Disconnect the alternator electrical connections.

8. Loosen, but do not remove, the pivot bolt and belt tensioner bolts.

9. Relieve the tension on the drive belt by rotating the adjustment bolt.

10. Remove the drive belt.

11. Remove the belt tensioner hardware.

12. Remove the alternator pivot bolt.

13. Remove the power steering hose bracket bolt and nut.

14. Move the hose to obtain the best access.

15. Remove the alternator.

16. Install the new alternator onto the pivot bolt.

17. Rotate the upper bracket into position.

18. Place the tensioner hardware on the alternator.

19. Install the tensioner mounting bolt.

20. Inspect the alternator belt.

21. Place the belt on the alternator pulley.

22. Adjust the alternator belt by rotating the adjustment bolt. Allowable Belt Deflection: New Belt: 0.23”-0.31.” Used Belt: 0.28”-0.35.”

23. Tighten the tensioner bolt to 14-19 ft.-lbs.

24. Tighten the pivot bolt to 28-38 ft.-lbs.

25. Connect the electrical connectors.

26. Reinstall the fuel line, engine ground strap, cruise control assembly, power steering hose brackets, fuel pump relay and engine cover.

Courtesy of Mitchell 1.

You May Also Like

Check Out The December Issue Of Underhood Service Magazine

The digital version of the December issue of Underhood Service is available on-line. Access the easy-to-view digital version that features articles on Spark Plug Service, Hyundai Oxygen Sensor Codes, CAN Bus Diagnostics, Subaru Stretch Belt Replacement, a host of Tech Tips, and more!

The digital version of the December issue of Underhood Service is available on-line.

CLICK HERE to access the easy-to-view digital version that features articles on Spark Plug Service, Hyundai Oxygen Sensor Codes, CAN Bus Diagnostics, Subaru Stretch Belt Replacement, a host of Tech Tips, and more!

Transmission Line Replacement

Transmission fluid likes to be at a constant temperature. If it is too hot or too cold for too long, the performance can fluctuate and potentially cause damage to the transmission.

VIDEO: AAPEX 2016 Insights

Andrew Markel discusses his take on conversations he had with economists at AAPEX 2016, including the future of purchasing parts.

BMW Tech Tip: Oil Separator Replacement

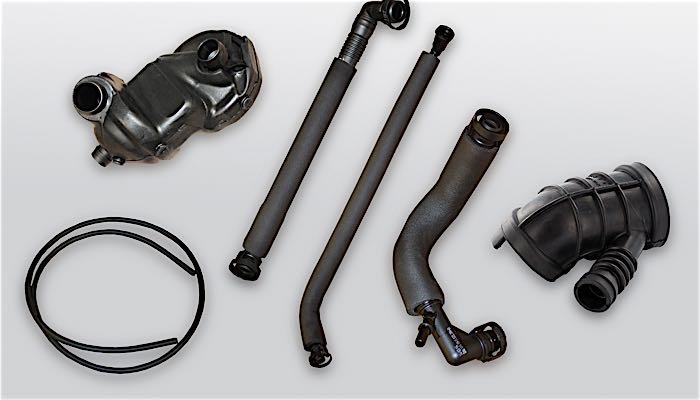
A clogged oil separator valve is a common problem on many BMW DOHC inline sixes. The high failure rate is caused by sludge build-up that can result in oil burning, rough idle and engine fault codes. Although the solution is pretty simple, replacing the valve is labor intensive and can take anywhere from six to nine hours.

New IDUSA Premium Guard Website Offers Easy Access To Wide Range Of Oil, Air, Cabin, Fuel And Transmission Filters

The new website’s bi-lingual, responsive design features look-up powered by ShowMeTheParts.

Other Posts

VIDEO: How To Deal With Air Conditioning Smells

Andrew Markel discusses what to do to get rid of A/C smells after customers have tried to do it themselves.

Oil Bath Air Filters

Long before people started using cotton gauze air filters soaked in oil, the oil bath air filter was the dominant filter on the market. The filter removes debris in the air by running it over oil and a mesh element. These filters worked great when most roads were dirt, but they could be messy to clean.

On The Web – September 2016

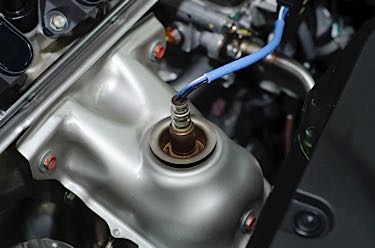
Finding Failing O2 Sensors If an O2 sensor gets “lazy” because of old age or contamination, the computer may not be able to adjust the fuel mixture quickly enough as the engine’s operating conditions change. Related Articles – Join Underhood Service On LinkedIn – Honda Tech Tip: Oil Pressure Switch Fails Intermittently – Fuel Trim

Join Underhood Service On LinkedIn

Related Articles – Check Out The August Issue Of Underhood Service Magazine – Hayden Automotive Introduces Low-Profile Fan Clutch – Belt Inspection Checklist                     Underhood Service’s LinkedIn Page                         Underhood Service’s LinkedIn Group