Changing your vehicle’s oil may be one of the easiest tasks to do on your own, but how you change it varies based on the type of vehicle you drive and where the oil filter is located. More often than not in newer cars, the location of oil filters is at the top of the engine rather than the bottom.
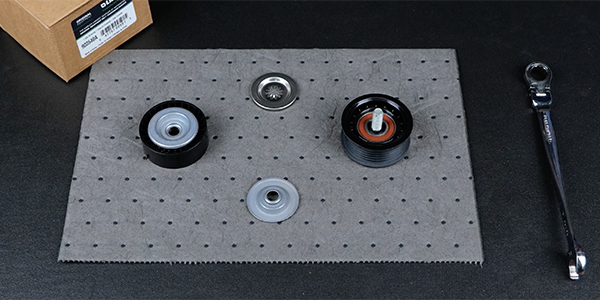
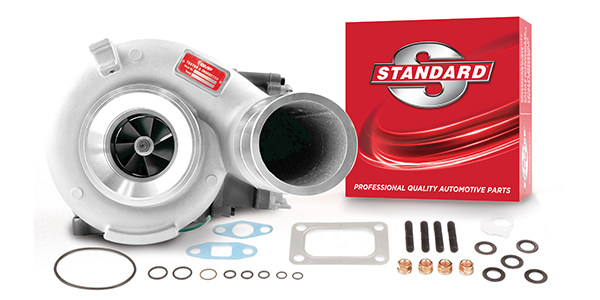
There are different types of oil filters out there, but the most common filter we see being used on newer vehicles is the cartridge oil filter, especially with oil filters that are on the top of the engine. Cartridge oil filters are known as a full-flow oil filters that are easy to use and can be examined without needing to remove the oil if mounted upright. Traditional spin-on filters come with their own steel housing. A cartridge filter utilizes a housing that is already installed on the vehicle. With that difference, like everything with upkeeping your vehicle, there is a specific procedure you need to follow when changing the oil.
For vehicles with the oil filter on top of the engine, start with pulling the cap first, exposing either the air vent or air drain, so the oil can drain out into the pan. Be aware that with some vehicles, when you lift up on the threads of the oil filter, it releases an anti-drainback valve that allows the oil inside the oil filter housing to drain. The oil inside of the oil filter housing is the most contaminated oil for the engine because it is on the outside of the filter that has dropped down into the engine. So, you must clean out the excess drippings from the oil filter because if they are left in the engine it will ruin the new oil you are pouring into the crankcase.
After the housing with the oil filter in it has drained out into the pan, you then want to remove the drain plug in the oil pan or sump. By doing this, you are draining all of the oil in the engine. When you have successfully drained all of the oil out, put the drain plug back into the oil pan. When the plug is back in, you can then service the oil filter by following all of the instructions and making sure that you are using the necessary new seals and o-rings that are inside of the box.
Once you have replaced the filters and used the provided parts, you can then torque down the cap to the provided specifications, which are usually located on the cap. Once the cap is torqued down properly, you have successfully changed an oil filter on top of the engine.
FRAM® has been determined to develop high quality oil and air filters for years and has tested materials and filter designs to keep engines running cleaner for longer. FRAM’s current oil filter offerings are FRAM Extra Guard®, FRAM Tough Guard® and FRAM Ultra Synthetic®. Extra Guard® filters employ a proprietary fiber- and resin-blended media to provide dirt-trapping efficiency and dirt-holding capacity while offering 10,000 miles of protection. Tough Guard® offers a synthetic fiber and cellulose blend to trap dirt without affecting oil flow for 15,000 miles. Ultra Synthetic® filters utilize an ultimate dual-layer synthetic media that provides up to 20,000 miles of engine protection when used with an appropriate synthetic oil. Explore all of your FRAM® oil filter options at fram.com.