Acura Front Suspension Knock

Acura Tech Tip: Diagnosing Front Suspension Knock

A knocking noise from the front of any vehicle can be a cause for concern. If the vehicle is an old pickup truck with 150,000 miles of hard off-road use, noises usually come with the territory and are sometimes acceptable. But, if the vehicle is a 1996-98 Acura RL, not only will the owner notice it, they will probably want it fixed right away.

A knocking noise from the front of any vehicle can be a cause for concern. If the vehicle is an old pickup truck with 150,000 miles of hard off-road use, noises usually come with the territory and are sometimes acceptable. But, if the vehicle is a 1996-98 Acura RL, not only will the owner notice it, they will probably want it fixed right away.

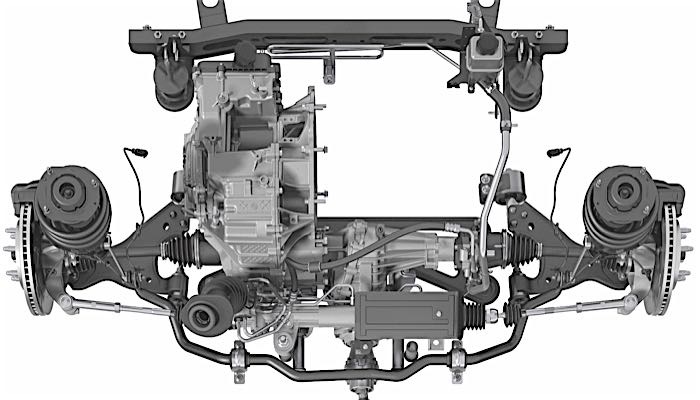
When an Acura RL owner visits your shop complaining about a knocking noise from the front suspension when driving over bumps, the noise may be caused by worn upper arm bearings. The following tech tip may help you quickly diagnose and repair the problem.

DIAGNOSIS
1. Test-drive the vehicle over a bumpy road to verify the noise and to determine its location.
2. Raise the vehicle on a lift.
3. On the vehicle side where the noise is heard, hit the tire with a large soft-faced mallet while placing your hand over one of the upper arm bearings. Repeat this action with your hand placed over the other bearing.

• If you feel looseness or hear knocking from either bearing, go to the Repair Procedure.
• If no knocking noise is heard and no looseness is felt, look for other possible causes.
• If you heard the noise from both sides of the vehicle, repeat Step 3 on the other side.

SERVICE PROCEDURE
NOTE: This procedure does not require wheel alignment after completion.
1. Remove the wheel.
2. Remove the ABS wheel sensor wire harness from the upper arm.
3. Remove and discard the two upper arm 12 mm self-locking nuts.
NOTE: The upper arm bearings are built into the front anchor bolts.
4. Lower the upper arm, and pull it toward you to access the two front anchor bolts containing the upper arm bearings.
5. Remove and discard the front anchor bolt 10 mm self-locking nuts and the flange bolts, then remove and discard the front anchor bolts.
6. Install new front anchor bolts, making sure the large seal on the bolt faces outward. Secure the anchor bolts with new flange bolts and 10 mm self-locking nuts. Torque the nuts to 22 lb-ft (30 N-m).
7. Reinstall the upper arm, and secure it with new 12 mm self-locking nuts. Torque the nuts to 47 lb-ft (64 N-m).
8. Reinstall the ABS wheel sensor wire harness.
9. Reinstall the wheel. Torque the wheel nuts to 80 lb-ft (108 N-m).
10. Test-drive the vehicle to make sure the noise has been eliminated.

Accura and RL are registered trademark names and model designations of the American Honda Motor Company. All trademark names and model designations are being used solely for reference and application purposes.

Written by ALLDATA Technical Editor, Rich Diegle. Rich is an Advanced Engine Performance Certified and ASE Master Technician with an Associate of Arts degree in automotive technology and 22 years of dealership and independent shop experience.

For additional information, visit www.alldata.com.

You May Also Like

Check Out The December Issue Of Underhood Service Magazine

The digital version of the December issue of Underhood Service is available on-line. Access the easy-to-view digital version that features articles on Spark Plug Service, Hyundai Oxygen Sensor Codes, CAN Bus Diagnostics, Subaru Stretch Belt Replacement, a host of Tech Tips, and more!

The digital version of the December issue of Underhood Service is available on-line.

CLICK HERE to access the easy-to-view digital version that features articles on Spark Plug Service, Hyundai Oxygen Sensor Codes, CAN Bus Diagnostics, Subaru Stretch Belt Replacement, a host of Tech Tips, and more!

Transmission Line Replacement

Transmission fluid likes to be at a constant temperature. If it is too hot or too cold for too long, the performance can fluctuate and potentially cause damage to the transmission.

VIDEO: AAPEX 2016 Insights

Andrew Markel discusses his take on conversations he had with economists at AAPEX 2016, including the future of purchasing parts.

BMW Tech Tip: Oil Separator Replacement

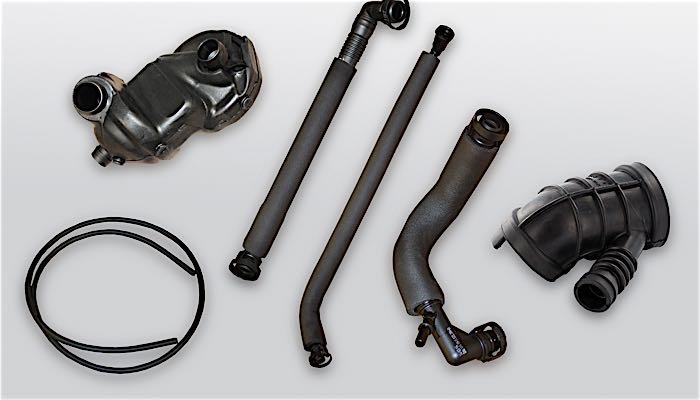
A clogged oil separator valve is a common problem on many BMW DOHC inline sixes. The high failure rate is caused by sludge build-up that can result in oil burning, rough idle and engine fault codes. Although the solution is pretty simple, replacing the valve is labor intensive and can take anywhere from six to nine hours.

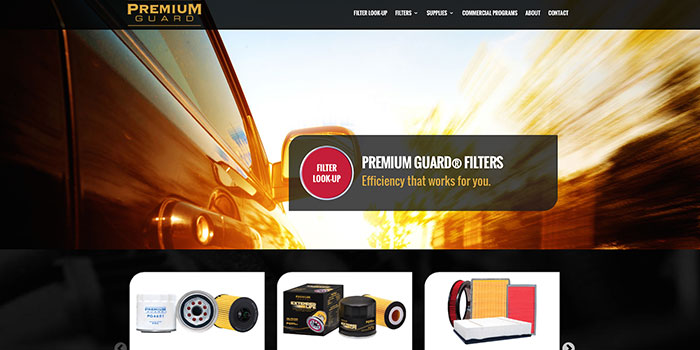
New IDUSA Premium Guard Website Offers Easy Access To Wide Range Of Oil, Air, Cabin, Fuel And Transmission Filters

The new website’s bi-lingual, responsive design features look-up powered by ShowMeTheParts.

Other Posts

VIDEO: How To Deal With Air Conditioning Smells

Andrew Markel discusses what to do to get rid of A/C smells after customers have tried to do it themselves.

Oil Bath Air Filters

Long before people started using cotton gauze air filters soaked in oil, the oil bath air filter was the dominant filter on the market. The filter removes debris in the air by running it over oil and a mesh element. These filters worked great when most roads were dirt, but they could be messy to clean.

On The Web – September 2016

Finding Failing O2 Sensors If an O2 sensor gets “lazy” because of old age or contamination, the computer may not be able to adjust the fuel mixture quickly enough as the engine’s operating conditions change. Related Articles – Join Underhood Service On LinkedIn – Honda Tech Tip: Oil Pressure Switch Fails Intermittently – Fuel Trim

Join Underhood Service On LinkedIn

Related Articles – Check Out The August Issue Of Underhood Service Magazine – Hayden Automotive Introduces Low-Profile Fan Clutch – Belt Inspection Checklist                     Underhood Service’s LinkedIn Page                         Underhood Service’s LinkedIn Group