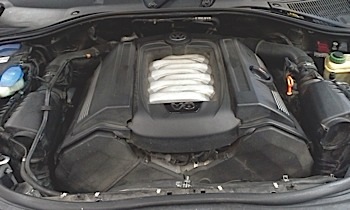
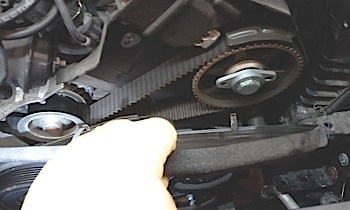
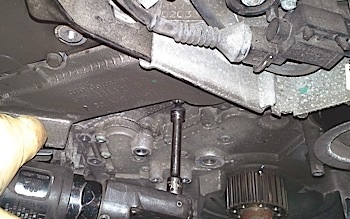
 "We don’t work on those V8s.” I’ve often heard that said in reference to the 4.2L VW and Audi 8 cylinders. Some criticisms are that the timing belts require too many special tools and you can’t see the engine (see Photo 1). I hear a lot of excuses when it comes to V8 Audis and VWs, but, in reality, they are not much different than the V6s and most models don’t require too many special tools. There are many shops that don’t want to do a timing belt replacement on the 4.2 V8, but it’s time to buy the tools and stop sending good paying jobs to competitors.
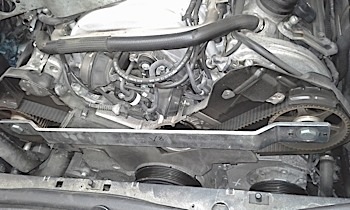
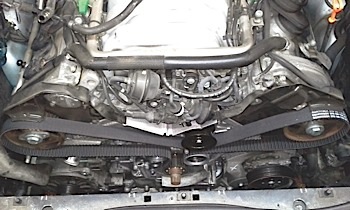
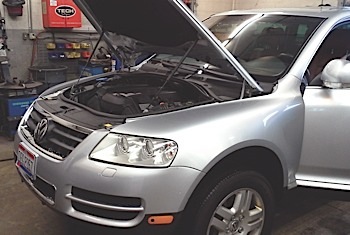 A friend of mine, the chief of police of a nearby community, recently acquired a confiscated 2004 Volkswagen Touareg at no cost as a result of a drug bust (see Photo 2). It had a few rattles and needed wiper blades, so the chief stopped by to have me take a quick look.
It’s widely believed that the timing belts on VWs are due at 105,000 miles, but that is not always the case. This car has a recommended change interval of 80,000 miles and it was 15,000 overdue. 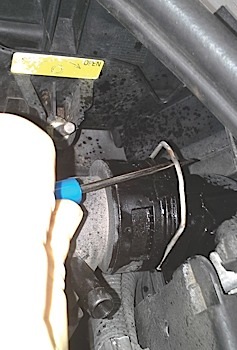 Because we stock the parts, he decided to leave the car so I could take care of the belt before it failed and a catastrophic engine failure resulted. Let’s get started.
1. In most 4-, 6- and 8-cylinder cars, the front of the car comes off and what VW calls the lock carrier gets put in service position. The Touareg has plenty of room so that step was not necessary in this particular case.
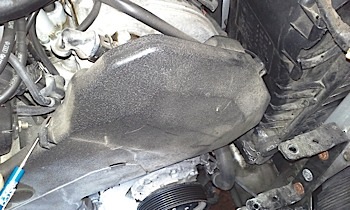
2. Lift the car and remove the under pan. Carefully vent any pressure in the cooling system. Release the retainers holding the upper radiator hose to the fan assembly. Pull the clip and disconnect the hose from the radiator (see Photo 3).
 3. Disconnect the electrical connectors, then release the retainers on the sides of the fan assembly and remove the cooling fan assembly.
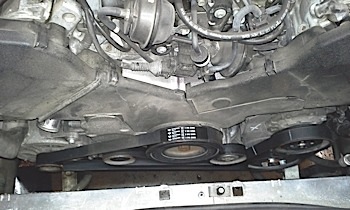
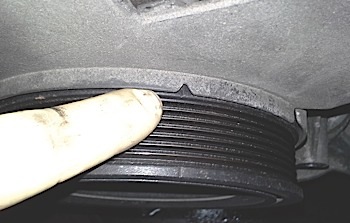
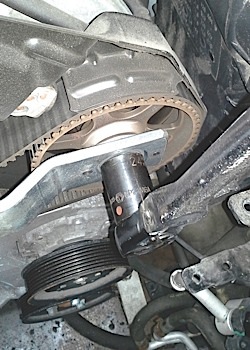
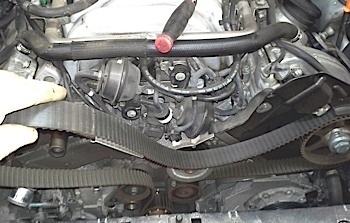
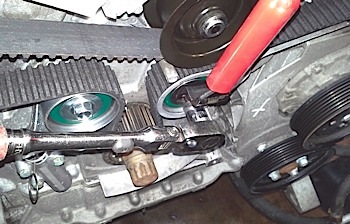
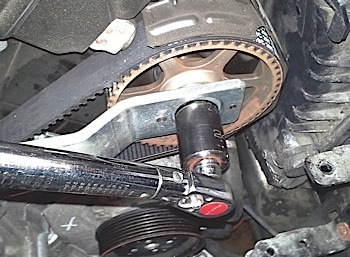
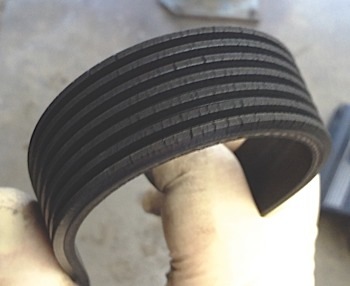 4. Release the tension on the serpentine belt by turning the tensioner clockwise (see Photo 4). If the belt is to be reused, mark the direction of rotation. Our belt looked pretty bad and needed to be replaced (see Photo 5).
 5. Release the clips and remove the left and right upper timing belt covers (see Photos 6 and 7). Rotate the crank pulley until the mark lines up for top dead center (see Photo 8). The large holes on the camshaft securing plates should be aligned on the inside so the camshaft locating bar 40005 will fit between the two cams (see Photo 9). If the large holes are on the outside, rotate the engine 360° and they should line up properly.
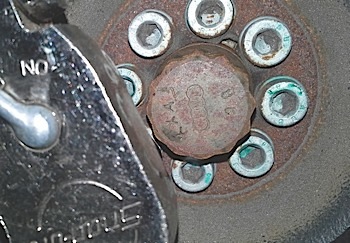
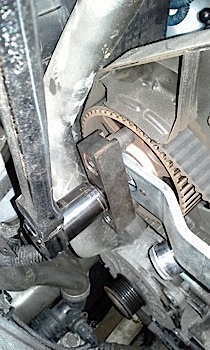
6. Remove the sealing plug from the left side of the block and you should be able to carefully install the crankshaft holding tool 3242 and lock the crankshaft in place (see Photo 10). Remove the center timing belt cover and then remove the eight bolts holding the crank pulley on (see Photo 11 and Photo 12).
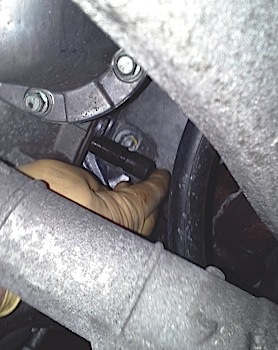
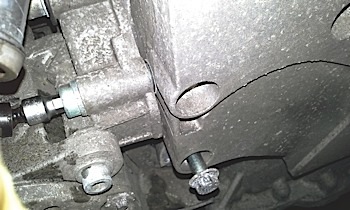
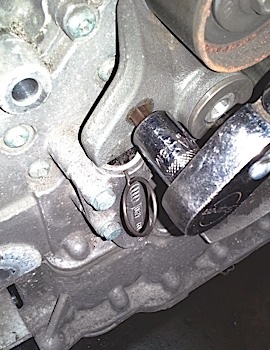
7. Next, remove the side bolt for the oil filter housing (see Photo 13), followed by the three front bolts that hold the timing belt dampener cover on, and then remove the cover. Slowly depress the dampener until you can install locking pin 40011 (see Photo 14).
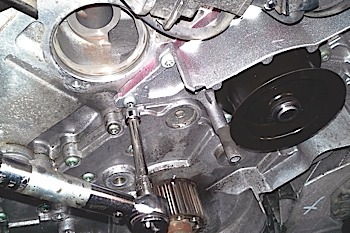
8. With the cams in place and the crank locked in place (see Photo 14), you can now loosen the cam gear retaining bolts (see Photo 15) and remove the gears using puller 40001 (see Photo 16). Leave the cam adjusting bar in place while pulling the cam gears to prevent the cams from turning. Once you remove the cam adjusting bar, you can remove the belt (see Photo 17).
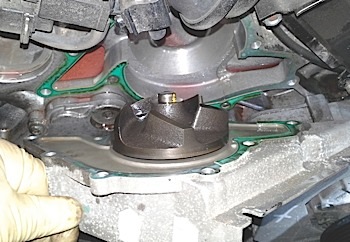
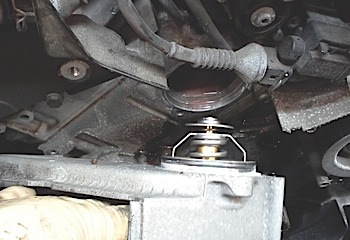
9. The water pump is timing-belt driven, so before you install the new belt, replace the water pump (see Photos 18 and 19) and also install a new thermostat (see Photo 20 and Photo 21). Our timing belt kit came complete with the hydraulic dampener and both rollers. Once those were put in place, the belt was put onto the crankshaft gear first, then the dampener roller, around the tensioner roller, then onto the still loose camshaft gears and finally around the water pump (see Photo 22).
10. Reinstall the camshaft adjusting bar. Install a 5 mm drill bit between the tension arm and hydraulic piston. Then, using tool 40009, turn and hold the tensioner in the 1 o’clock position and tighten the bolt to 45 Nm (see Photo 23). You can now remove the drill bit and pin from the hydraulic dampener.
11. Lift the tension arm and install a 7 mm drill bit between the tensioning lever and the hydraulic tensioner housing, torque the cam bolts to 55 Nm (see Photo 24), and remove the cam adjuster bar. Remove the crankshaft holding tool and install and torque the plug to 30 Nm.

 12. Rotate the engine 720° and check that the distance between the top of the hydraulic dampener and the roller arm is about 5 mm. If everything looks good, reinstall the crank pulley.
13. Install the timing belt covers and install the new serpentine belt (see Photo 25).
14. Reinstall the cooling fan assembly and skid plate.
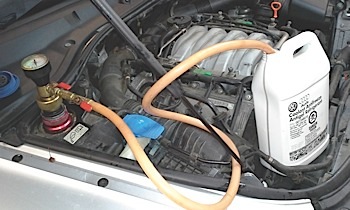
15. Refill the cooling system using an airlift (see Photo 26), and you’re ready to start the car.
While it was clear that the timing belt had never been done, it did look like the car had been fairly well maintained. We replaced the rattling sway bar links, put on a set of wiper blades and it was ready to go.
It’s important to note that we almost missed out on this maintenance opportunity. Many timing belts have different change intervals even in the same car line. The change intervals can be different not only because of engine size, but also due to model year. Don’t miss out!
When a vehicle comes in, if even for a quick check, let the customer know about its required maintenance. We usually make a lot more money doing routine maintenance than diagnosing intermittent driveability problems. Don’t let these significant maintenance opportunities pass you by — ones that will also help you keep your customers’ vehicles in top-running condition.