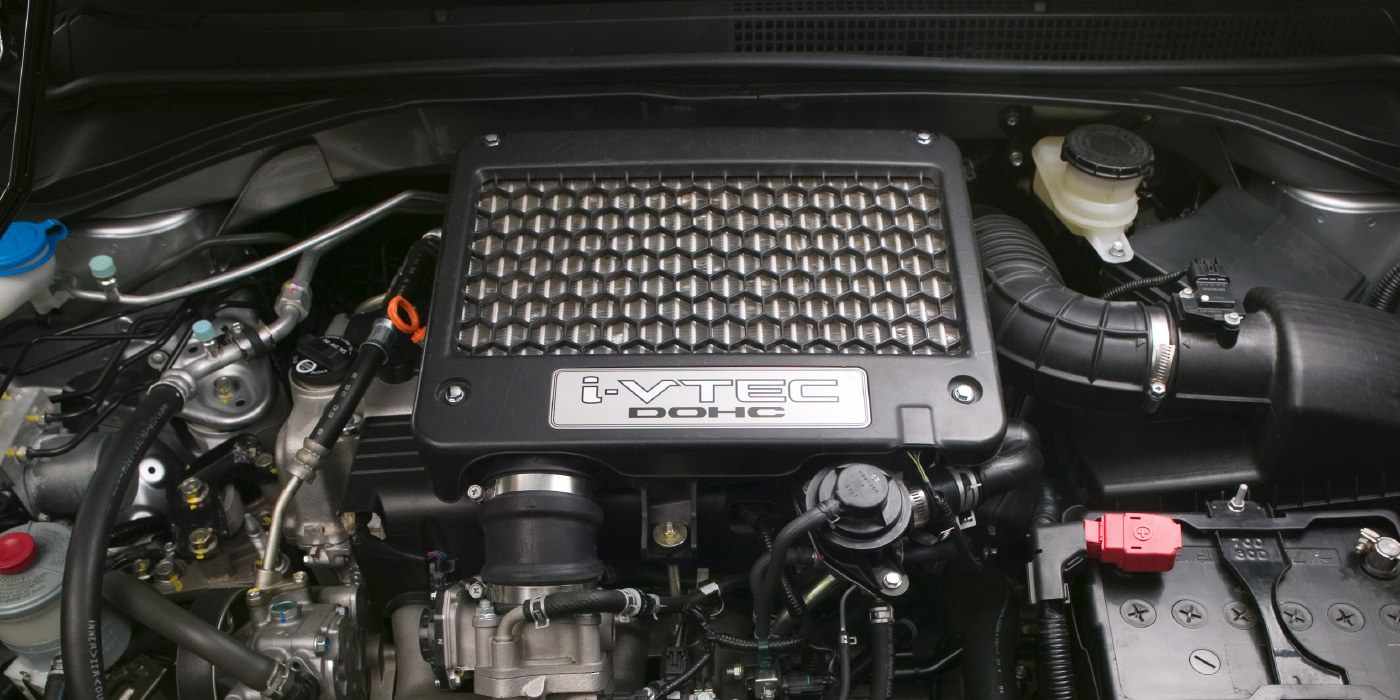
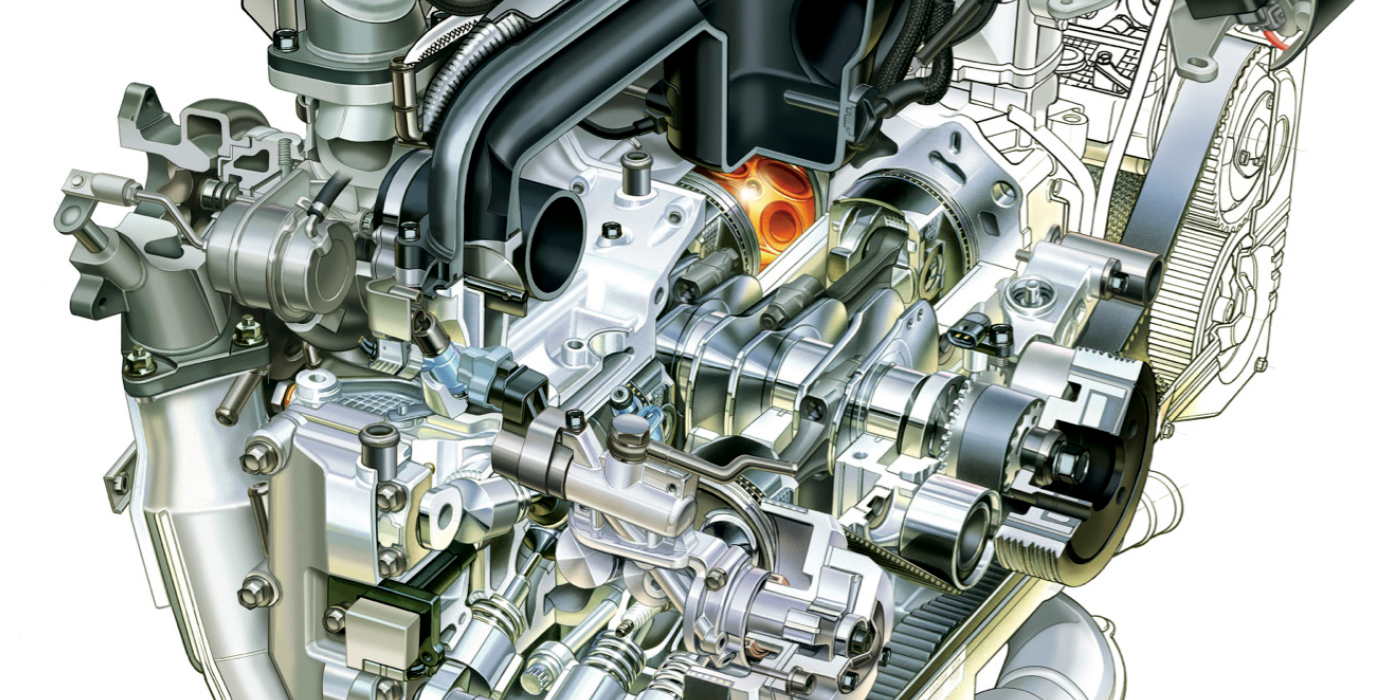
Toyota’s 22R series 4-cylinder SOHC engine has survived and thrived in its cars and trucks for nearly 30 years, and is a desired powerplant for its power, torque and reliability. The basic design is a continuation of the engine that preceded it, the 20R, which was used in cars and trucks starting in early 1978. Though no longer installed in new Toyota vehicles here in the states, rebuilt and new components are readily available and relatively inexpensive compared to newer, more complex designs.
Virtually all 22R and R-E internal parts are interchangeable, but there is a caution to watch for — early truck and Celica engines (before 1984) had a shorter deck height and, consequently, different internal parts. There are also differences in cylinder heads, depending on year and induction system. Even with all the good things that can be said about this engine, there are some recurring failures, all of which can be avoided with proper maintenance and attention to detail.
HEAD GASKET FAILURE
This engine has never had a bad reputation for head gasket failures. However, any aluminum-head, cast-iron block engine that is neglected can develop problems with head gasket sealing. Overheating can cause failure of critical engine seals. Even a small coolant leak can cause a lowering of the coolant level throughout the engine and particularly in the cylinder head.
The 22R engine has good coolant flow through the head and block with large passages. This engine also has some areas where narrow sealing surfaces can be eroded when exposed to high heat and pressure caused by low coolant levels, or a weak concentration of coolant.
The most common head gasket failure on these engines will be coolant leaking into one or more cylinders, causing a misfire and large amounts of white smoke (steam) out the tailpipe. Typically, there is no external leakage in this case, and there will be no coolant in the oil. There may be a damaged radiator cap from excess pressure, or the coolant recovery bottle may fill up and overflow on a short drive.
Cylinder head removal on the engine is remarkably simple. The basic procedure follows:
Disconnect the battery. Drain the oil and coolant; remove the belts, fan, fan shroud and any brackets for accessories that are attached to the head.
Disconnect the hoses, wiring harnesses, cables and intake parts as necessary. Remove the valve cover.
Turn the engine to TDC, checking alignment at the distributor, camshaft and crankshaft.
Remove the ignition distributor, unbolt the exhaust downpipe from the manifold and remove the support bracket at the bellhousing.
Remove the exhaust heat shields, EGR pipes, etc. Remove the exhaust manifold, or tie it back to the inner fender.
Remove the upper radiator hose, then remove the retainer hardware for the intake manifold components and tie the intake manifold back to the inner fender. There is enough space in the engine compartment to leave the manifolds, and still get the head out.
Use a wire tie to fasten the timing chain to the camshaft gear. Remove the fuel pump eccentric, distributor drive and disengage the camshaft gear from the camshaft, but leave it tied to the chain.
Remove the small bolt now; the one that’s front and center that retains the head to the front engine cover, so it isn’t forgotten later. This bolt is usually in a little pool of oil, so it may not be readily visible. Loosen the headbolts, which also retain the rocker assembly, using a sequence that won’t put undue strain on the shafts. You may need to pry lightly to loosen the 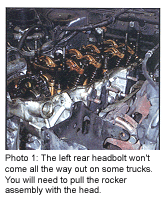 rocker stands from the alignment pins. You may not be able to get the left rear headbolt out at this time (see Photo 1), so the rocker assembly may need to be removed along with the head. With the manifolds disconnected, the head is not very heavy, but can be a reach on 4WD trucks, so you may need a second pair of hands for safety.
Use care when lifting the head off of the chain and plastic chain guides so they won’t need to be replaced. If the left (driver’s side) chain guide is missing, you’ll need to do more inspection (more details to follow).
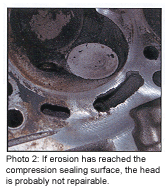
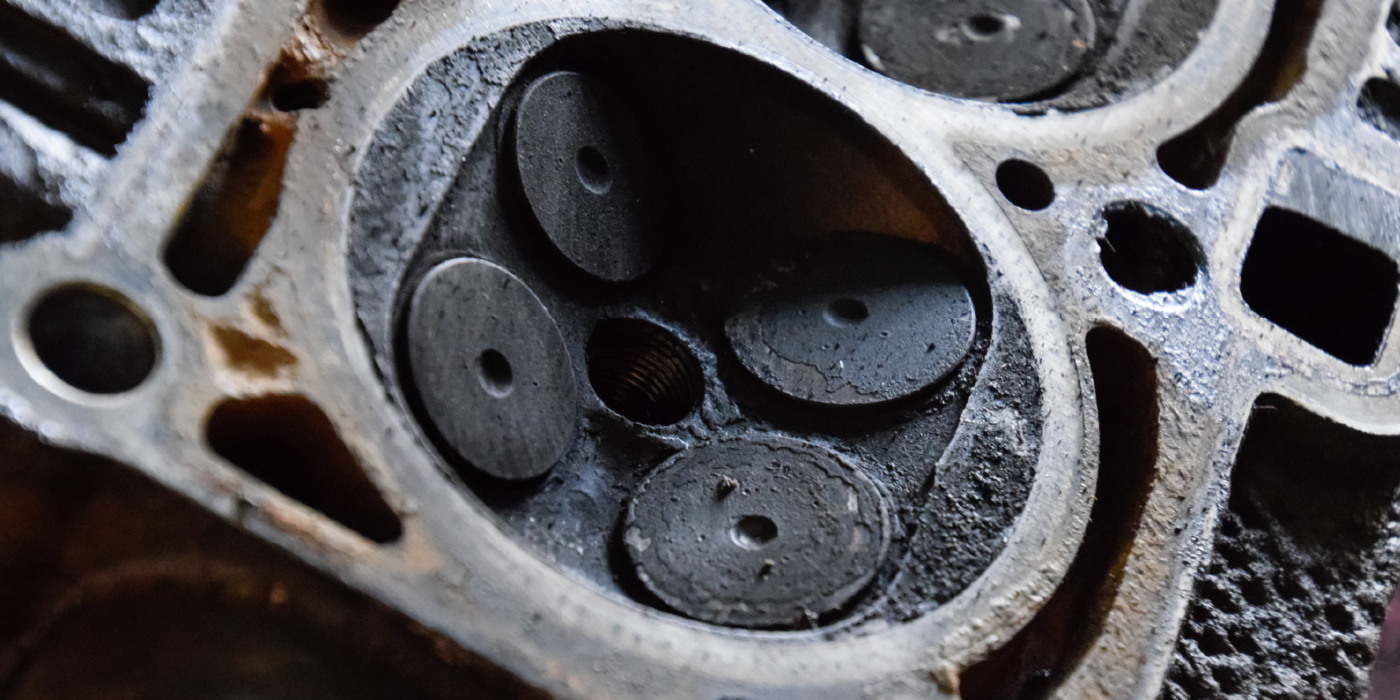
Clean the head, check for warpage and inspect the head gasket for obvious failure. Once the point of failure is located, inspect the head-sealing surface for evidence of erosion damage (see Photo 2). Though a small amount of port erosion is acceptable, there must be enough sealing surface remaining to seal both compression and cooling system pressure. Also look into the head passages for erosion that may seriously weaken the internal integrity of the head. If there is any question about the head’s integrity, have it pressure-tested to prevent a comeback.
Because head gasket failures can come at any mileage, you’ll need to decide whether more extensive repairs are needed. Visually inspecting the cylinder bores and condition of timing components should give you an idea of the relative condition of the rest of the motor. You will need to decide if valve stem seals are needed and whether the valves and seats will survive, although valve problems are not typical on these engines.
We recommend replacing the head bolts on these engines whenever the head is removed. The head bolts are long, tend to stretch and can be quite brittle when overheated. On some models, the EGR passages also expose the bolts to exhaust heat. Clean the head bolt threads in the block and blow out any debris in the holes. Be sure you clean any residue of the old head gasket from the block. Put sealer at the joint between the block and the top of the front cover before installing the new head gasket.
Reassembly is just the opposite of disassembly, again using care not to break the timing chain guide when setting the head into place. Consult a workshop manual for the torque specs and sequence. Replace the thermostat, noting that some of these engines have a raised casting in the thermostat recess that requires an offset thermostat. Incorrect installation will cause the stat to fail immediately.
After assembly is complete, and before starting the engine, pressure test or use a vacuum fill system to confirm that there are no coolant leaks that would cause another failure. Let the engine idle to full operating temperature before taking a test drive.
TIMING CHAIN REPLACEMENT
The incidence of timing chain failure on this series of engines seems to have increased over the last few years. We seldom saw a failure until 175K to 200K. Now, we often see failures under 150K. We’ve concluded that the use of lower viscosity oil has had a detrimental effect on timing chain life.
Although there is still some disagreement on what is the ideal oil for all conditions, the fact remains that, on this engine, viscosity and oil pressure have a significant impact on timing chain life (more on this later).
There are, however, a couple of other problems that can significantly shorten chain life and cause other failures. Oil sludging, due to lack of maintenance and overheating, can damage any engine over time. Unfortunately, there is one other cause that is usually the direct result of an improper repair for a common oil leak.
A common sequence of events in the failure of a timing chain on this engine often goes like this. The engine has a serious oil leak at the front pulley area. The leak is partially at the front crank seal, but the thin, odd shaped O-ring that seals the oil pump to the front cover is also leaking. The oil pump is removed, the seal is replaced (a repair sleeve is sometimes needed on the pulley), and everything is cleaned and reassembled. The engine starts, runs fine, oil pressure is normal and no warning lights are on. But, there is a light “ticking” noise from the front cover area. The noise doesn’t change significantly with engine speed, so the vehicle is returned to the customer, only to return in a short time with serious noises from the front cover and water in the oil — lots of water in the oil.
What happened?
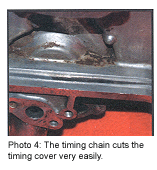
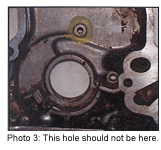 The top center retaining bolt for the oil pump housing was replaced with one of the other retaining bolts that is less than a quarter of an inch longer. That blew the bottom out of a blind hole (see Photo 3) in the front cover, allowing the bolt to rest on the plunger pad of the chain tensioner. The oil pressure couldn’t move the plunger, and the chain ran loose and beat on the guide until it broke. Then the noise got worse, mostly upon acceleration. Within a few hundred miles, the timing chain destroyed the long, straight guide on the distributor side of the engine, the chain chewed a groove in the front cover (see Photo 4) and coolant started disappearing in great amounts, winding up in the crankcase.
 The front cover is still available from a number of sources. The timing chain components are sold in kit form and the replacement can be performed with the engine in the vehicle and without pulling the cylinder head. If the head is off, a close inspection of the timing components, as noted above, is advisable.
Timing chain replacement without head removal goes like this. The less bending and prying you do, the better the repair will come out. Depending on accessories, the repair will take more or less time, due to the mounting brackets.
Remove the fan, shroud, drive belts and any bracket attached to the front engine cover. You will also need to remove the valve cover. Set the engine on TDC, disconnect the battery and hide the keys to the ignition.
Remove the lower engine shield, then drain the radiator and crankcase. Remove the lower radiator hose from the water pump. You don’t need to remove the radiator, but it’s usually easier to see what you’re doing with it out of the way; it’s your call.
Remove the crank pulley, oil pump housing and drive gear.
Remove the oil pan bolts that screw into the front cover. Loosen, but don’t remove, the oil pan bolts on both sides of the crankcase.
Use a sharp, stiff putty knife to separate the oil pan gasket from the bottom of the front cover. Try to keep the gasket as intact as possible to prevent small pieces from falling into the oil pan.
Remove the ignition distributor, drive gear and fuel pump eccentric, and separate the camshaft sprocket from the camshaft. Remove the sprocket and let the chain settle into the chain guides.
Remove the small bolt that goes into the top of the front cover (remember, it’s probably in a pool of oil so you can’t easily see it).
Remove the bolts holding the front cover to the block, and the water tubes to the back of the front cover. Organize the bolts in a way that it will be obvious where they go on reassembly.
Use the putty knife again to separate the front cover from the front part of the head gasket. Use great care here. Unless you want to pull the head later, try to not separate the head gasket from the bottom of the head.
Carefully pry the cover away from the front of the block, making note of the alignment sleeves and their positions.
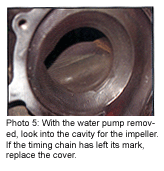
Remove the rest of the timing components, guides, tensioner and crankshaft gear. Carefully inspect the front cover. If the chain has started to chew only on the cover, it may be reusable. The best determining point is to look into the water pump cavity (see Photo 5) with the pump removed to see if the grooves have been imprinted there. Once there is a failure in this area, coolant, under pressure, is just redirected into the crankcase by the water pump.
Reassembly involves carefully cleaning the front of the block, mounting the new timing components and installing per the service manual. I use RTV on the mating surfaces of the pan and head gasket. Some of the timing kits come with a replacement piece of pan gasket that requires trimming off the front of the old gasket. If the original gasket survived the separation process, it may be better left intact.
As a final check before putting the valve cover on, look down the chain at the tensioner plunger and make sure there isn’t a bolt pressing on it!
OIL SLUDGING
As noted earlier, we have come to the conclusion that a lot of the timing chain failures on this engine can be eliminated by a different mindset on oil. It’s very obvious that engine noise is greater with thinner oil, the oil pressure indicated is lower and the benefits of thinner oil are negligible. So we have as a shop policy suggested stepping up to 15W/40 or 20W/50, depending on vehicle use. Since we don’t generally have the temperature extremes here in the Northwest that some of you see, you’ll need to educate yourself on the various properties of motor oil, and then determine what would be best for your part of the country.
Although there are different qualities for various viscosities of motor oil, there are also some anomalies where viscosity, thermal breakdown and low temperature pour ability are more dependent on additives than a particular weight rating.
The single most important factor in motor oil failure remains the lack of preventive maintenance. Remember that it isn’t the “oil” that usually breaks down in motor oil. It’s the failure of the additives that control oxidation, foaming and maintain viscosity that causes the oil to become ineffective. I suggest you get technical information from your lubricant supplier, and make your own determination as to the best compromise for a particular vehicle, based on the normal use it will see.
We keep a photo record of various engine failures in a 3-ring binder. It’s become a great tool for explaining the merits of maintenance, since a picture is better than thousands of words to some customers.


