Here are the Top 10 timing belt job tips that can make your next job just a little easier. If you have one that we missed, email me at [email protected].
1. Crankshaft Impact Sockets
It is always a struggle to remove a crankshaft pulley on a vehicle. The bolt is usually cemented in with thread-locking compound and tightened to over 100-ft./lbs. Specialty tool companies have introduced crankshaft pulley sockets designed to work with impacts. The difference with these sockets is the weight. The extra mass helps your impact to produce more force to remove the bolt. These sockets come in 17mm, 19mm, 21mm and other unique sizes.
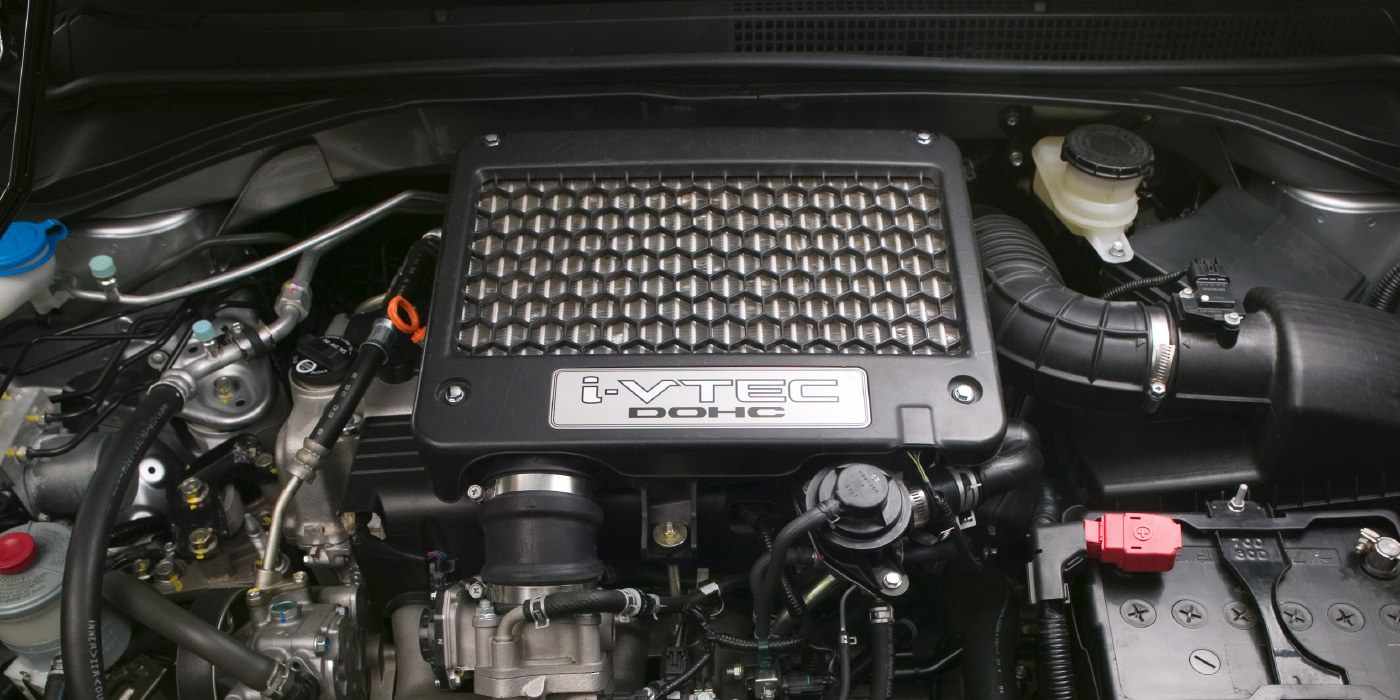
2. Inspect the Vehicle or Get Burned
Inspection is the most critical first step that must be performed before the first bolt is removed from the timing belt cover. The inspection needs to include looking for the usual leaks and inspecting items like the oil, motor mounts and accessory drive belt components. You should also scan the vehicle for both active and historical codes. Codes for camshaft and crankshaft synchronization and issues with the variable valve timing system need to be diagnosed first.
The inspection has a few benefits. First, it spots any items that may limit the life of the new belt. Second, it allows for a more accurate estimate. It can also save you from a dispute with a customer who contends that the problem was not there before the timing belt was replaced.
3. Time Vs. Mileage
If you look at most replacement intervals, you will see a mileage and time period. The time period is just as important as the mileage because the belt is exposed to an environment that breaks down the belt’s materials, even if it is not moving. This type of damage is called oxidation, and it can be caused by oxygen and ozone.

4. Count The Teeth
If this one has burned you, you know where I am coming from when I mention counting the number teeth on the replacement timing belt. In rare cases, the new belt will not be exact length as the original belt. The change might be due to a cataloging error or the OEM making small changes to the engine that alters the relationship of the crankshaft to the camshaft sprockets. There are two ways to prevent this from happening. First, use the VIN and/or engine code to order the replacement belt. Second, use a high-quality belt that matches the OEM specifications.
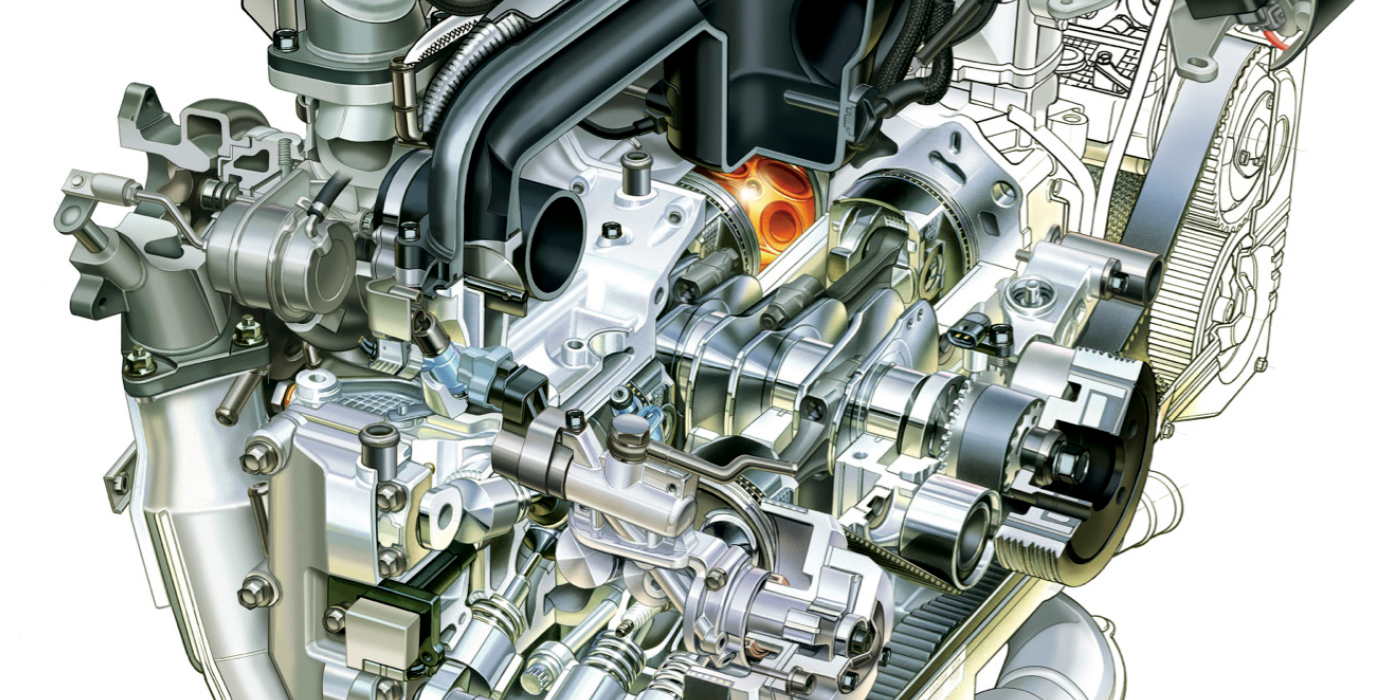
5. Balance Shaft Timing
On some engines, there are balance shafts that are designed to smooth out the rotational movement of the motor between power pulses. Making sure the marks for the balancer shafts are properly aligned is critical to preventing vibration. Also, some engines have separate belts for the balance shaft that should be replaced with the timing belt.
6. Check the Chain
VW, BMW and Hyundai have engines with a timing belt and a timing chain. The chain typically is at the other end of the head and the belt power is just the intake camshaft. The chain runs from the intake camshaft to the exhaust camshaft. There have been reported cases where the chain will jump and cause codes for the crankshaft and camshaft sync codes. Most of these vehicles had high mileage and the owner neglected to perform regular oil changes. In most cases, bad oil caused the chain to stretch or the tensioner to fail.
7. Know Why First
If you find a belt with stripped cogs, it would tell you something in the cam drive system has been jammed or is stuck, overloading the belt and causing it to shear teeth or jump time. The most likely culprit is the camshaft, which may have seized due to engine overheating or lack of lubrication (low oil level or loss of oil pressure). Be sure to check the straightness of the cam bores in the cylinder head, and straighten or align-bore the head as needed before the head goes back on the engine.
8. Take a Picture
With the quality of digital cameras in phones these days and the improvements in scan tools, it is possible to take a picture of the old belt on the vehicle to help you make sure the new belt goes on the same way. You might not think that you need it, but it will save you one day.
9. Replace the Water Pump
If the water pump is driven by the timing belt and has not failed during the belt’s replacement interval, there is no guarantee that it will fail during the next service interval. If the pump fails, it could contaminate the belt and even cause tension and alignment problems. It is also an excellent time to perform a cooling system flush and fill because typically the intervals are very close together.
10. Reusing the Belt
You may run into a situation where an idler pulley or tensioner has failed long before the replacement interval for the belt has been reached. If the damaged idler or tensioner pulley has caused an alignment problem with the belt, the belt should also be replaced if there are any signs of damage like fraying on the edges or glazing.

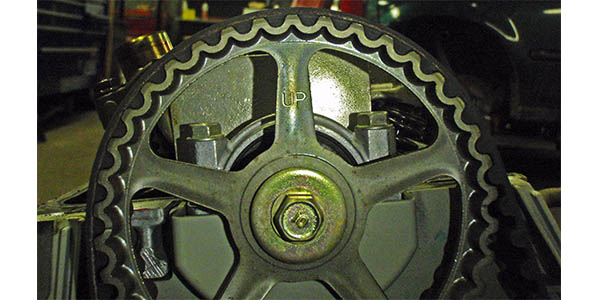
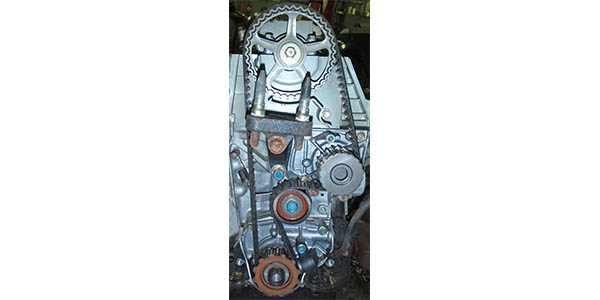
BONUS: Line It Up, Lock It Down
Anytime the belt is removed, the cam and crank need to be aligned to TDC No.1, which is where the marks on the crankshaft pulley line up with the pointer on the front cover. After the valve covers have been removed and the engine is at TDC, the cam(s) should line up with the correlated mark on the cylinder head or camshaft bearing cap closest to the gear. Typically, there is a notch or a raised arrow on the bearing cap so it can be easily confirmed by eye when the two marks line up or, in the case of a stretched belt, do not line up. Locking the belt in this position also serves as a way to double-check if the new belt lines up.