Models: 1995-’97 (FJ) Chrysler Avenger/Sebring/Talon
Note: This bulletin applies to vehicles with 2.0L naturally aspirated engines.
Symptom/Condition: MIL illumination with DTC intake air temp sensor voltage high – Hex code $3A.
Diagnosis
Using the Mopar Diagnostic System (MDS) or a diagnostic scan tool (DRB III) with the appropriate diagnostic procedures manual, verify all engine systems are functioning as designed. If DTCs are present, record them on the repair order and repair as necessary before proceeding further with this bulletin. If no DTCs other than the one listed above are present, check the intake air temperature connector and wiring as follows:
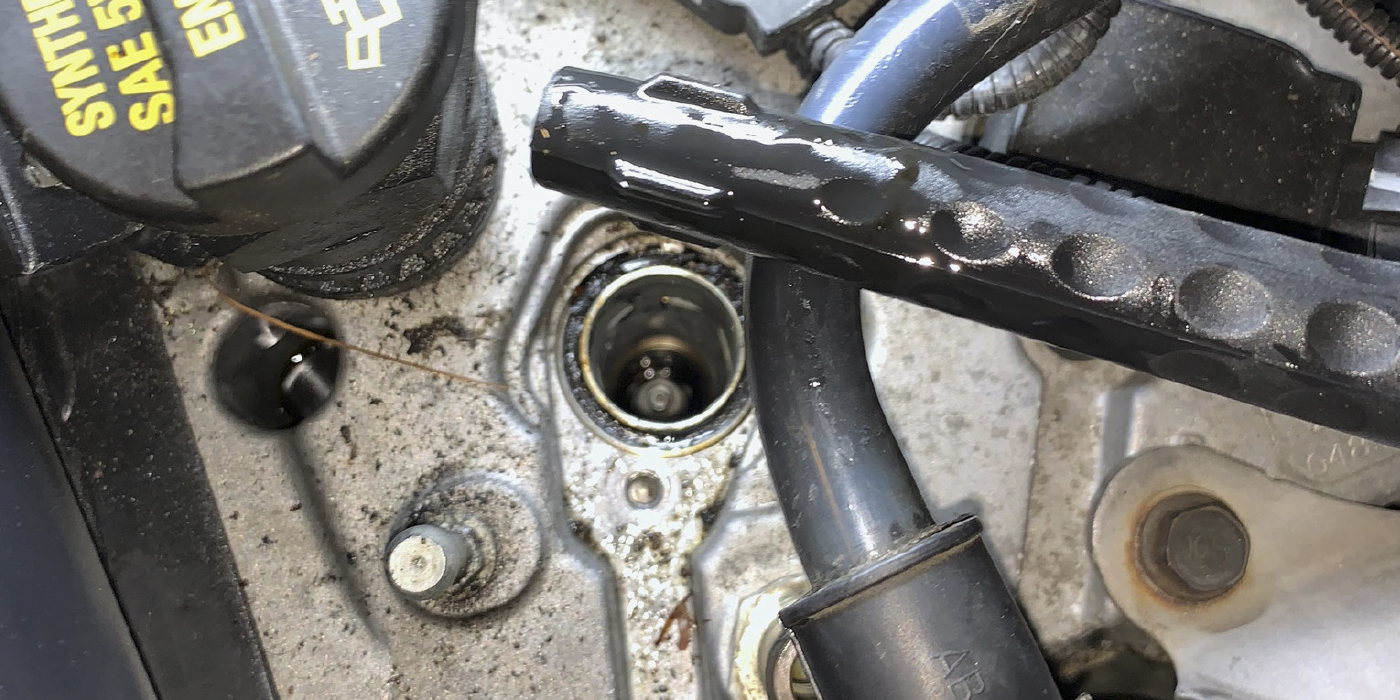
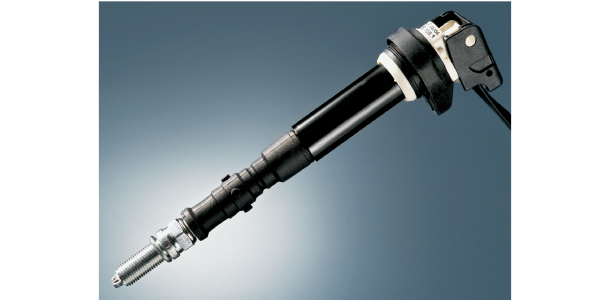
1. Locate the intake air temperature sensor and wiring on the back side of the intake manifold (Figure 1).
2. Inspect the wiring harness and connector for continuity (connector A-57 Talon/A-61 Avenger/ Sebring). Wiggle the harness near the connector to fully check for broken wires. If the harness proves to be good, further investigation will be required. If the wires are broken, perform the Repair Procedure.
Repair Procedure
This repair involves replacing the intake air temperature sensor connector assembly. See Figure 1.
1. Cut the wiring connector from the harness just behind the break.
2. Remove 1” of insulation from the harness wires and connector wires.
3. Slip a piece of heat shrink tubing (P/N 04778570) over one side of each wire. Make sure the tubing is long enough to cover and seal each splice joint.
4. Spread the strands of wire on each end and push the ends together. Make sure to attach the BK/DG wire to terminal 2 (A) and the BR/DB wire to terminal 1(B) (see Figure 2).
5. Twist the wires together on each splice and solder the connections with rosin core solder.
6. Center the heat shrink tubing over each splice and heat the joints with a heat gun until the tubing is tightly sealed and sealant flows from each end of the tubing.
7. Using electrical tape, wrap the wires from below the splice to the connector.
8. Route the harness under the vacuum hose and connect it to the intake air temperature sensor.
Technical service bulletin courtesy of Mitchell 1.
For more information on Mitchell 1 products and services, automotive professionals can log onto the company’s website at www.mitchell1.com.