I know the majority of you auto techs are extremely proficient at finding and repairing sources of strange and unusual noises. Although chasing these audible emissions can be time consuming and without a doubt aggravating, the customer’s concerns are usually valid and can often be of monumental importance to them.
Let me say something in their defense. They drive the vehicle every day, and most of them know when something has changed. Please, give credence to their claims and do your best to locate the problem. Remember, they wouldn’t be paying you to find a noise if they weren’t concerned about it. Chat time is over. Let’s dig into the details of this tech tip.
Certain 1992-93 Chrysler models may exhibit a "clicking or snapping" sound from the left side of the engine compartment while accelerating or decelerating from a stop. This noise is more prevalent when the engine compartment is hot.
The 1992-93 Chrysler models affected:
Spirit, Acclaim, LeBaron Sedan, LeBaron Coupe (except convertible), Daytona, Sundance, Shadow (except convertible), Caravan C/V, Grand Caravan, Voyager, Grand Voyager and Town & Country.
Diagnosing the problem
Note: It really helps to have the customer with you in the vehicle to identify the noise in question.
1. Close the windows and with engine running, and apply a load to the engine while in drive with the parking brake applied.
2. Release the load and shift into reverse.
3. While applying a load in reverse, with the brakes applied, listen for the "Clicking/Snapping" noise.
If noise cannot be heard, or the vehicle is equipped with a manual transaxle, drive the vehicle at low speeds with several quick, but not hard, acceleration and deceleration moves. If the noise is heard, proceed with the following.
Repair Procedure
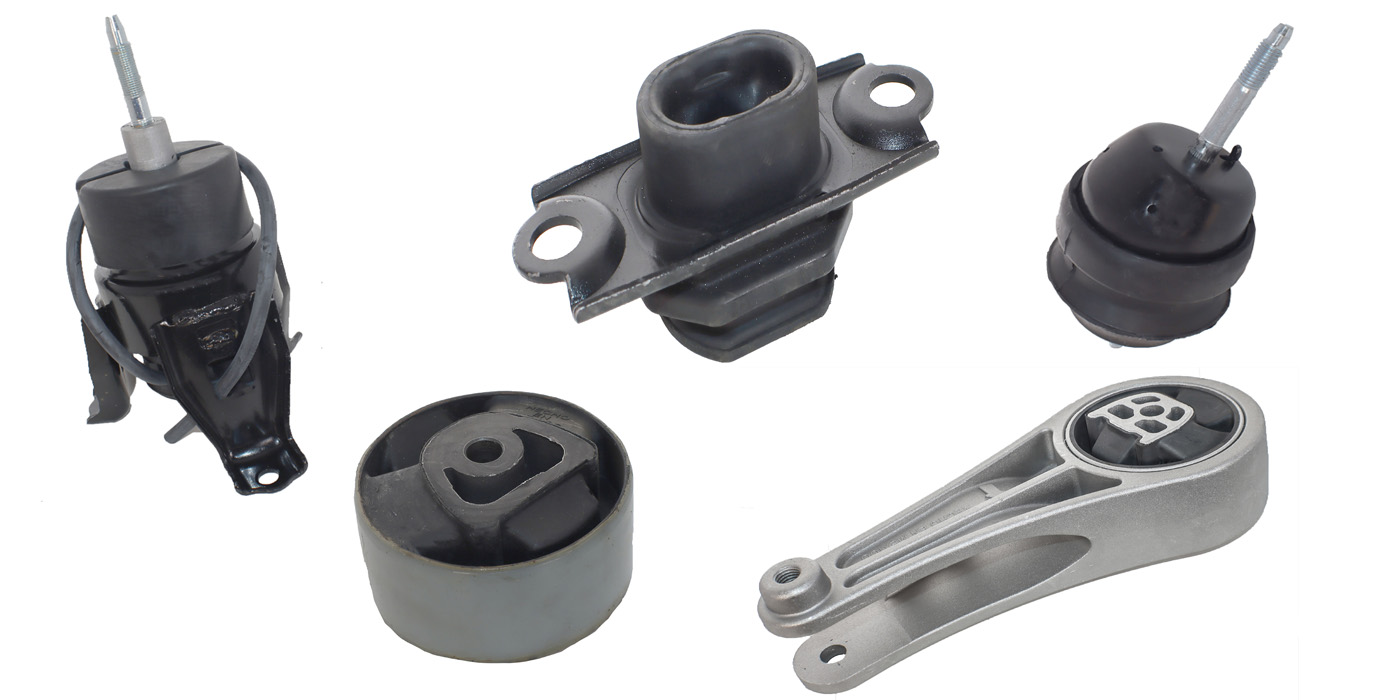
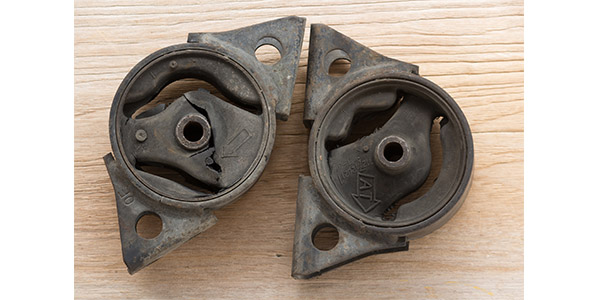
1. Remove the left engine mount.
2. Install the appropriate revised left engine mount.
3. Tighten the long support bolt to 45-60 ft. lbs.
Parts Name — Transmission — Part Number
• Left Engine Mount — Manual Transaxle — 4668314
• Left Engine Mount — 3-Speed Automatic Transaxle — 4668332
• Left Engine Mount — 4-Speed Automatic Transaxle — 466833
Here’s an installation note. This engine mount is a new "two-piece" slider type. Once the long support bolt is tightened to specifications, the split slider tube locks and will not slide or move within the aluminum core of the mount. Any engine centering must be done with the support bolt engaged in the weld nut loosely with no torque applied.
Allow about three tenths of an hour for diagnosis and about half an hour for the repair procedure. Your customer will be in awe of your expertise and professionalism and will be very grateful you took the time to first, listen to them and second, find their problem and fix it quickly.
Written by ALLDATA Technical Editor, Rich Diegle. Rich is an Advanced Engine Performance Certified and ASE Master Technician with an Associate of Arts degree in automotive technology and 22 years of dealership and independent shop experience.
Courtesy of ALLDATA.
For additional information, visit www.alldata.com.

