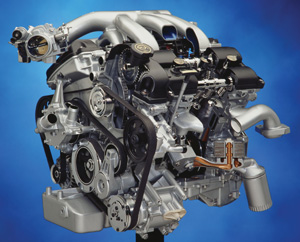
The most variation in these engines is found in the cylinder heads and front timing cover. The right and left heads are different on all the engines, and are identified by different part numbers. So if you need to replace a head, make sure you get correct side.
The heads on the early 1996-’98 engines have six round intake ports and have a casting number F5DE. The 1999 model year heads (F7DE) also have six round intake ports, but the right head has a protrusion to cover an oiling port in the block (which is used in later engines to pressurize the variable valve timing system).
In 2000, the design of the heads changed significantly, going to three oval intake ports. The 2000 castings are YF1E for the right head, and YL8E for the left head.
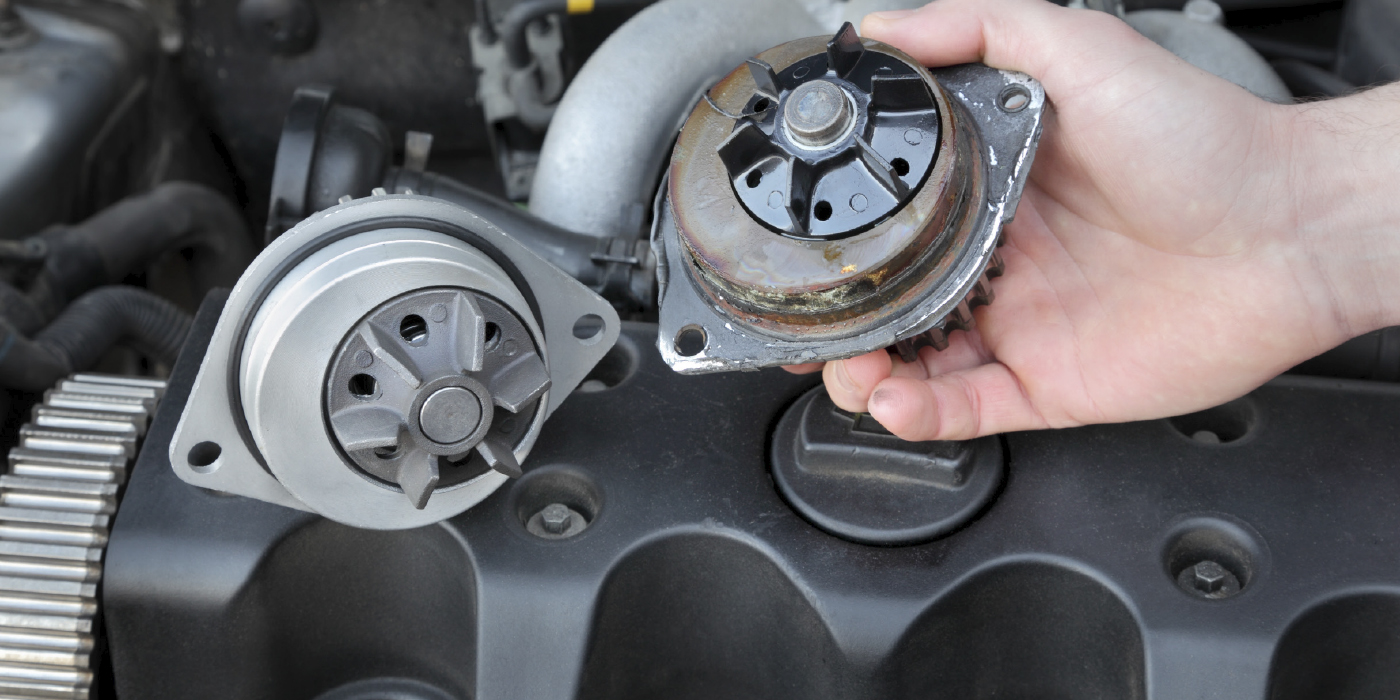
In 2001, the heads changed again when Ford moved the water pump from the right front side of the engine (as viewed from the front) to the left side. This also required a change in the location of the serpentine belt tensioner from the left side of the timing cover to the right side (as viewed from the front).
The 2000-’01 Lincoln and Jaguar 3.0L Duratec engines use a slightly different head casting (XW4E). In 2002, the head castings numbers changed (1X4E) on these engines, but the heads appear to be identical.
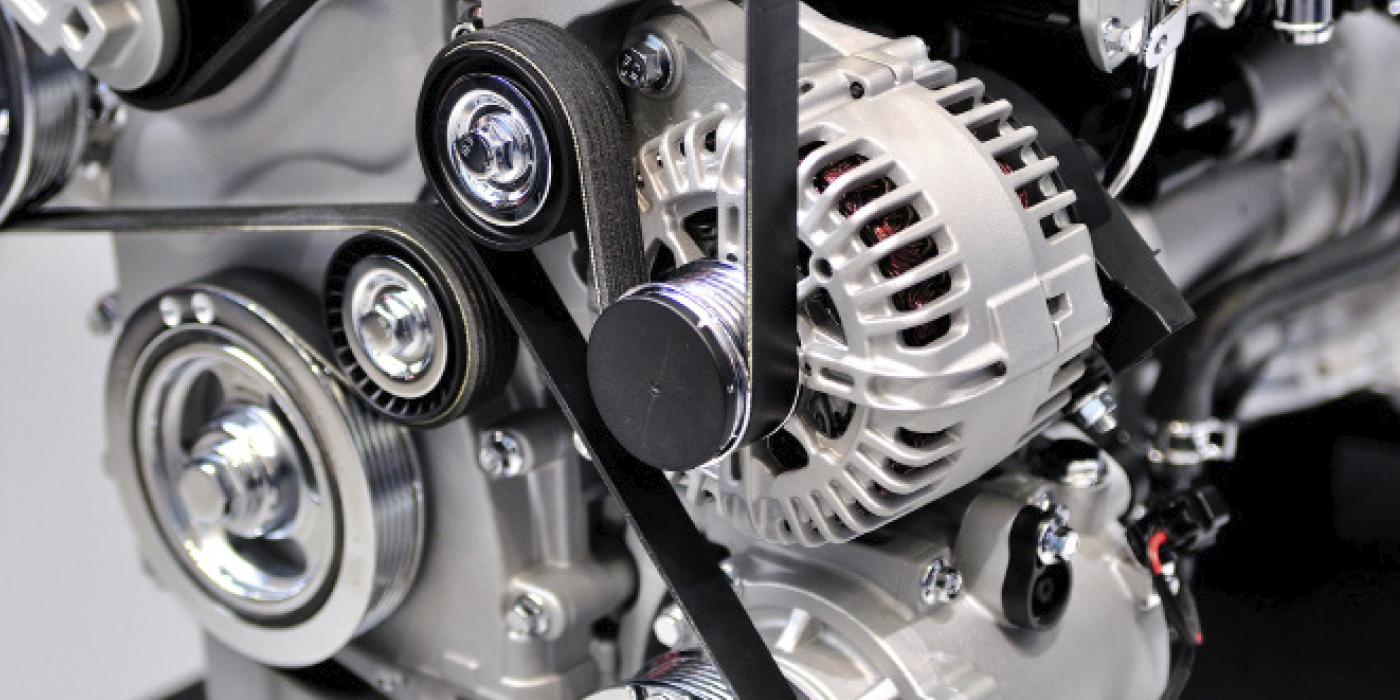
The front timing cover on the 3.0L Duratec has undergone various changes to accommodate changes in the valvetrain. From 1996 to 2000, the front covers on Taurus/Sable models have a fitting at the top right for the camshaft position sensor, and a fitting at the lower left next to the crank for the crank position sensor. The belt tensioner is located on the left side of the cover. In 2001, Ford changed the location of the belt tensioner from the left side of the cover to the right to facilitate the relocation of the water pump.
If you have a noisy serpentine belt on one of these engines, be sure to check the serpentine belt tensioner as a weak spring may be allowing the belt to slip. And, if you replace the belt on high-mileage engines, it’s a good idea to replace the tensioner, too.
On 2001-’04 Escape/Tribute engines, the crank sensor is relocated to the right side of the crank (as viewed from the front). On the 2000-’03 Lincoln/Jaguar engines, the crank sensor is to the left of the crank, and it is a different sensor with a different angled exciter ring on the crank.
On the 2003-’06 Lincoln and 2003-’04 Jaguar engines with VVT, the front timing cover mounts two camshaft position sensors (one for each intake cam).
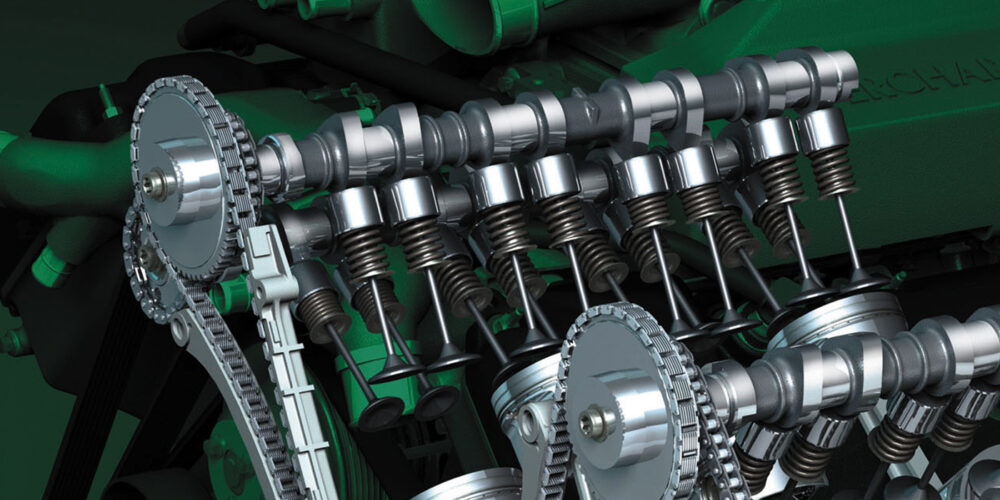
Ford has used two basic camshaft variations in the 3.0L Duratec. The early style cams were all the same from 1996 through 2000. But mid-year 2000, Ford changed from a 36-tooth cam sprocket to a 42-tooth gear. The early and late cam gears with different numbers of teeth are not interchangeable.
Timing Chain Service
If you have to remove or replace a cylinder head for any reason, or replace the timing chain on a 3.0L Duratec, it can be a bit of a challenge because Ford doesn’t provide a Top Dead Center (TDC) timing reference mark on the crankshaft. You have to use a dial indicator to find the TDC position of the number one cylinder to make sure the crank and camshafts are all properly aligned.
Ford says that when the crankshaft keyway is positioned at roughly the 11 o’clock position, the number one cylinder should be at TDC.
Before you can remove the timing chain, the front cover has to come off the engine. Then you have to remove the crank sensor pulse wheel. Note the sensor wheel’s location before you remove it.
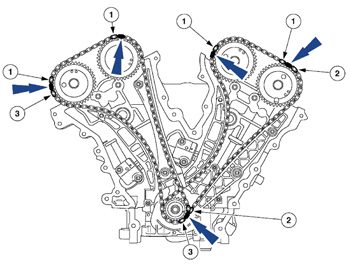
Rotating the crank until the keyway is at the 3 o’clock position will move the right cylinder head camshafts to the neutral position. The timing mark on the intake cam should be pointing to the right when viewed from the front, and the timing mark on the exhaust cam should be pointing straight up if both cams are in the correct position.
You can now remove the chain tensioner arm, chain guide and right timing chain.
To remove the left timing chain, rotate the crank clockwise 600° (1-2/3rds turn) until the keyway is again at the 11 o’clock position. This will position the left cylinder head cams in the neutral position. This time, the timing mark on the intake cam should be pointing to the left when viewed from the front, and the mark on the exhaust cam should be pointing straight up. As before, you can now remove the chain tensioner arm, chain guide and left timing chain.
Before you can reinstall the timing chains, you need to compress the left and right chain tensioners in a vice. Compress the piston until it is fully bottomed, then temporarily lock it in place with a pin or paper clip.
If the replacement timing chain does not have timing marks for aligning with the cam gears, you’ll have to mark the left and right side chains. Start with the left chain, and mark one link as the starting crankshaft timing mark. Then count 29 links and make a second mark (for the exhaust cam). Continue counting to link number 42 and make a third mark (for the intake cam). The second and third marks should align with the timing marks on the intake and exhaust cams when the chain is slipped into place. The chain tensioner and arm can now be installed.