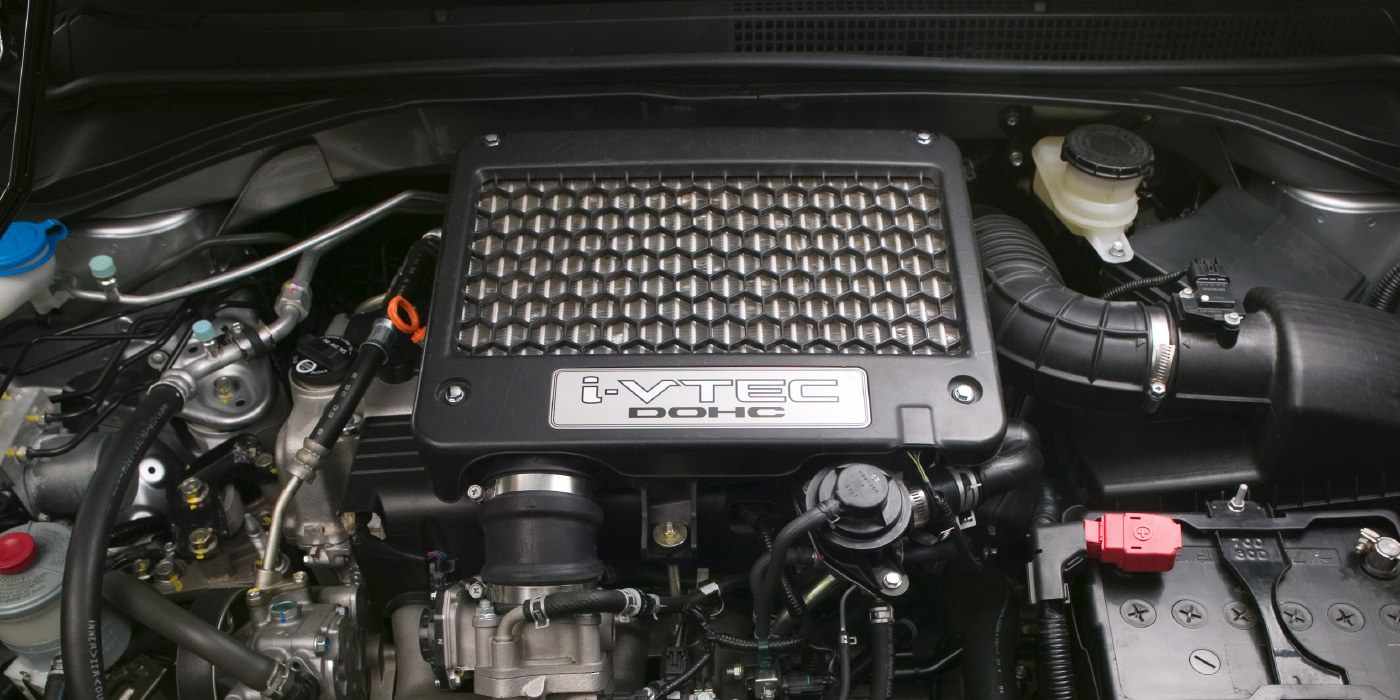
 Ford’s Modular engine, used in various Ford, Lincoln and Mercury products during the mid- to late-2000s, has been known to give techs a hard time during a spark plug replacement.
The problem lies with excessive carbon buildup on the plugs, especially on engines that have gone beyond an OEM-recommended replacement interval.
This can cause a plug to break in the chamber during its removal, creating stress on the tech and additional labor time to remove the damaged component.
Techs we talked to advised addressing the issue before it can become a problem — meaning replace the plugs prior to their recommended replacement interval. That, obviously, can be a hard sell to your Ford driving customers.
Some techs who have come across the broken plug problem recommend performing an engine flush the day prior to changing out the spark plugs and letting the vehicle sit overnight as a way to loosen up the carbon deposits, allowing for less of a chance for a plug to break.
This too, might not be an option, since there are many customers that expect a spark plug replacement job to be completed the same day.
Ford recognized the plug removal problem and issued a tech bulletin — TSB 08-7-6 — to address the problems associated with plug removal on various Ford vehicles. This article supersedes TSB 08-1-9.
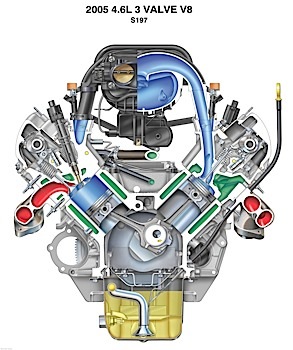
According to Ford, some F-150s, Mark LTs, F-Super Dutys, Expeditions and Navigators with the 5.4L 3V engine; Mustangs, Explorers, Mountaineers and Explorer Sport Tracs with the 4.6L 3V engine and F-Super Dutys with the 6.8L 3V engine may experience difficulty with spark plug removal. This may cause damage to the spark plug and leave part of the spark plug in the cylinder head.
Affected engine build dates are as follows: 5.4L 3V and 6.8L 3V before Oct. 9, 2007, 4.6L 3V before Nov. 30, 2007. The engine build date can be read on the left-hand cam cover information sticker.

To remove the spark plugs on these engines without damage, it is necessary to adhere exactly to this procedure before removal is attempted.
Caution: Do not remove plugs when the engine is warm or hot. The engine must be at room temperature when performing spark plug service. Removing the spark plugs from a warm/hot engine increases the chance the threads could be damaged.
Spark Plug Removal Procedure
1. Remove the coil-on-plug assemblies and thoroughly blow out the spark plug wells and surrounding valve cover area with compressed air.
2. Back out the spark plugs no more than 1/8 to 1/4 of a turn. Using Motorcraft Carburetor Tune-Up Cleaner, fill the spark plug well just above where the jamb nut hex sits (1/2 – 3/4 teaspoon). A minimum period of 15 minutes of soak time is required. The cleaner will wick down to the ground electrode shield and soften the carbon deposits in this time. Do not work the spark plug back and forth at this point.
Caution: Excessive Motorcraft carburetor tune-up cleaner, or repeating the process several times with too much cleaner fluid, could introduce enough liquid volume to hydro-lock the engine.
3. Tighten, and then loosen the spark plug, working the plug back and forth. Some screeching and high effort may be noticed. The expected removal torque is about 33 lb.-ft. (45 Nm). Repeat the back and forth turning as needed until turning effort is reduced, and remove the spark plugs.
Ford says do not use power tools for the plug removal — spark plugs must be only be removed with hand tools.

Separated/Broken Spark Plug Removal
If the spark plug separates after following the Spark Plug Removal Procedure, it will fail in one of three modes. Refer to the appropriate removal procedure as required.
• Mode 1: The ground electrode shield is left behind as an empty shell. (See Figure 2.)
• Mode 2: The entire porcelain insulator and ground electrode shield remains in the cylinder head.
• Mode 3: The upper section of porcelain broke off with remaining porcelain left inside the ground shield.
Mode 1 Procedure:
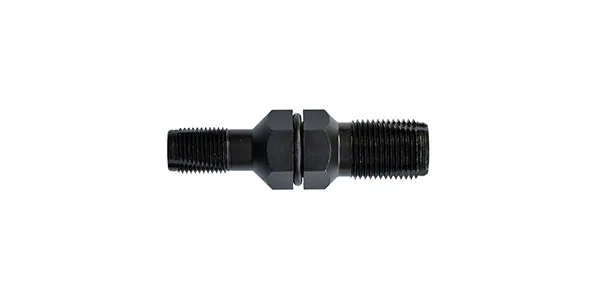
Use Rotunda special service tool 303-1203 to remove an empty ground electrode shield from the cylinder head.
Note: This tool is only designed to work with an empty ground electrode shield. If porcelain remains, proceed to Mode 2 or 3 removal.
1. Modify vacuum cap to a 3/8′′ (10 mm) length for each ground electrode shield that needs to be removed.
2. Use the installation rod provided with service tool 303-1203 update to install the modified vacuum cap. Push the cap into the ground shield down to the electrode strap. This will plug and protect the combustion chamber from contamination.

3. Thread-tap the ground electrode shield using a 9.0 x 1.0 mm plug tap (tap profile is about 3-4 reduced diameter threads on the tip end).
a. Coat the end of the tap with general-purpose grease.
b. Turn the tap about three to four turns into the ground electrode shield. Back the tap up frequently to break chips and avoid cut material from coiling-up in the spark plug well. A tap socket adaptor is provided with service tool 303-1203 update to connect the tap to a 3/8′′ socket drive.
Caution: Do not attempt to remove the ground electrode shield with the tap and wrench. The tap may break if this is attempted.
4. Thread Rotunda special service tool 303-1203 into the ground electrode shield. See Figure 3.
a. Install the stepped end of the tool pilot bushing into the spark plug well ensuring it bottoms out.
b. Screw the center shank into the ground electrode shield. Do not over tighten the shank, to
prevent thread stripping.
c. Install the nylon washer and jack nut until finger tight.
d. Turn the jack nut until the ground electrode is freed from the cavity and withdraw the tool assembly.
Mode 2 Procedure:
1. Add an additional 1/2 teaspoon Motorcraft Carburetor Tune-Up Cleaner fluid into spark plug well and allow 15 minutes of soak time.
2. Using long-nose pliers, grasp and remove the porcelain with an up and down motion taking care not to fracture the porcelain.
3. Refer to Mode 1 Procedure to remove the remaining ground electrode shield from the cylinder head.
Mode 3 Procedure:
Caution: Do not drive porcelain down into the ground shield with a punch as fragments may enter the combustion chamber.
Note: Use Rotunda special service tool kit 303-1398 to remove porcelain broken inside the ground electrode shield.
Caution: The engine and the bonding adhesive must be room temperature of 70° F (21° C) or higher for proper cure and bond strength. Verify the expiration date of the adhesive.
Caution: Do not reuse pins from the tool kit. This ensures the correct surface characteristics for bonding.
1. Remove any remaining electrode material from broken porcelain with long-nose pliers.
2. Spray Motorcraft Metal Brake Parts Cleaner into the porcelain hole for two to four seconds using the straw nozzle supplied with the brake cleaner can.
3. Using the tool kit, insert a pin into the collet. Screw the collet onto the threaded rod. Install the assembled collet, pin and threaded rod into the steel tool pilot.
4. Retract the collet and pin into the steel tool pilot, protecting the pin.
Note: Pin tip damage or bent pins will prevent insertion into the porcelain.

5. Insert the completed assembly into the spark plug well and fully engage the pin into the porcelain. See Figure 4.
6. Spray Motorcraft Metal Brake Parts Cleaner two to four seconds between the spark plug well and steel tool pilot. The steel tool pilot must be lifted up approximately 1/2” to allow brake cleaner to flood the porcelain and pin.
7. Scrub the porcelain inside diameter by moving the threaded rod up and down vigorously. Take care making sure the pin does not disengage the porcelain.
8. Repeat steps 6 and 7.
9. Remove the tool assembly. Again flood the porcelain with Motorcraft Metal Brake Parts Cleaner for two to four seconds, then blow out the entire spark plug well and porcelain with dry compressed air.
Note: Clean and dry components are key to bonding the pin to the porcelain.
10. Repeat steps 1-9 to prepare remaining porcelain fragments as needed.
11. Disassemble the collet and pin from the threaded rod. Dry the tools thoroughly with dry compressed air.
For additional information and steps for using the bonding agent, e-mail us at [email protected] for a copy of TSB 08-7-6.