Like so many other late-model vehicles, the Hyundai vehicle lineup won’t necessarily keep your bays busy with “repair” work, but can present you with profitable maintenance opportunities. We can no longer afford to let any opportunity for service go unnoticed, and hope that the customer will come back for the next job. It’s an important part of our job to look over the car while it’s in the bay with an eye for safety, dependability and value – all of which will ensure customer satisfaction and loyalty.
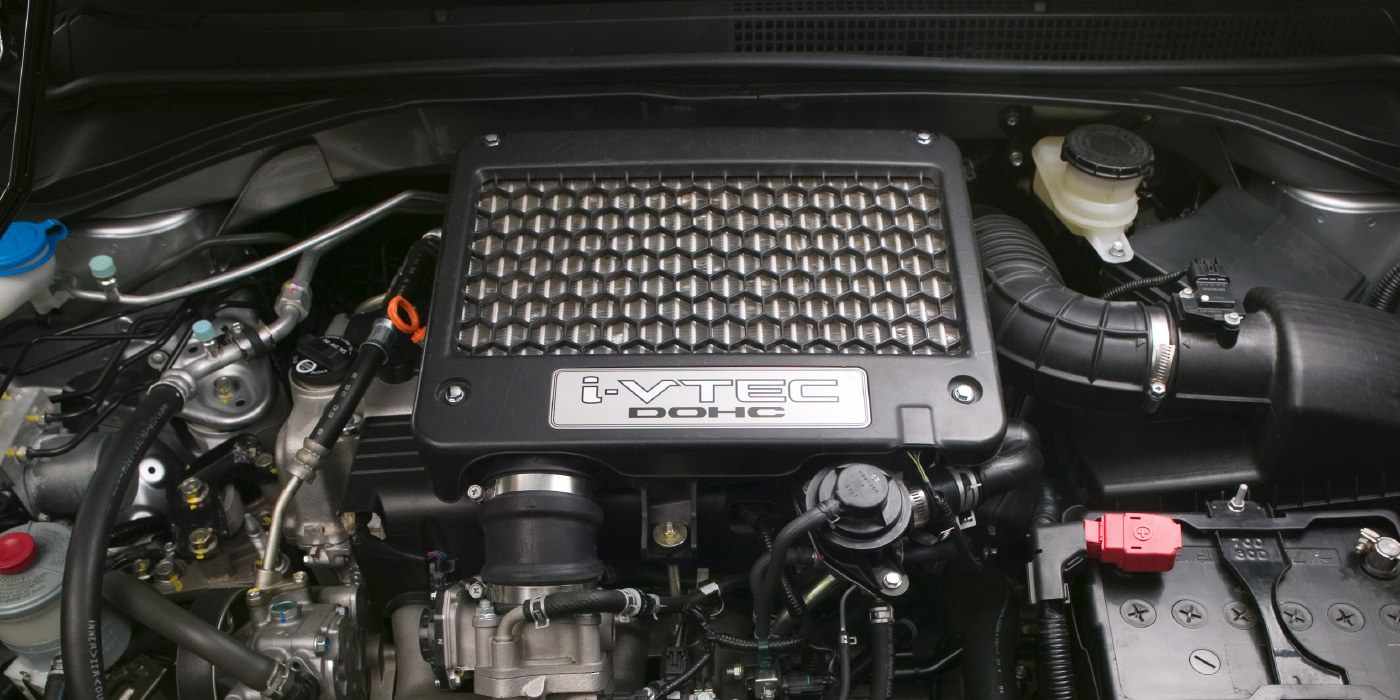
The actual nuts and bolts of servicing a Hyundai shouldn’t give most techs many problems, but it never hurts to hit your information system and read over the task you’re about to tackle. I don’t know about you, but it always seems that it’s the routine job gone bad that can present the most problems. In this article, we’ll look at what we consider some bread-and-butter service jobs, and some things to watch out for during routine maintenance inspections.
Speaking of service information, Hyundai has a no-charge website – www.hmaservice.com – that anyone can access for service information. Of course, that requires having Internet access in the shop, but I would hope by now we have all taken care of that. I couldn’t imagine working without Internet-based manufacturer information and access to technician community groups such as iATN. The information is simply too valuable.
BRAKE SYSTEM
Let’s get started with our service on the Hyundai. We’ll begin with the brake system. Take the time to recall brake service basics and review the good practices we should all be using when performing this important service.
It’s a good idea to road-test the car before it’s in the bay. Of course, you’ll be making note of how the brake system is functioning and looking at things like pedal travel and effort, as well as smoothness of operation. Are the rotors warped, causing a steering wheel shake when braking from a high speed? Are the drums true? Is the pedal pulsing, indicating that a rear drum is out of round? Are there any sounds that may be dealt with while the brake service is performed? While you’re road-testing the brakes, be aware of any other problems that need attention. Often things such as wheel bearing problems will gradually come on, and the customer may not notice them. This is a good time to ask if they’ve heard that growling noise. Many times, all it takes is pointing out to the customer that it should be remedied.
While you’re on the road, be sure to make note of the general condition of the car. You’re not only looking for necessary service opportunities, but for repairs that will let you give your customers better value from their visit to your shop. They expect a quality brake repair, but if you can take care of an exhaust shield rattle, lube up a noisy door or replace a ripped wiper blade, that’s what they’ll remember from the visit – and it will set your shop apart from the others.
Performing a high-quality brake job on a Hyundai is no different than on any other car we service. With the advent of ABS, our habits had to change and we’re the better for it. Now one of the first steps of a brake job should be opening the bleeders; it’s just too risky to back-flush that dirty fluid in the calipers through the system.
Get the bleeders open and catch the fluid in your bleed bottle as the pistons are pushed back. Now you’re all set to bleed and flush the system when you’re done with parts replacement, restoring that nice, firm pedal that only new fluid will give you. While it’s a good practice to periodically change the brake fluid, it’s safe to say it’s not always done. Don’t miss the opportunity when the system is being serviced.
When replacing the friction material, check the condition of the caliper, its hardware and the protective boots on the caliper. Be sure the sliders are clean and well-lubricated. I see a lot of value in loaded and friction-ready calipers. With good availability and a fair price, they make a good alternative to the labor involved in freeing up frozen sliders and chasing down needed parts. Many Hyundai models are equipped with drum rear brakes, but the same common sense applies: Be sure the hardware is in good shape. Carefully check the wheel cylinders for frozen pistons as well as leakage. Clean and lube the hand brake cables and self-adjusting hardware, as well as the contact points on the backing plates. Don’t forget to open the bleeders before reinstalling the shoes.
When pricing rotor replacement on a Hyundai, be aware that some model years use a captured rotor. It’s not a tough job, and is certainly made easier with a hub removal tool. But it’s more expensive and it’s better that the customer knows about that going in. Like any other rotor replacement, be sure the hub surface where the rotor sits is clean, smooth and free of rust. Finish off the job by tightening the mounting bolts and the lug nuts to the proper torque.
UNDERCAR CHECKS
Hopefully, when the car went up on the lift, the first thing you did was spin and shake the wheels. This two-minute exercise with the car at chest height will tell you plenty about the car and should be done whenever a car is raised. When you’re done, you should have checked the condition and air pressure of the tires; made sure the shocks weren’t leaking; and checked for play in the tie rod ends, ball joints and control arm bushings. You’ve also listened for dragging brakes and checked for noisy or loose wheel bearings. Depending on the wheel design, you may know brake pad and rotor condition.
Make your notes and raise the car, checking the sway bar links and mounting hardware. Any looseness in the bushing that mounts the sway bar to the chassis will result in a distinct knocking noise. Often mistaken for a bad strut or shock, it’s an opportunity for you to give your customer a good value by fixing it right the first time. For a reasonable price, you can get rid of this troubling noise.
When checking the sway bars don’t overlook the bar itself. We’ve seen a couple of Elantras that have had a snapped tubular front sway bar. As you’d expect, it isn’t hard to find the problem if you’re looking for it.
The only other recurring problem we’ve seen with Hyundais has been tight, rusty steering shaft
U-joints. Often the problem is accurately described as the steering having a tight spot or uneven feel in the steering. The rust may be visible with a close inspection; otherwise, the joint will have to be removed for inspection. This problem can start as an intermittent situation, with severe cases resulting in a challenging pulling complaint. Like wheel bearing noise, this problem will gradually come on.
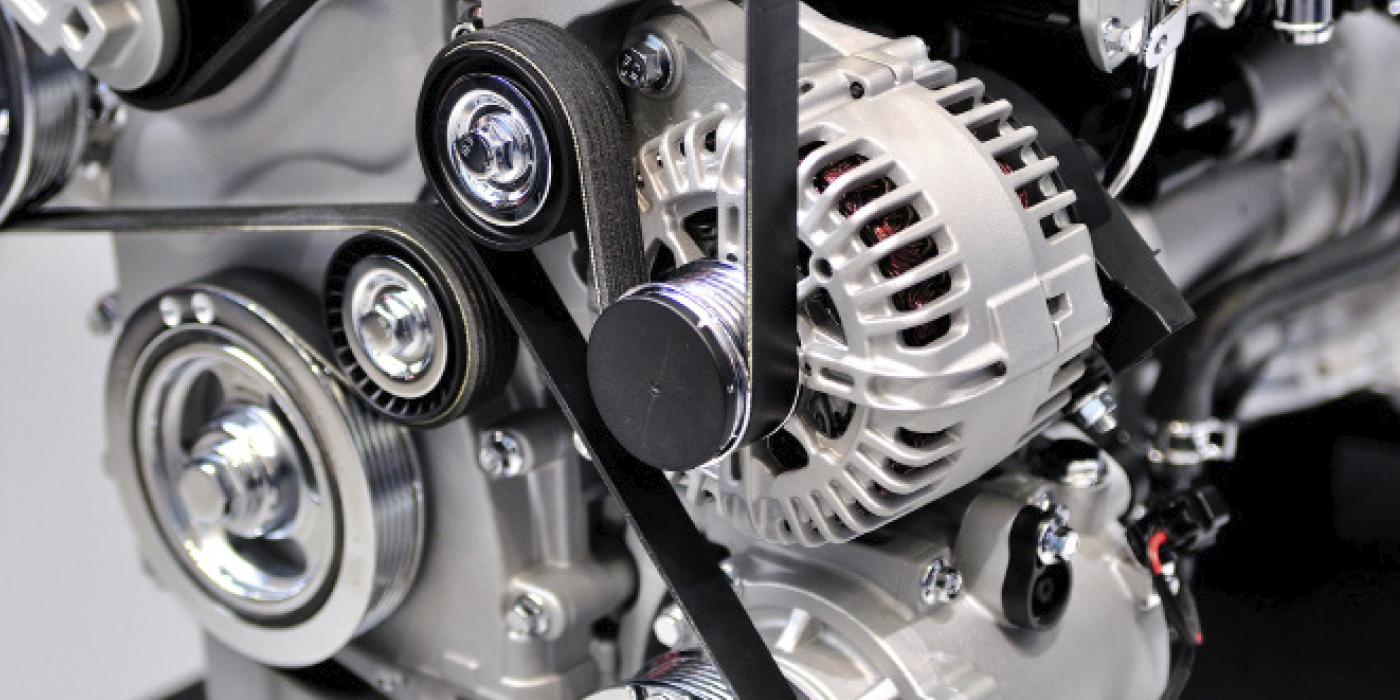
TIMING BELTS
The one service job that will require some Hyundai-specific knowledge is timing belt replacement. For the most part, the job is straightforward, but there are a couple of pitfalls. One of the most common problems is confusion on setting timing belt tension. Techs seem to be having the most problems with engines that use the manual/hydraulic tensioner system. This system requires that the tech manually set the base tension to spec, while the hydraulic tensioner maintains the spec through the life of the belt. Your service information will walk you through the procedure. It’s not difficult when using the recommended two-pin tensioner tool (rather than using snap-ring pliers as some tech do). The tool is inexpensive and ensures the proper tension when used with an inch-pound torque wrench.
If you use an alternate method for the initial setting, you will need to confirm it was correct when checking the movement of the auto tensioner pushrod after the locking pin has been removed and the crankshaft has been rotated twice by hand. At the same time, you’ll need to check that the timing marks are where they should be.
Hyundai also uses balance and oil pump shafts driven by the timing belt. In the early 1990s, balance shafts were used on the small displacement 1.6L and 1.8L DOHC engines found in the popular Elantra and the sporty Tiburon, as well as the larger displacement 2.0L and 2.4L engines used in the Sonata. The addition of the balance belt won’t cause any problems as long it’s timed correctly and the counterweights are in the proper position when the belts are installed. There are access holes in the block that allow you to insert a punch or screwdriver to ensure the weights are at the bottom of the shaft, but they are not always necessary. It isn’t difficult to “feel” that the weights are at the bottom of the shaft. Later 1.8L and 2.0L engines went with a timing chain tying the cams together, while a belt was used on the opposite end of the exhaust cam to drive both. No balance shafts are used on these engines but remain necessary on the larger discplacement four-cylinder engines.
When replacing a timing belt on a Sonata, be aware that some early models were equipped with bad tensioner assemblies that resulted in the belt contacting the cover. A TSB was issued, calling for a revised tensioner and cover replacement. I would think most of the affected cars have been taken care of, but it’s always a good idea to inspect the parts as they’re removed, looking for problems that are the result of worn parts.
Pay particular attention to the tensioner and idler pulleys as well as the tensioner itself. Be careful when compressing hydraulic units. Go slowly and note that any signs of leakage, rust or damage should lead to replacement. When removing the belt cover, make note of the length of the bolts and their locations to avoid confusion on reassembly. Diagrams are included in the service info, but it can save some time keeping the bolts in order as they are removed.
There shouldn’t be any problem installing the additional parts normally associated with a timing belt replacement. Cam, crank and balance shaft seal replacement shouldn’t be a problem. Be careful not to let a leaking valve cover trick you into thinking the seals are leaking. If you’re confronted with a car that seems to be leaking excessively, be sure to check the crankcase breather system for blockages. Replacing the water pump, thermostat and coolant makes sense and saves the customer money in the long run, as well as assures good dependable service from the vehicle.
SERVICE INTERVALS
Of course, Hyundais require routine service as they are accumulating the miles leading up to the aforementioned services. Like most late-model cars, Hyundai service intervals are 15,000 miles apart with more frequent oil changes. Get in the habit of looking at the mileage of a car with an eye on what services are due or should have recently been done.
If you’re doing brakes on a car that has 67,000 miles on it, that found its way to your shop when the brakes went metal-to-metal, ask your customer if he or she had the 60,000-mile service done. Point out that while the service would have included a brake inspection that could have saved them money, it would have certainly allowed the job to be done by appointment (rather than dealing with the inconvenience and safety risk posed by an emergency repair). Never pass up a chance to talk up the value of regular maintenance performed by a well-trained tech. It’s a win-win situation for both your shop and the motorist.
On those days when it seems like all we’re doing is low-profit oil changes, I remember something I heard at a training seminar many years ago. “The auto service industry has it made: We get to see all the customer’s needs whenever we have the car. All we have to do is point out what’s required.” It was true then, and is still true today.
I hope this article leaves you feeling confident about welcoming Hyundais into your service bays, knowing the same good practices used with other brands will bring you the same good results. Continue selling the benefits of regular service to all of your customers. Providing a good product that offers value has proven successful for Hyundai. There’s no reason the same strategy won’t work for your shop.