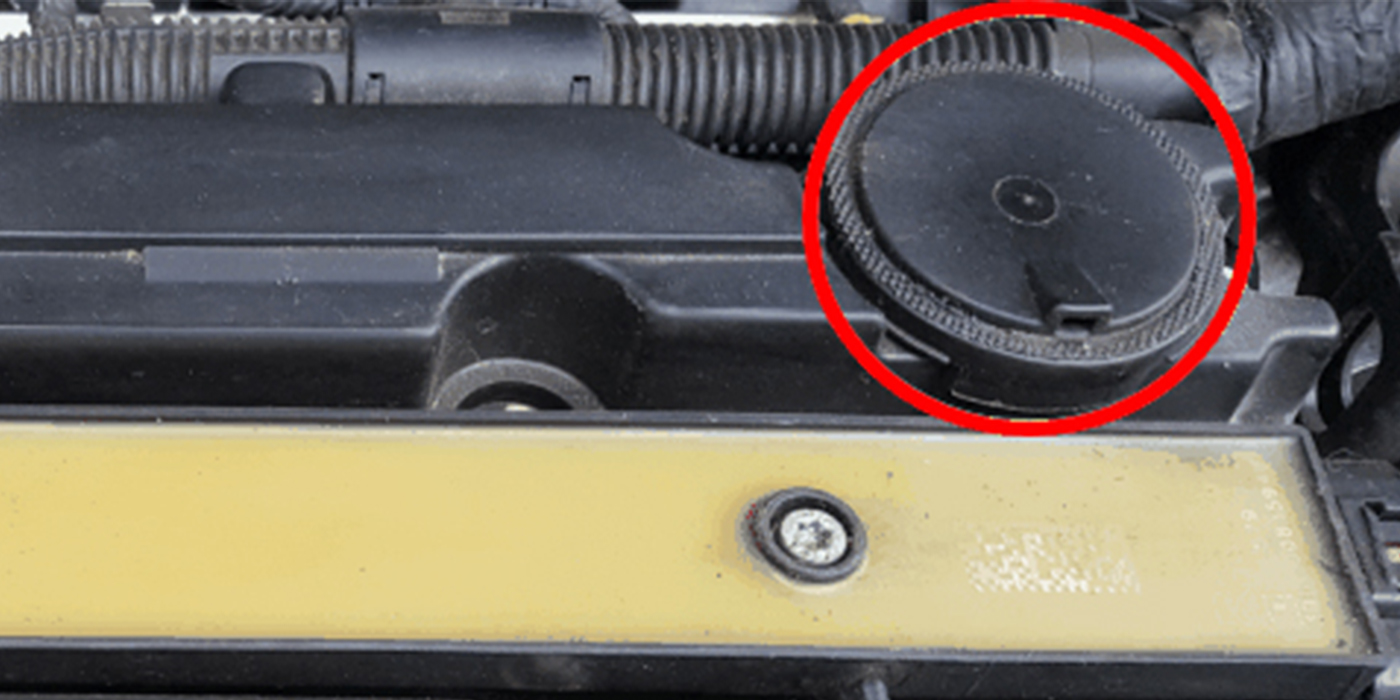
Problem: Some GM owners may complain about external oil leaks from these engines. Before replacing the new design rear main oil seal, be sure the PCV system is operating correctly.
Note: The information only applies to the 60-degree V6 engines. Some of the discontinued 60-degree V6 engine VINs and RPOs may have carried over to other new model year engines and may no longer be a 60-degree V6, so this information may not apply.
Models Affected: 1986-2006 GM cars and light-duty trucks (including Saturn) with 2.8L, 3.1L, 3.4L, 3.5L, 3.9L 60 degree V6 engines (VINs D, E, F, J, K, L, M, N, R, S, T, V, W, X, Z, 1, 8, 9 – RPOs LG6, LA1, LNJ, or LN9, LG8, LL1 or LX9, L82, LL2, LB8, LH0, LG5, LB6, LE2 or LQ1, LH7, LC1, LX9, L44, LZ4, LZE, LZ
Note: The repair information only applies to above listed engines. If one or more items do not match the above list, then this information does not apply.
Note: This information does not apply to 2004-2005 Saturn VUE models with 3.5L DOHC V6 engine or 2005-2006 Cadillac CTS with 2.8L HFV6 engine (VIN T – RPO LP1).
The new seal described below comes with a protective nylon sleeve already installed in the seal. This sleeve assures that the seal is installed in the correct direction and also protects the seal from getting damaged during installation. Do not remove the protective sleeve from the seal; if removed, the installation tool (EN-48108) will not work.
GM reports that a new design crankshaft rear main oil seal and installation tool (EN-48108) has been released. This seal incorporates features that improve high mileage durability. Replace the crankshaft rear main oil seal with the new design rear main oil seal, p/n 12592195 (Canadian p/n 31022784) using the following procedures.
The rear main oil seal installation tool (EN-48108) has a unique design to allow the technician to easily install the rear main seal squarely in the correct depth and direction.
Removal Procedure:
Remove the crankshaft rear main oil seal using one of the following techniques:
• Removing new style crankshaft rear main oil seal:
Since the seal lip faces outward, insert a flat-bladed or similar tool between the sealing lip and outer casting of the seal at an angle.
Pry the seal out by moving tool toward the center of crankshaft.
• Removing old style crankshaft rear main oil seal:
Here, the seal lip faces inward. Insert a flat-bladed or similar tool between the outer seal casing and the engine block casting.
Gently pry seal out.
Repeat the above steps as necessary, around the crankshaft rear oil seal, until the seal is removed.
Installation Procedure:
Do not remove the protective nylon sleeve from the new rear main seal prior to installation. The EN-48108 is designed to install the rear main seal with the protective sleeve in place. Never apply or use any oil, lubricants or sealing compounds on the crankshaft rear main oil seal.
Clean the crankshaft sealing surface with a clean, lint-free towel. Inspect the lead-in edge of the crankshaft for burrs or sharp edges with crocus cloth or equivalent before proceeding.
Next, align the mandrel dowel pin to the dowel pin hole in the crankshaft.
Using a large flat blad screwdriver, tighten the two mandrel screws to the crankshaft. Ensure the mandrel is snug to the crankshaft hub.
Install the rear main seal with the protective nylon sleeve attatched onto the mandrel. The seal, if properly installed, will center on a step that protrudes from the center of the mandrel. As and error proof, seal will fit only one way onto the mandrel.
Install the outer drive drum onto the mandrel (EN-48108). Install the bearing, washer and the drive nut onto the threaded shaft.
Using a wrench, turn the drive nut on the mandrel, which will push the seal into the engine bore. Turn the wrench until the drive drum is snug and flush against the engine block.
Loosen and remove drive nut, washer, bearing and drive drum. Discard protective nylon sleeve. Verify that the seal has seated properly.
Use a flat blade screwdriver to remove the two attachment screws from the mandrel and remove mandrel from crankshaft hub.
Courtesy of Automotive Parts Remanufacturers Association (APRA)
www.AutoBulletins.com


