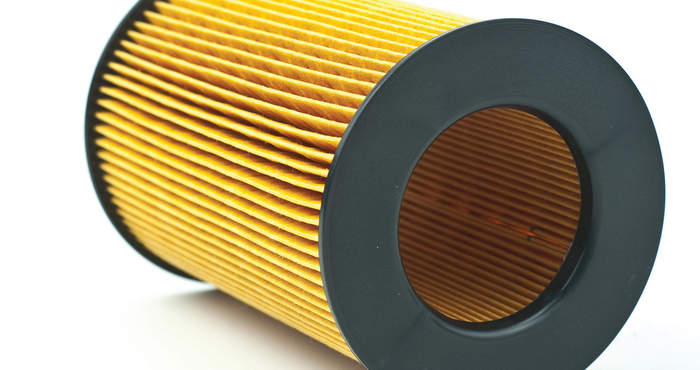
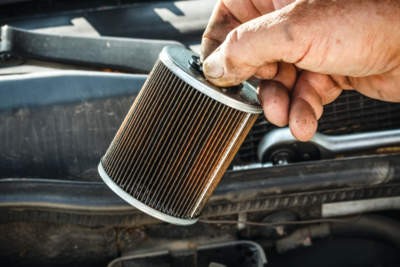
Cartridge oil filters account for a large number of oil filter applications in the field. The chances of improperly installing a cartridge oil filter are greater than with a spin-on filter. The key is to take your time, inspect before installing and follow the tips below.
Use the correct tool to remove the housing.
Just because a housing has wrench flats doesn’t mean you can use a conventional wrench, socket or even pliers. Using the wrong tool to remove a housing can cause damage you might not be able to see. The wrong tool can put stress on the housing and cause it to crack. Tool suppliers have a wide selection of cartridge oil filter tools that will pay for themselves by preventing a problem.
Be gentle when removing the O-rings on the housing.
Some things to be mindful of: Use a pick or rounded tool to remove the O-rings. Never use a sharp blade or flat-head screwdriver that could potentially damage the housing. Never cut the O-rings off with a box cutter or knife. That goes for both plastic and metal housings — even the smallest gouge can lead to an oil leak.
 Keep the O-rings.
Some new applications may need up to four new O-rings, and some filter kits have multiple O-rings to fit different applications. To avoid confusion, pull the old O-rings from the housing and place them to the side. When the new filter is unboxed, use the old O-rings as a basis of comparison when looking at the new O-rings.
Apply oil to the O-rings.
Always apply clean engine oil to the new O-rings and the O-ring grooves in the housing cap. This helps to create a better seal because the O-rings will not bunch up or twist when the housing is installed.
Roll the new O-rings.
Carefully roll the new O-ring onto the housing or plug. Never stretch the O-rings with your fingers or tools. These are not rubber bands, and the elastomers used in the O-rings have only a small amount of stretch.
Use your hands at first.
When threading on the oil filter housing, always use your hands to feel if the filter is seated in the correct position. If you need to use a lot of force to thread on the filter, remove the housing and inspect the filter to make sure the pleats and end caps are not damaged.
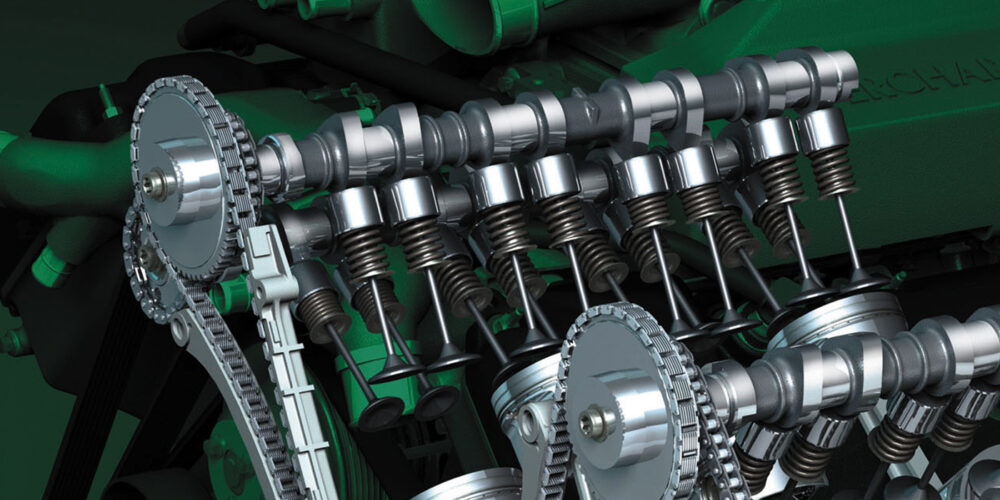
Camshaft position codes?
The chances of improperly installing a cartridge oil filter are greater than with a spin-on filter. If a filter becomes restricted due to an installation error on an engine with variable valve timing, the lack of pressure and volume could result in codes concerning the camshaft and crank position. These codes may indicate that the camshaft position is retarded because the camshaft actuator doesn’t have enough pressure to change the angle of the camshaft. Remove the filter and make sure it is seated and is not crushed. Some filters have locating tabs that become shifted as the housing is rotated.
Cleaning the housing.
Clean both the filter housing cap and filter housing. Look for damage such as cracks or damaged threads. A replacement housing costs a lot less than a new engine.