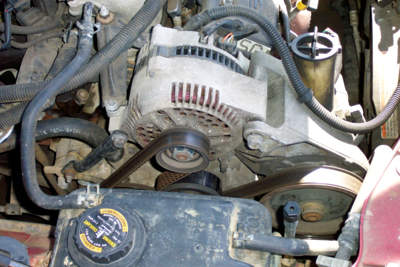
If the charging voltage is low, or the alternator isn’t putting out enough current to keep up with the electrical loads that are placed upon it, don’t automatically assume the starter or alternator is bad and needs to be replaced (unless you’re bench testing the unit out of the vehicle). Many times an alternator is not working properly because of poor electrical connections in the charging circuit.
Loose or corroded connections on the back of the unit can increase resistance and restrict the current flowing through the circuit. The same goes for broken or frayed wires inside a connector or the alternator wiring harness. The connectors and wires may appear to be OK visually, but unless they are actually tested there is no way to know if they’re clean, tight, undamaged and making good electrical contact. If the wires and connectors are not checked, you may replace the alternator only to discover the new unit you just installed is “no good.” Now you get to replace it again, and that can be a lot of lost time and labor on vehicles where the alternator is buried under a lot of other stuff.
 Recommended Tests
Every alternator supplier we’ve ever talked to about this issue says the same thing: Most of the alternators that are returned under warranty have nothing wrong with them whatsoever. The alternator isn’t charging the battery because of other problems on the vehicle like bad wiring connections, bad battery cables, a bad battery or a bad PCM. So save yourself the embarrassment and hassle of a comeback and test the alternator wiring connectors and wiring harness.
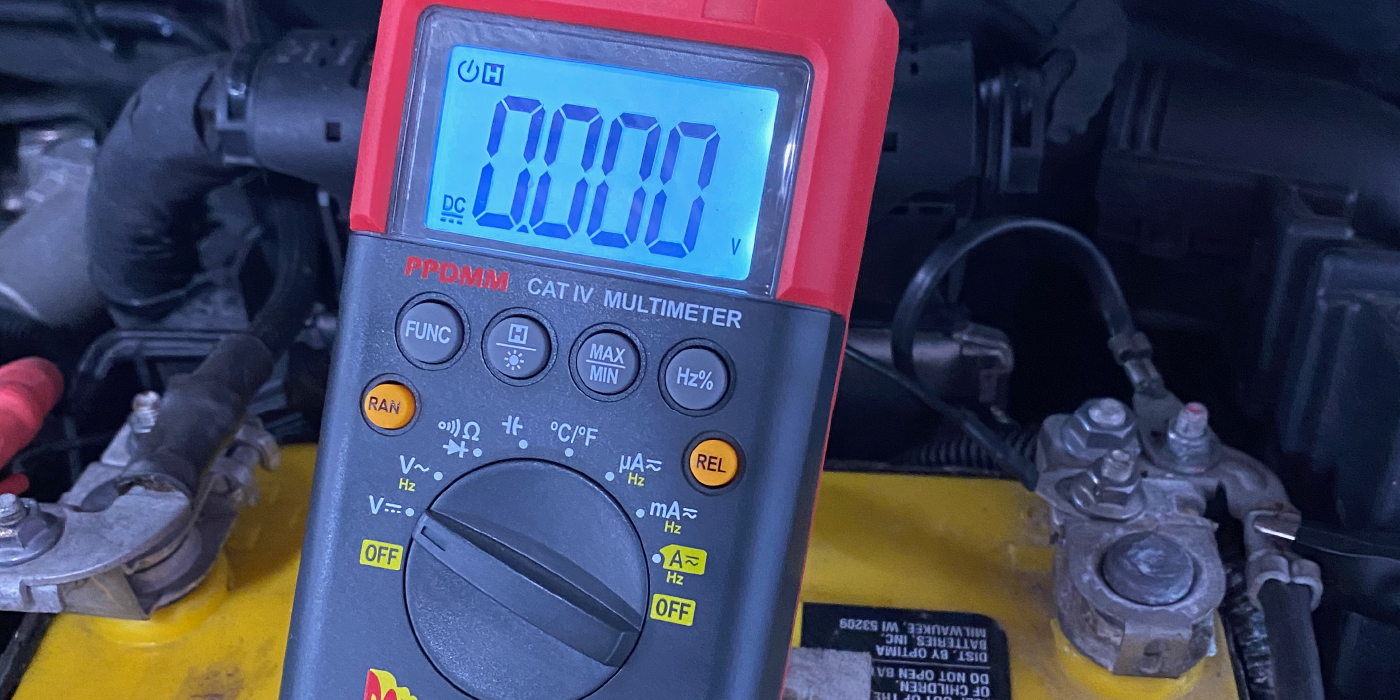
You can do this by using your voltmeter to run “voltage drop” checks across the connections when the engine is running. To perform a voltage drop test, set the voltmeter on the 2-volt scale and touch the positive and negative test leads on opposite sides of a connection. If there is resistance in the connection, some of the voltage will try to bypass the resistance by flowing through the voltmeter. A reading of more than 0.2 volts means trouble. Ideally, the voltage drop across any connection should be zero or less than 0.1 volts.
Check for voltage drops at the positive and negative battery cable connections, the alternator BAT+ power connection and the engine ground strap(s). Poor ground connections are an often-overlooked cause of low charging output and alternator failure. Voltage drops on the positive side of the charging circuit can cause undercharging. Voltage drops on the negative side can cause overcharging (this fools the voltage regulator into thinking the battery is low).
Another approach for reducing comebacks and unnecessary warranty returns is to ask your parts supplier to bench test your customer’s old alternator (to confirm that it’s bad), and to bench test the new alternator before you install it (to confirm that it’s good). If the old alternator passes the tests, the problem is obviously not the alternator, and you’ve missed something. Time to get out your voltmeter and start doing those voltage drop checks in the battery and charging circuit.
When a new alternator is installed, check the battery voltage and use a battery charger to bring the battery up to full charge before you return the vehicle to your customer. Also, start the engine and use your DVOM to check the charging output of the alternator. Don’t assume everything is working OK just because you bolted in a new alternator.
 The Role of the Starter
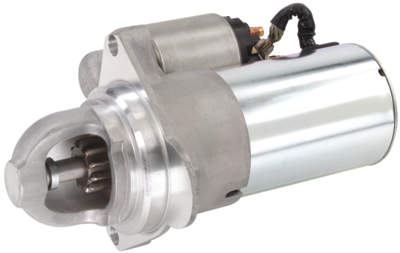
The starter plays an unusually important role in the modern computerized engine management system because most late-model engines must crank at about 200-300 rpm to activate the electronic fuel injection. For example, when the PCM “sees” a strong, sustained signal from the crankshaft position sensor (CKP), it will activate the fuel pump relay in order to pressurize the fuel injectors. Without seeing a reliable CKP signal to indicate sufficient cranking speed, the PCM may not activate the fuel pump relay, thereby creating a cranking, no-start condition.
In the same sense, many vehicles equipped with airflow sensors or meters must also generate a specific volume of airflow through the meter to close the fuel pump relay. In either case, if the starter fails to spin the engine fast enough for the PCM to activate the fuel pump, the engine will not start.
So, if the engine doesn’t crank fast enough for the PCM to activate the fuel pump relay, which is at fault, the battery or the starter? The answer will be relatively obvious on low-mileage vehicles that have little wear on the battery, starter or charging and engine management systems. However, it’s important to remember that the answer is not as easy to discern on high-mileage vehicles due to a larger degree of wear on the starter and other components of the starting system.
Understanding Starter Failures
As a basic consideration, it’s always important to make sure that battery connections are tight and free of corrosion. Especially integral are the B+ connection to the starter and the B- connection to the engine block and chassis. Too often, these connections are left loose if the engine or transaxle has been removed. It’s also critical to make sure that the battery can deliver sufficient voltage and amperage to the starter.
As for testing the starter itself, begin by checking the engine oil level. Often in today’s self-service gasoline market, the owner simply forgets to check the oil level and runs the engine dry. This mimics a bad starter by seizing the engine bearings to the crankshaft.
The second major step is to determine the nature of the starter failure. A defective starter either fails to engage or cranks too slowly to engage the engine electronics.