Models:
2014-’18 MDX
2015-’19 TLX
2014-’18 RLX
2014- ’16 RLX Hybrid
Symptom:
The area near the high-pressure fuel pump chirps after the engine is warm.
Possible Causes:
The high-pressure fuel pump is making a chirp. This noise does not impact the pump’s function or reliability.
Corrective Action:
Replace the high-pressure fuel pump.
Parts Information:
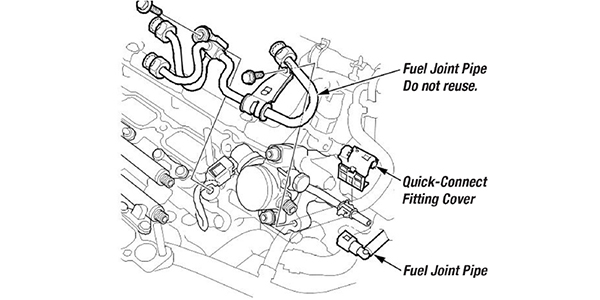
– Fuel Joint Pipe Set, 16012-R9P-315
– High-Pressure Fuel Pump, 16790 — RLV-305
– Intake Manifold Gasket (top), 17112-5G0 — A01
– Intake Manifold Gasket, 17105-R9P-A01
– Intake Manifold (RR), 17065-R9P-A01
– Intake Manifold Gasket, 17055-R9P-A01
Diagnosis:
With the hood open, listen for a chirping noise with the engine warmed up.
– If the noise is coming from the high-pressure fuel pump, go to the repair procedure.
– If the noise is coming from the timing belt area, refer to S/B 14-025 for Timing Belt Chirps.
– If the noise is not coming from the high-pressure fuel pump or timing belt, continue with normal troubleshooting.
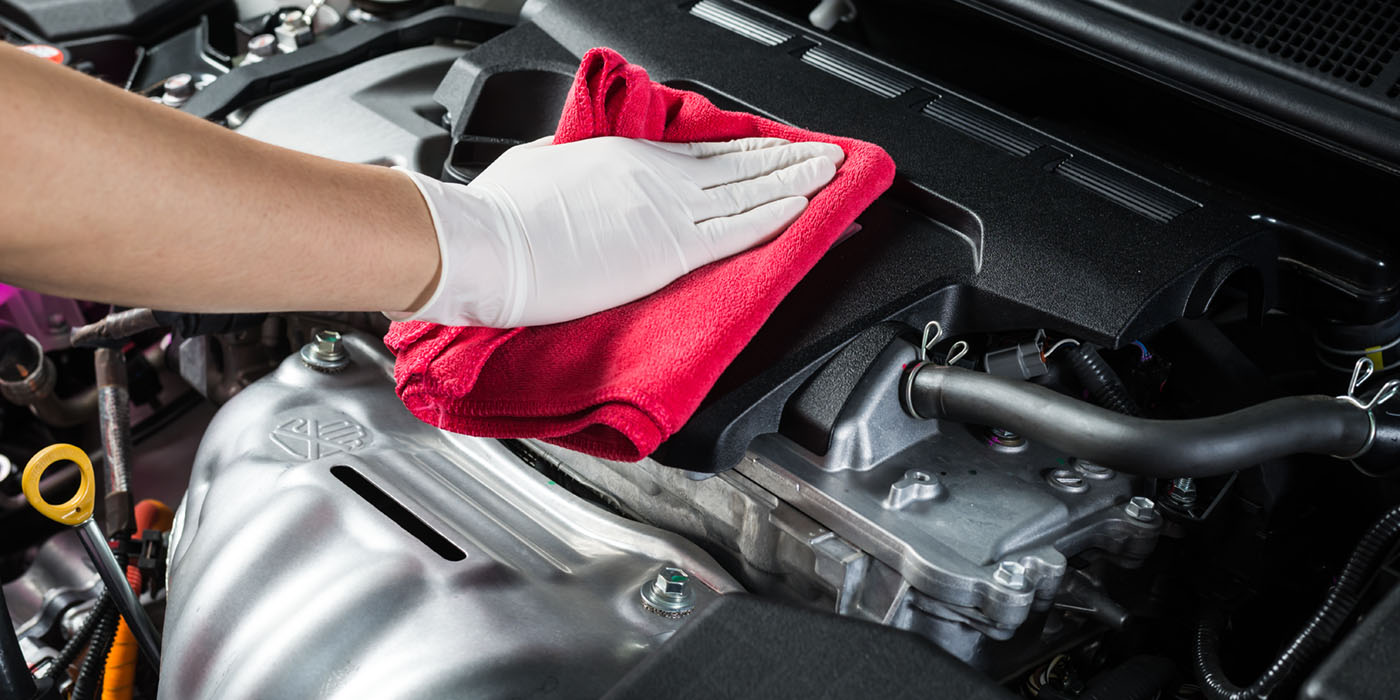
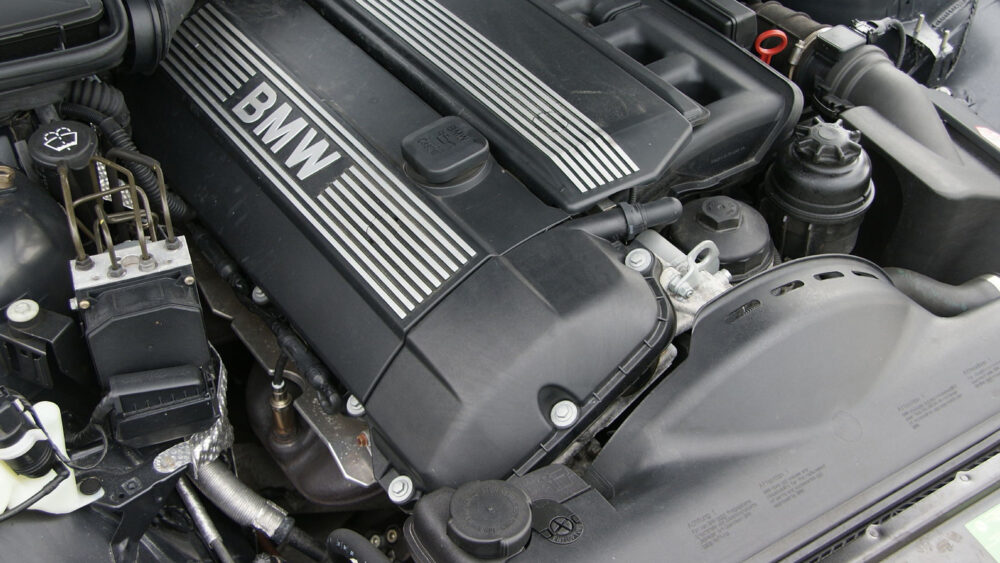
Repair Procedure:
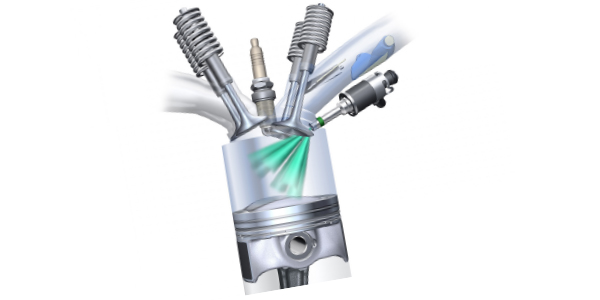
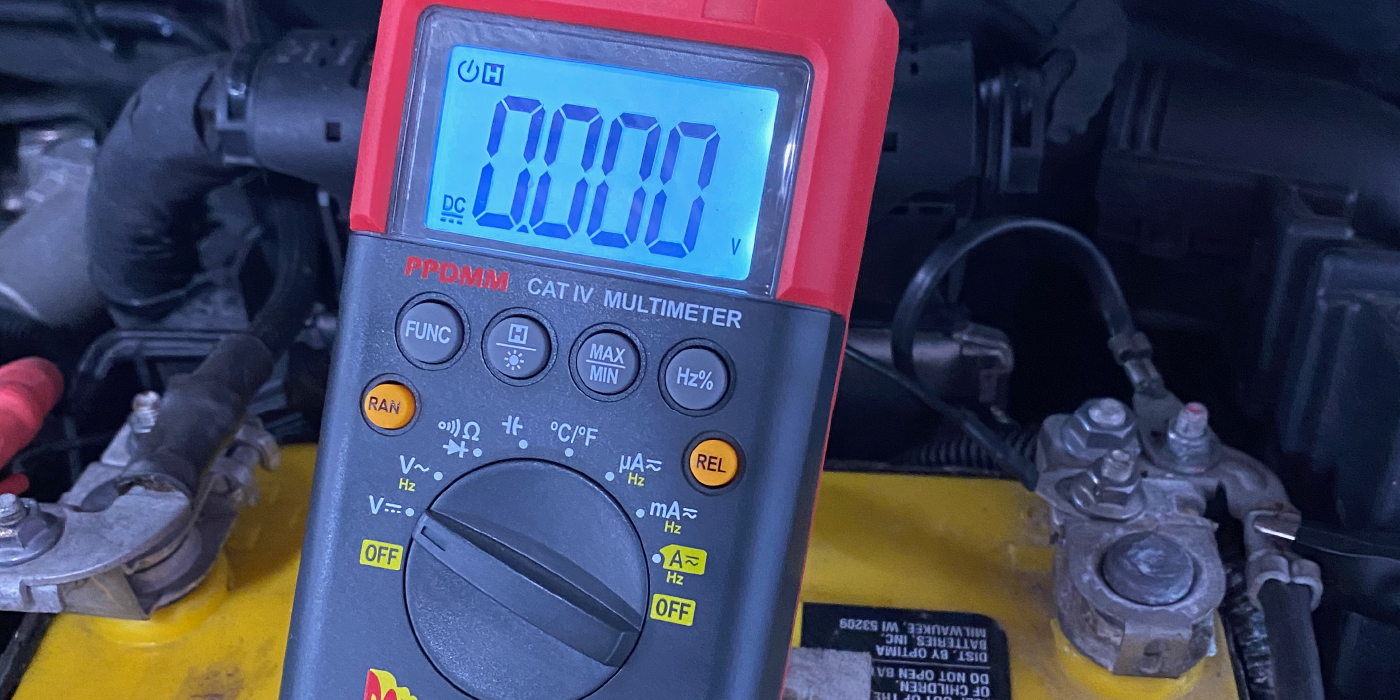
1. Relieve the fuel pressure.
2. Set the No. 1 piston at top dead center (TDC).
3. Remove the intake manifold and intake manifold base. Removal of the throttle body from the intake manifold is not required. Seal the two water hoses and leave it attached to the intake manifold.
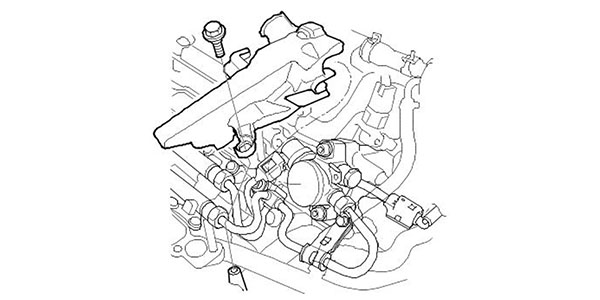
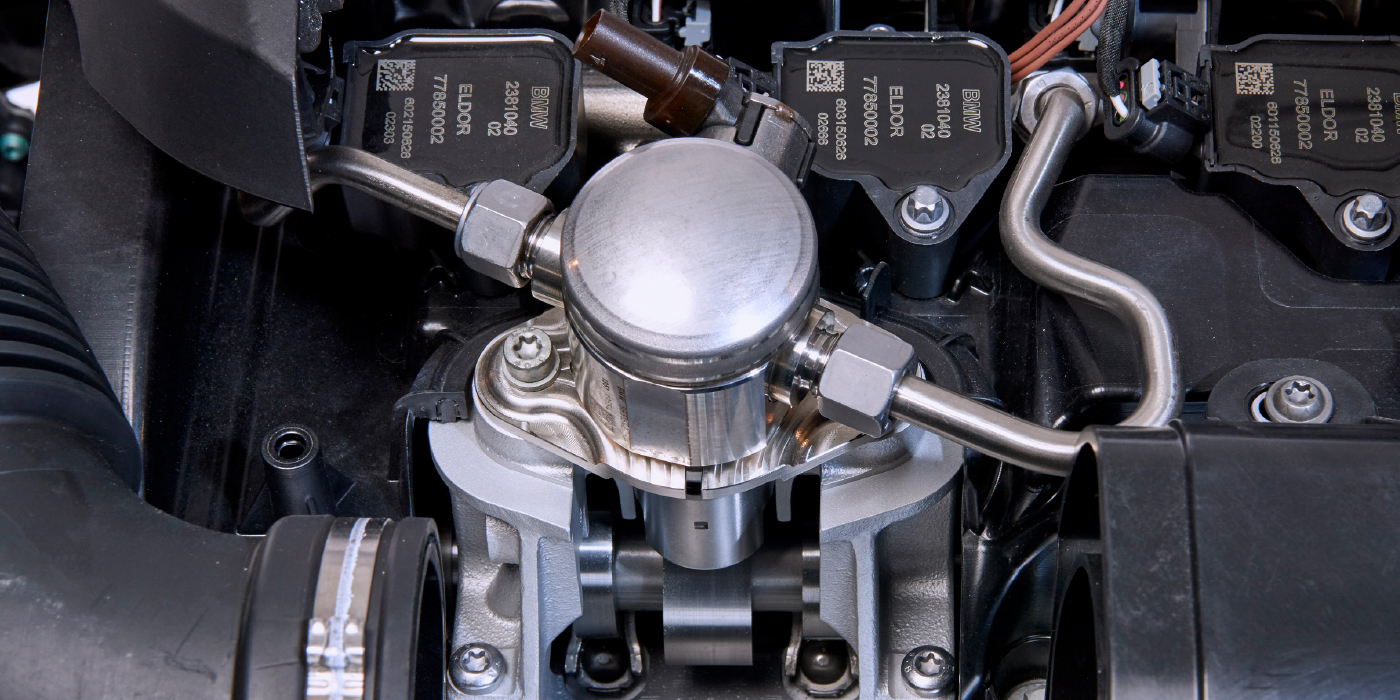
4. Remove the high-pressure fuel pump cover.

5. Remove the quick-connect fitting cover.
6. Disconnect the quick-connect fitting.
7. Remove the fuel joint pipe.

8. Disconnect the high-pressure fuel pump connector.
9. Remove the bolts by alternately loosening them, and then remove the high-pressure fuel pump and the roller.
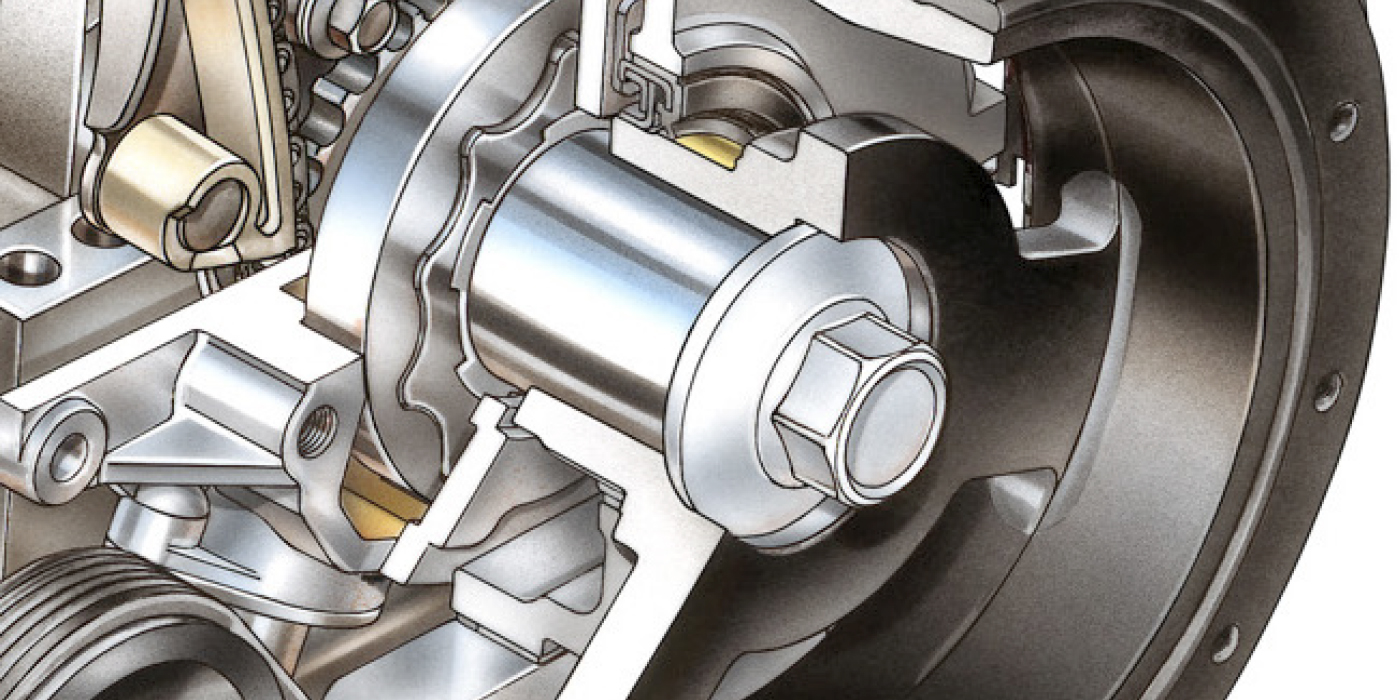
10. Rotate the crankshaft and check the high-pressure fuel pump cam for pits, scores and excessive wear. If necessary, replace the rear camshaft.
11. Set the No. 1 piston at top dead center (TDC).
12. Install the roller onto the high-pressure fuel pump cam.
13. Set the gauge on the roller and hold it, and then set the dial to zero.
14. Rotate the crankshaft 720° and measure the height of the three cam lobes. If the cam lobes are excessively worn, replace the rear camshaft.
Note: The high-pressure fuel pump cam has three cam lobes. Cam lobe height, standard (new): 0.236 in (6.0 mm)
15. Set the No. 1 piston at top dead center (TDC).
16. Check the position of the cam that drives the high-pressure fuel pump.

17. Coat the roller, O-ring and cam around the bore of the lifter with clean engine oil.
18. Install the roller and the high-pressure fuel pump. Install the bolts loosely by hand in an alternate pattern. Connect the connector.
Note: Failure to install a new fuel joint pipe will cause fuel leaks.

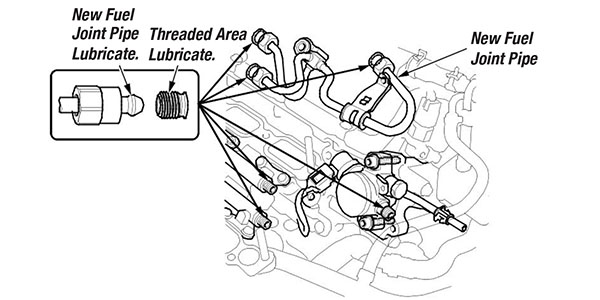
19. Lubricate the top of the new fuel joint pipe, and the threaded area of the fuel rails and the high-pressure fuel pump, with polyethylene glycol that’s included in the new fuel joint pipe kit.
Note: Do not reuse the fuel joint pipe.
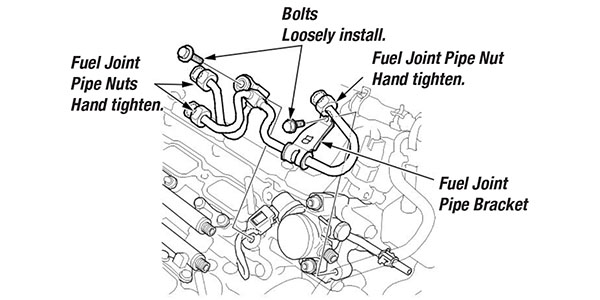
20. Tighten the fuel joint pipe nuts by hand until the end of the joint pipe is seated on the fuel rails and high-pressure fuel pump.
21. Set the fuel joint pipe bracket on the cylinder head and loosely install the bolts.
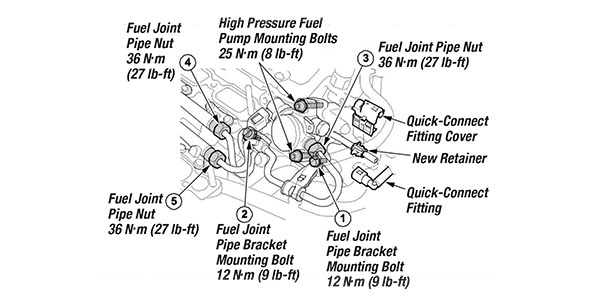
22. Tighten the high-pressure fuel pump mounting bolts to the specified torque.
23. Tighten the fuel joint pipe bracket mounting bolts and the fuel joint pipe nuts to the specified torque.
• A crowfoot-type special tool increases the torque applied by the torque wrench. Refer to torque specifications for details on how to recalculate the torque wrench setting. Failure to tighten the fuel joint pipe nuts to the proper torque will cause a fuel leak.
24. Connect the quick-connect fitting and install the quick-connect fitting cover.
25. Set the power mode to ON, but do not start the engine. After the fuel pump runs for about two seconds, the fuel line will be pressurized. Repeat this two or three times, then check for fuel leakage.
26. Install the high-pressure fuel pump cover and torque to 12 Nm (9 lb.-ft.)
27. Install the intake manifold.
Courtesy of ALLDATA.