 For the most part, these tire/wheel slip situations caused little more than brief consternation and had minimal impact on tire or vehicle performance. Generally, they occurred after a new tire was mounted, and the cause could be traced to overaggressive bead and rim lubrication, poor mounting techniques, bead area damage or wheel-related problems.
Occasionally, wheel slippage would be considerable and lead to tire or vehicle damage. But, in most cases, the tire would settle in place quickly and there would not be any long-term performance problems. But now one tiremaker says that wheel slippage is a “major cause” of passenger vehicle ride discomfort and vibration complaints by performance tire customers. The tiremaker discovered that in almost every case, “excessive use of lubricant on the tire beads and rim” was the cause of the tire/wheel slip.
In most cases, technicians discovered, paste-type lubricants were used, but were liberally applied to the bead area and on the bead seat and rim flange areas of the wheel–far too much paste in far too many places, the engineers concluded.
Cause and Effect
In these days of lighter front-wheel-drive sport performance applications, high torque caused by aggressive acceleration and/or braking makes these vehicles susceptible to tire/wheel slip.
Today’s suspension and steering systems, made lighter but stronger by carmakers in an effort to increase CAFE mileage and overall performance, are far more sensitive to tire/wheel-caused vibration. Match-mounting and careful high-speed balancing are the most popular ways shops have to combat tire/wheel-related ride complaints.
But when wheel slippage is so severe, three inches or more, technicians found that previous match-mounting and balance efforts were for naught. In an experiment, technicians mounted a variety of new tires on OE and aftermarket wheels. They used a common paste lubricant liberally on both the tire beads and bead seat areas of the wheel, mimicking the process used by some of the affected dealers. The tires were then indexed to their wheels with a crayon mark on the tires by the valve stems. The tire/wheel assemblies were then balanced using a Hunter GSP9700.
After waiting 30 minutes to an hour, each set of tires was driven using three different driving styles – mild/slow acceleration and braking, aggressive acceleration, and aggressive braking to evaluate the impact of each.
In every case, regardless of tire brand or driving mode, the tires slipped considerably on both the OE and custom wheels. Post-test checks showed that every slippage case also resulted in the tire/wheel assembly becoming out-of-balance. And checks with other tire dealers confirmed slippage-related balance problems.
Combating the Problem
So, what’s a shop to do? The obvious answer is to not use so much bead lube. But here are 10 suggestions and other precautions to help prevent vibration complaints cause by tire/wheel slip.
1. Match-mount tires and wheels, as necessary. Be sure to follow the specific match-mounting instructions provided by the manufacturer.
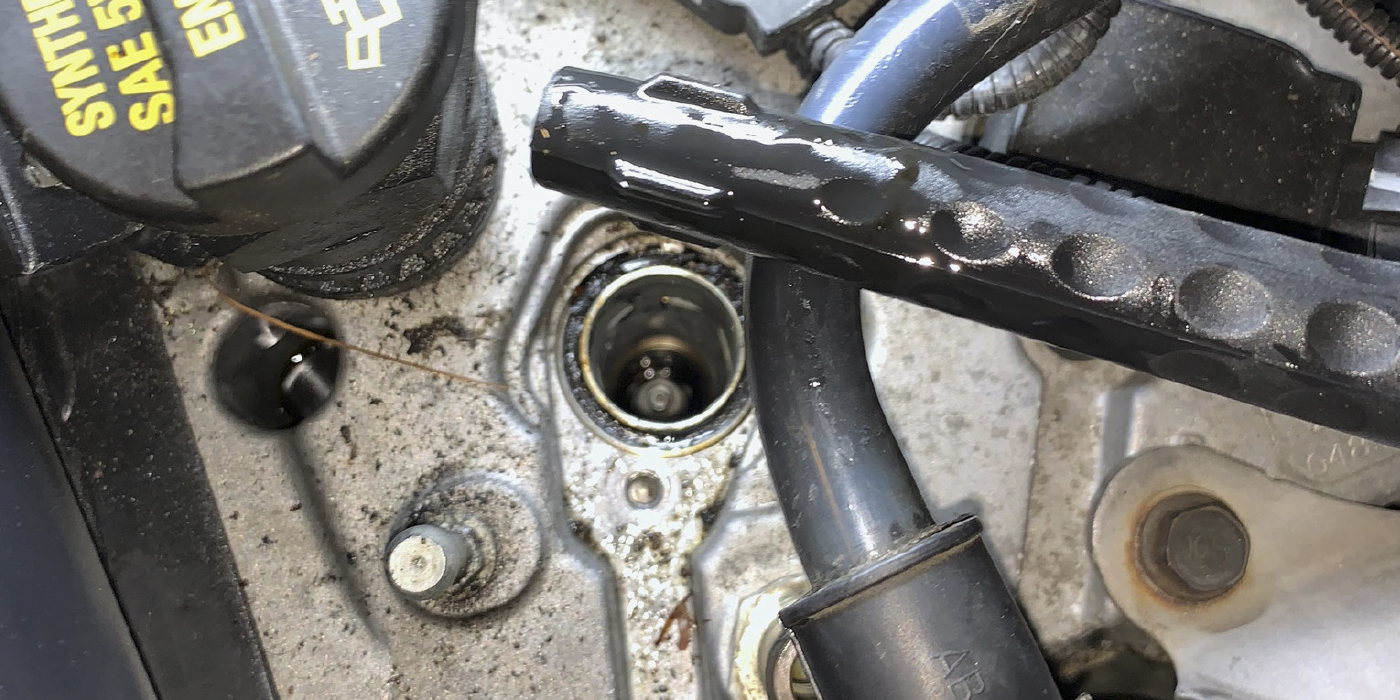
2. Carefully clean the beads of new tires to remove any manufacturing-related lubricant residue. Use an approved rubber cleaner commonly used in tire repair.
3. Also, clean the bead seat area of the wheels. On older wheels, make sure the rim flange and bead seat areas are free of rust or dirt. Wash the area with soap and water, and dry completely.
4. Instead of using a brush, use a smaller sponge to apply paste-type bead lubricant. Apply the lubricant only to the bead sole and the inboard safety hump. Keep both rim flanges clean and dry; the lubricant on the bead sole will be more than adequate to get the bead over the flange.
5. European-produced wheels may have tighter bead seat tolerances than domestically produced wheels. Be aware that higher inflation pressures may be necessary to seat the beads of low profile performance tires on these wheels.
6. Make sure to match up any tiremaker sidewall indicator marks to the valve stem hole on the wheel.
7. If more than 40 psi is required to seat the tire beads, demount the tire, re-lubricate and the remount the tire.
8. Index the tire to the wheel using a chalk or crayon mark on the sidewall above the valve stem. This will allow you to confirm any tire/wheel slip should the customer return with a vibration complaint.
9. Carefully balance each tire/wheel assembly, using the balancer manufacturer’s instructions.
10. Should a customer vibration complaint still arise, even without any apparent tire slip, remove any wheel weights and balance the assembly. If the match-mounting mark has shifted, deflate the tire and rematch the mark to the valve stem. Do not dismount, unless there is a need to match-mount.