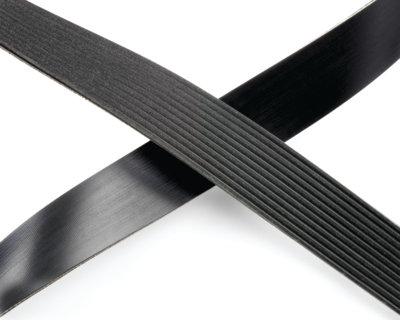
1. Where is the wear?
Like a tire, the friction between the belt and pulleys wears away at the belt, usually on the tops and walls of the ribs. Eventually the grooves of the pulleys will bottom out on the grooves of the belt, and then the belt will start to slip.
According to one belt supplier, as little as 5% of rib material loss and surface wear can affect how the belt performs, and just 10% belt slippage can affect the overall drivability of a vehicle.
Belt manufacturers have simple gauges that can measure groove depth, overall thickness and cracks to quantify wear. Some manufacturers even have apps for your smartphone that can measure wear from a picture.
 2. Do the Complete Job
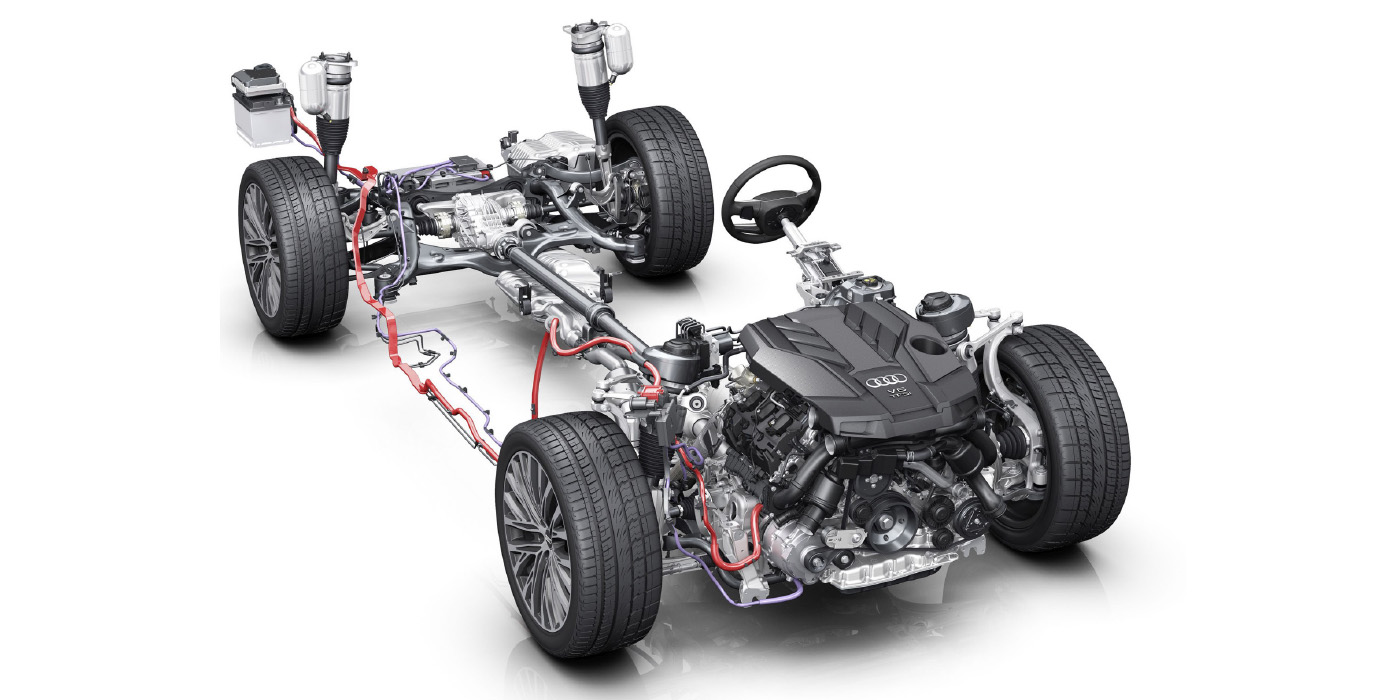
The serpentine belt is part of a system and is not the only component susceptible to wear. The tensioner, idler pulley and, on some vehicles, the decoupler pulley all wear over time and need periodic inspection and replacement. If you are replacing just the belt without looking at the other components, you could be sending a new belt to a premature death.
Sell the complete job up front. Include the tensioner and even the decoupler pulley on the estimate for the customer. The complete job will make the belt last longer without having the customer comeback to finish the job piecemeal.
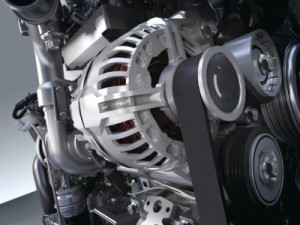
3. Multiple Alternator Replacements? Check the Belt and Tensioner
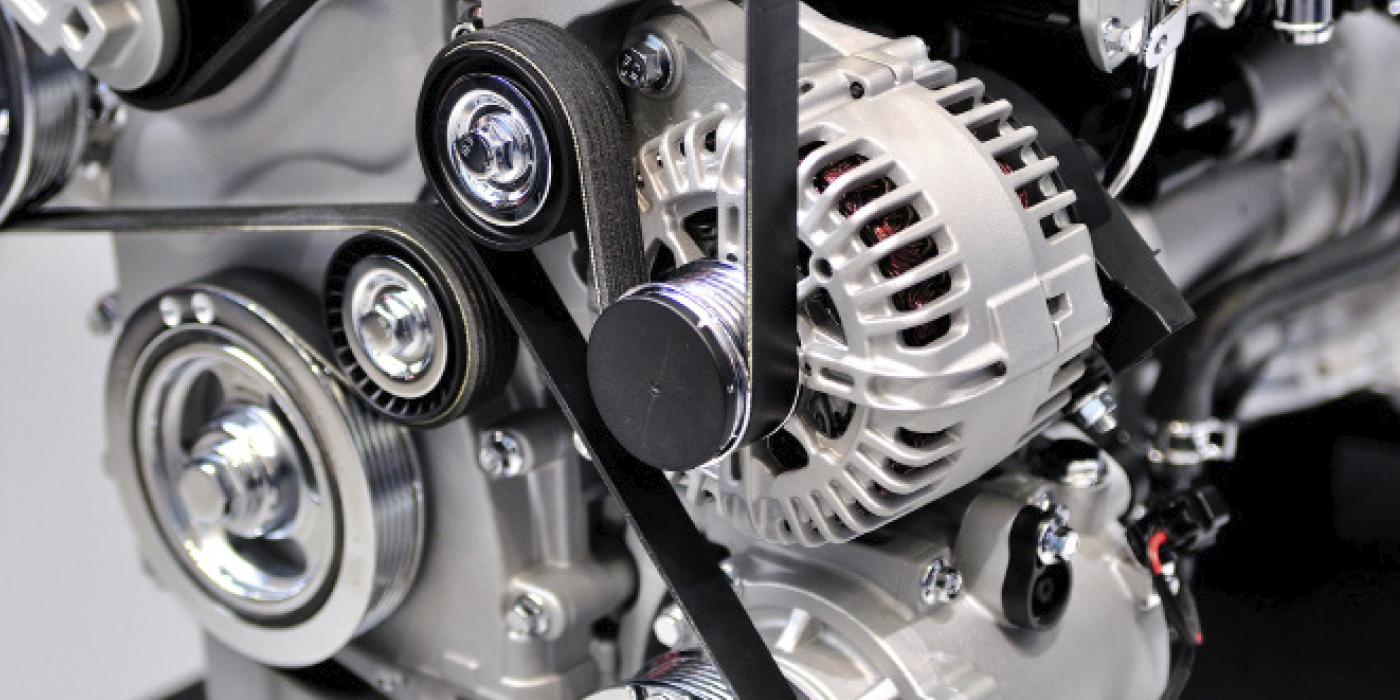
The leading cause of alternator failure is the front and rear bearings that carry the armature, and the health of these bearings is directly connected to the belt. If the belt is too tight, it will cause excessive side loads and overheat the bearings. This in turn causes noise, decreased output and even the seizing of the alternator. If the belt is too loose, it will cause the alternator to slip. This slipping can cause the alternator and the battery to work harder.
4. Belt Length Matters
Replacement belts must be close to the same length as the original. Low-quality replacement belts may not be the correct length and will push the tolerances of the tensioner. A belt that is too short, for example, will cause too much tension and put higher than normal loads on the bearings inside the alternator, power steering pump and water pump. A belt that is too long (just an inch or less) may slip, make noise and wear prematurely. It will also cause the tensioner to work harder and fail sooner.
 5. Watch the Flutter
Watch the belt while the engine is running. If you see a lot of movement or flutter in the belt, the tensioner is probably weak or sticking and should be replaced. Many tensioners also have an indicator mark that shows its range of travel. If the mark is not between the normal limits, the tensioner is weak or sticking, or the belt is not the correct length for the application. It also could be a bad alternator decoupler pulley.
6. Still Got Flutter and Noise? Check the Decoupler Pulley
OAD decoupler pulleys — also known as “isolator decoupler pulleys” (IDP) — are now used by the majority of late-model alternators to enhance engine efficiency and reduce noise and vibration associated with the accessory belt drive. These sophisticated pulleys also enable the alternator to “coast” freely in cases of sudden belt deceleration. If the pulley fails, it will cause noise and belt flutter, which can be seen in the movement of the tensioner.
 7. Mileage Matters
 The original equipment belts on late-model vehicles are made of synthetic rubber that is far more durable, heat-resistant and wear-resistant than older materials. This means serpentine belts may last up to 100,000 miles or more before they have to be replaced — but that doesn’t mean they will last forever or won’t age prematurely on some vehicles under certain conditions.
If you have a vehicle in your shop for belt replacement, diagnose why the belt needs to be replaced and not when it was previously replaced. Wear on a single component is rare and more than likely a worn tensioner, idler or pulley will cause or contribute to excessive belt wear — not just age.
Also, decoupler pulleys wear out, causing excessive noise and a no-charge condition.
8. Alignment is Key
Poor alignment is the number one cause of belt noise. Poor alignment can also cause premature wear, belt mistracking or rib skipping, and belt edge wear and fraying. Sight down the side of the belt to make sure the edge does not make any bends toward or away from the engine. Any deviation you can detect with your eye is too much.
Try to move the pulleys fore and aft to make sure the mounting is tight and the pulley exhibits minimal axial movement, which can cause misalignment. With your hands, move all idlers fore and aft and check for free rock. Excessive movement indicates a bearing or alignment problem and that the idler should be replaced.
Many systems with excess misalignment can be corrected by accessory mount shimming, shifting the position of the pulley on the accessory shaft or loosening the accessory mount points and varying the sequence of tightening.
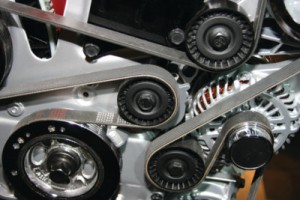 9. Where to Inspect a Serpentine Belt
 Always inspect the belt along the longest run and around an idler pulley that makes contact with the smooth side of the belt. The ribs of the belt are elongated in this position and any rib cracks are magnified. If rib cracks are detected, you should probably remove the belt for further inspection. Check the edges of the belt for wear and fraying. Wear on the edges can indicate a misalignment of the pulleys.
With the vehicle running, observe the belt along the longest visible run between pulleys. Excessive fluttering or movement is a sign the belt or tensioner needs to be replaced.
10. Remove the Belt for a Better Inspection
With the belt removed, the tensioner can be inspected more closely. Rotate the tensioner pulley by hand and feel for bearing roughness. A rough bearing indicates the potential for immediate failure and that the tensioner should be replaced. While rotating the pulley, look for (and remove) an accumulation of any foreign material on the pulley surface.
With the proper tool, move the tensioner arm as if you were installing a new belt; move the arm through the full range of available travel. By feel, you can detect if there is roughness or sticking of the tensioner arm during this movement. Replace the tensioner if sticking is detected.
As a final step, attempt to move the tensioner arm toward and away from the engine. If looseness is detected, the bushings in the tensioner have worn excessively and the tensioner should be replaced.