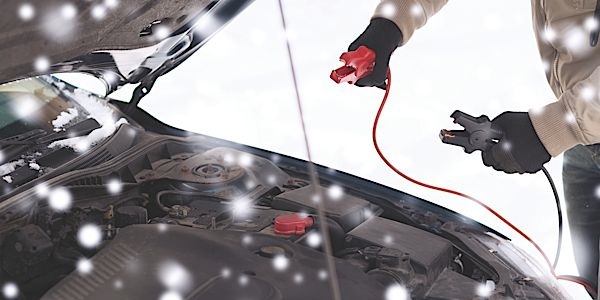
Most shops in colder climates start to see an influx of customers with battery service needs as the holidays approach. Perhaps more than any other maintenance category, being proactive about taking care of your customers with dying or dead batteries is essential this time of year.
Lead-acid batteries have an average service life of roughly three to five years depending on the climate. While Absorbent Glass Mat (AGM) gel cell batteries typically last a few years longer, both are prone to failure as the temperature dips. The only way to spot a weak battery is by testing it. If your test shows it’s time to replace the battery, be sure to follow recognized replacement best practices.
Winter Battery Service Tips
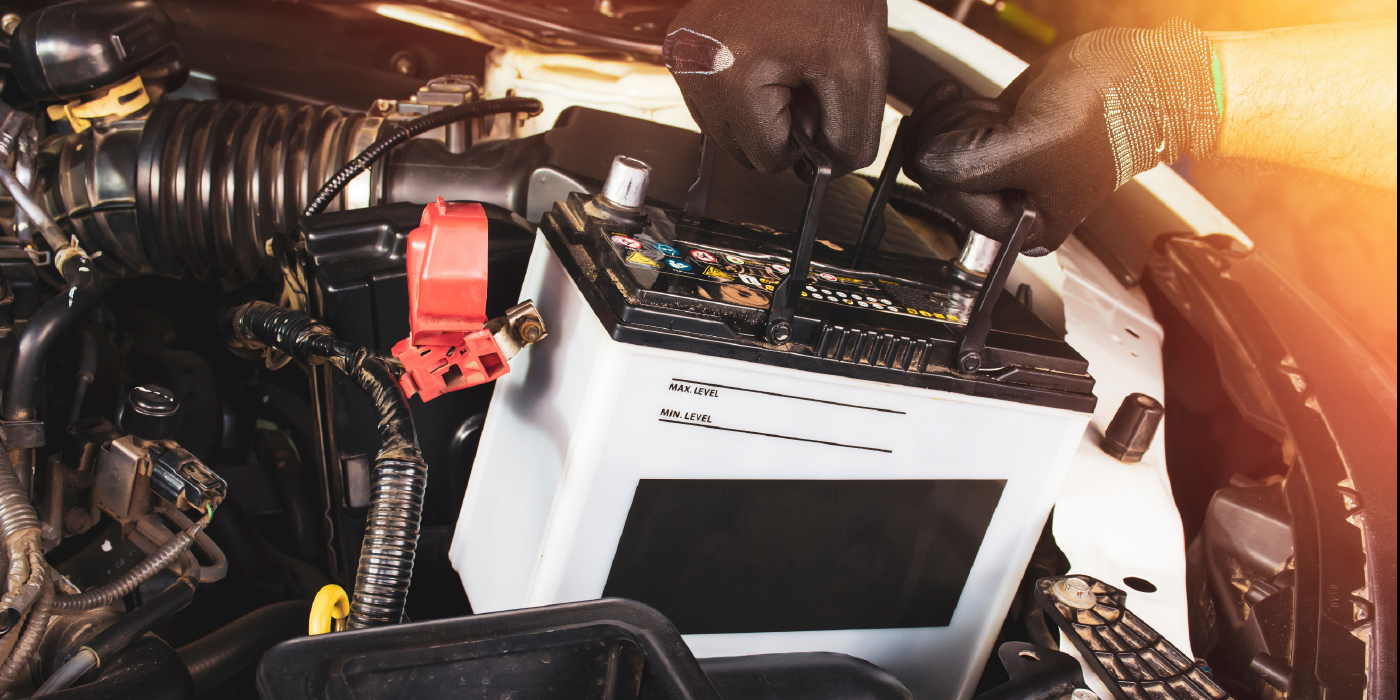
Be Careful Handling the Battery: Lead-acid batteries containing liquid electrolytes can spill if not handled properly. The acid in this liquid can be caustic to the skin and burn through clothing. If handling such a battery, consider using a carrying strap that attaches to the battery posts or the strap on the battery case (if it has one). At the very least, lift the battery carefully from underneath and be sure not to squeeze the sides of the case since acid can seep out the top when under pressure.
Steer Clear of Frozen Batteries: Batteries can freeze when the vehicle has been sitting in extreme cold. Never try to jump-start or recharge a battery that is frozen since it is more prone to exploding. You can try to remove the battery from the vehicle and let it thaw before charging or testing, but most batteries that have been frozen will require replacement.
Protect Yourself From Shock Hazards: Most batteries only produce 12 volts, so there is no danger of being shocked by the battery, charger or jumper cables. The one exception is high-voltage hybrid batteries, which pack as much as 300 volts and are capable of delivering a lethal shock. On hybrid vehicles, don’t touch any of the hybrid electrical components without first isolating (disconnecting) the hybrid battery. Most have a safety switch that disconnects the battery from the rest of the electrical system. Refer to the owner’s manual or the OEM service procedures for how to do this as procedure. Important: Wear gloves rated to withstand 1,000 volts and don’t touch any orange color-coded cables until the high voltage battery has been disconnected when servicing these vehicles.
A Couple Notes on Battery Charging
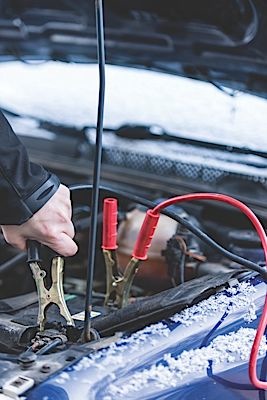
• Do not turn the charger on until both leads have been connected to the battery. Connect positive to positive and negative to negative. Do not reverse the connections, as doing so may damage the charger and battery.
• Slow-charging at 6 amps or less is best because it develops less heat inside the battery (which can damage cells and increase evaporation). A slow charging rate will also break up the sulfation on the battery plates more efficiently to bring the battery back up to full charge.
• “Smart chargers” also work well because they automatically adjust the charge rate to the battery’s state of charge. Most start out with a charging rate of 15 amps or higher, then taper off the charging rate as the battery charge increases.
• Fast-charging a battery saves time, but risks overheating and damaging the battery. If using a fast-charger, don’t use the highest setting. Use the “boost” setting only when cranking the engine.
• Refer to the battery’s reserve capacity (RC) rating to determine charging times and rates. The charging rate (in amps) multiplied by the number of hours of charging time should equal the reserve capacity of the battery. (Example: a dead battery with a RC rating of 72 will require charging at 6 amps for 12 hours.