You might have only one chance to sell a customer a new serpentine belt. With belts lasting roughly 90,000 miles, proper inspection at the time of failure is critical not only for selling the belt, but also for ensuring add-on sales and better customer satisfaction.
These are the steps you should be performing on every car or truck that enters your shop.
Listen
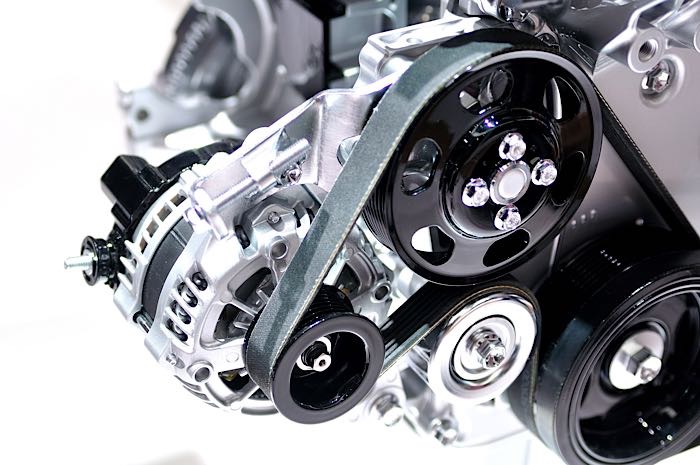
Noise is the first sign that more components than the belt need attention. Listen to the belt before proceeding with the rest of the inspection. The first clue of a problem is a belt squeal heard during engine start-up. The second clue might be a belt squeal heard during parking maneuvers or during an alternator load test. Either a belt is able to grip the pulleys during these small changes in RPM, or it starts to slip. What allows the belt to grip the pulley is the walls on the grooves and the force put on the belt by the tensioner.
Look
Look for erratic movement of the belt, pulleys and tensioner. If the dampener inside the tensioner is not able to control the arm, it can cause fluctuations in tension. The accessory belt may oscillate between too little tension and too much tension. The belt will slip and catch, causing noise and vibration. If the tensioner is completely worn out, the belt will slip and then catch suddenly.
Watch the belt while the engine is running. If you see a lot of movement or flutter in the belt, the tensioner is probably weak or sticking and should be replaced. Many tensioners also have an indicator mark that shows their range of travel. If the mark is not between the normal limits, the tensioner is weak or sticking or the belt is not the correct length for the application. The problem could also be a bad alternator decoupler pulley.
Touch
With the engine off, find the longest unsupported run of the belt and examine it. Abnormal wear like missing chunks, pilling and glazing on the grooved side of the belt is a sign there is not just a problem with the belt, but with the pulleys and connected devices as well. In these cases, replacing just the belt does not solve the underlying problem.
Missing chunks on modern belts usually signal high underhood temperatures. The heat is generated by not only the engine, but also the flexing of the belt as it travels along the pulleys. Also, slipping on the pulleys creates friction and heat. Heat breaks down the materials of the belt and causes oxidation.
Measure
Like a tire, the friction between the belt and pulleys wears away at the belt — usually on the tops and walls of the ribs. Eventually the grooves of the pulleys will bottom out on the grooves of the belt and then the belt will start to slip.
According to one belt supplier, as little as 5% of rib material loss and surface wear can affect how the belt performs, and just 10% belt slippage can affect the overall drivability of a vehicle. Belt manufacturers have simple gauges that can measure groove depth, overall thickness and cracks to quantify wear.
Remove
Remove the belt and look at all of the belt’s surfaces, including the back, front and sides. If the abnormal wear is in only one area, it is a sign the belt was damaged during installation or an incident occurred where an object came between the belt and pulley. The typical sign of installation damage is rib separation from a 1- to 2-inch area of the belt. This can occur if the belt was pinched or pried into position with a sharp object.
Check Alignment
Poor alignment is the No. 1 cause of belt noise. Poor alignment can also cause premature wear, belt-miss tracking or rib skipping. It can also cause belt edge wear and fraying. Sight down the side of the belt to make sure the edge does not make any bends toward or away from the engine. Any deviation you can detect with your eye is too much.
Many systems with excess misalignment can be corrected by accessory mount shimming, shifting the position of the pulley on the accessory shaft or loosening the accessory mount points and varying the sequence of tightening.
Clean
If oil or coolant comes in contact with the belt, the slippage can increase and cause even higher temperatures. Make sure there are no leaks from water pumps or oil seals. These problems need to be addressed before a new belt is installed. Make sure the pulleys are clean before installation by wiping them down with a clean rag and some solvent.
Order
Replacement belts must be close to the same length as the original. Low-quality replacement belts may not be the correct length and will push the tolerances of the tensioner. A belt that is too short, for example, will cause too much tension and put higher than normal loads on the bearings inside the alternator, power steering pump and water pump. A belt that is too long (just an inch or less) may slip, make noise and wear prematurely. It will also cause the tensioner to work harder and fail sooner. If a new belt is too short or long, send it back.

